2. Create Your First Application
Follow these steps to create your first application and start building with Planby Now:
1. Log In to the Portal
After logging into your account, you’ll be taken to the user dashboard. This is where you can manage all your projects and create new ones.
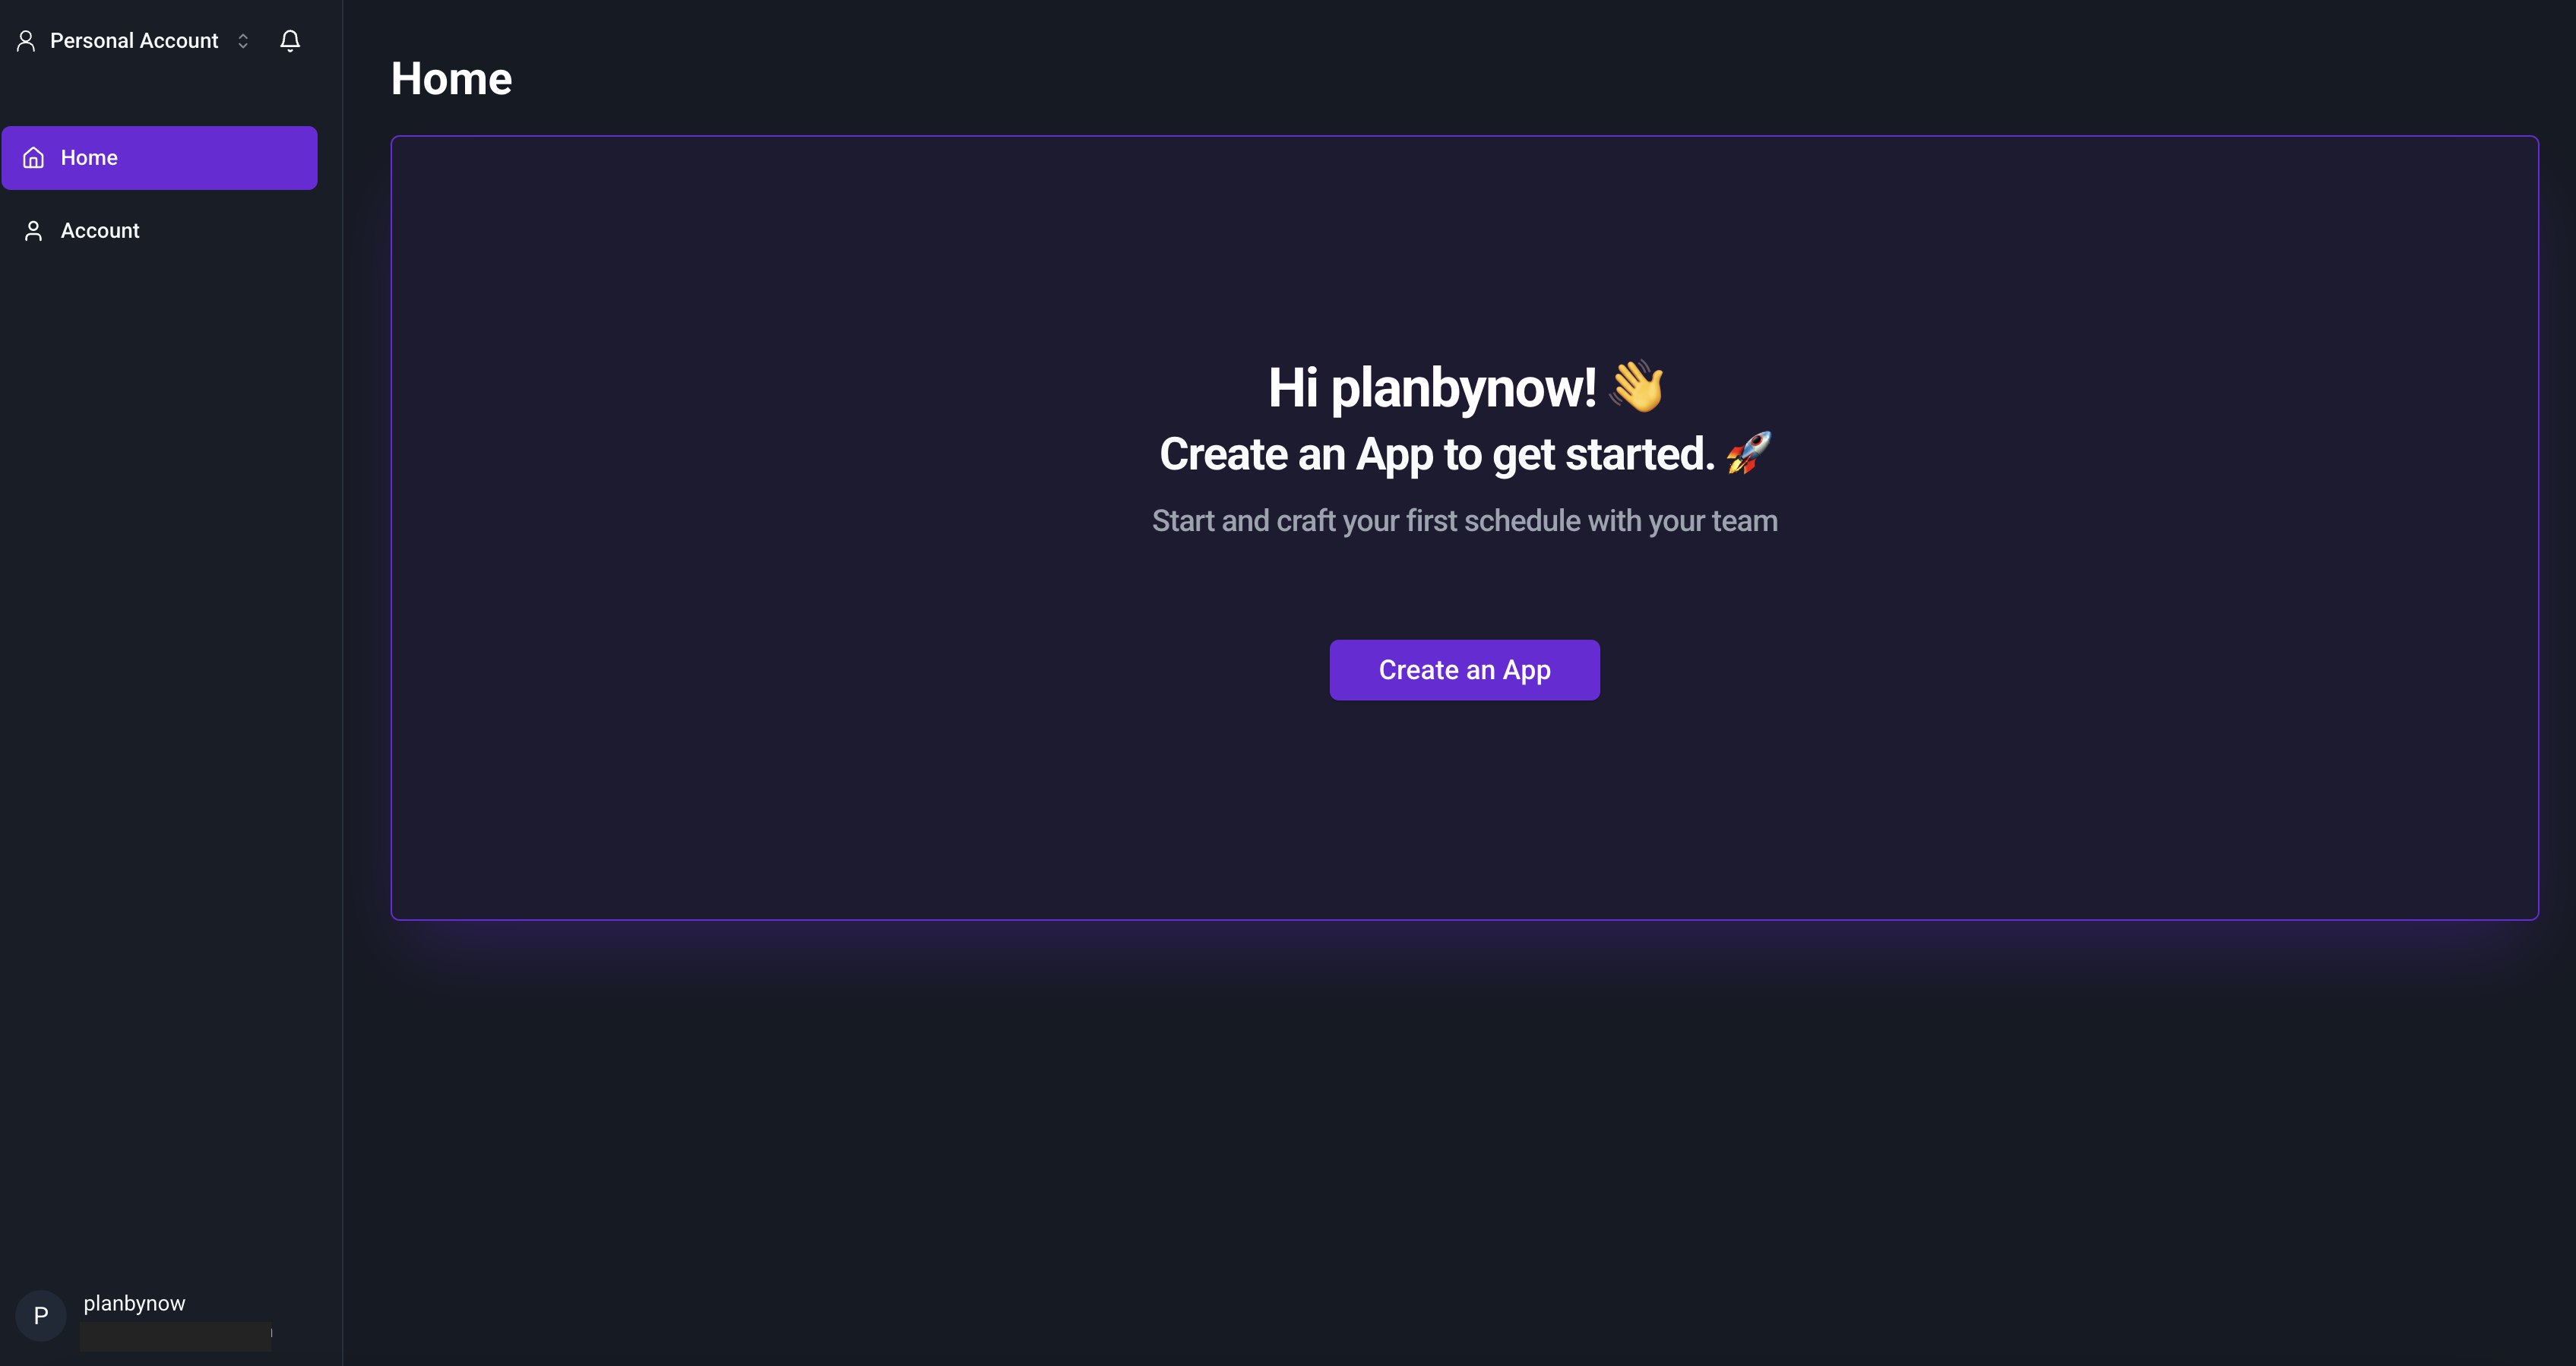
2. Click the "Create an App" Button
- In the dashboard, locate and click on the "Create an App" button.
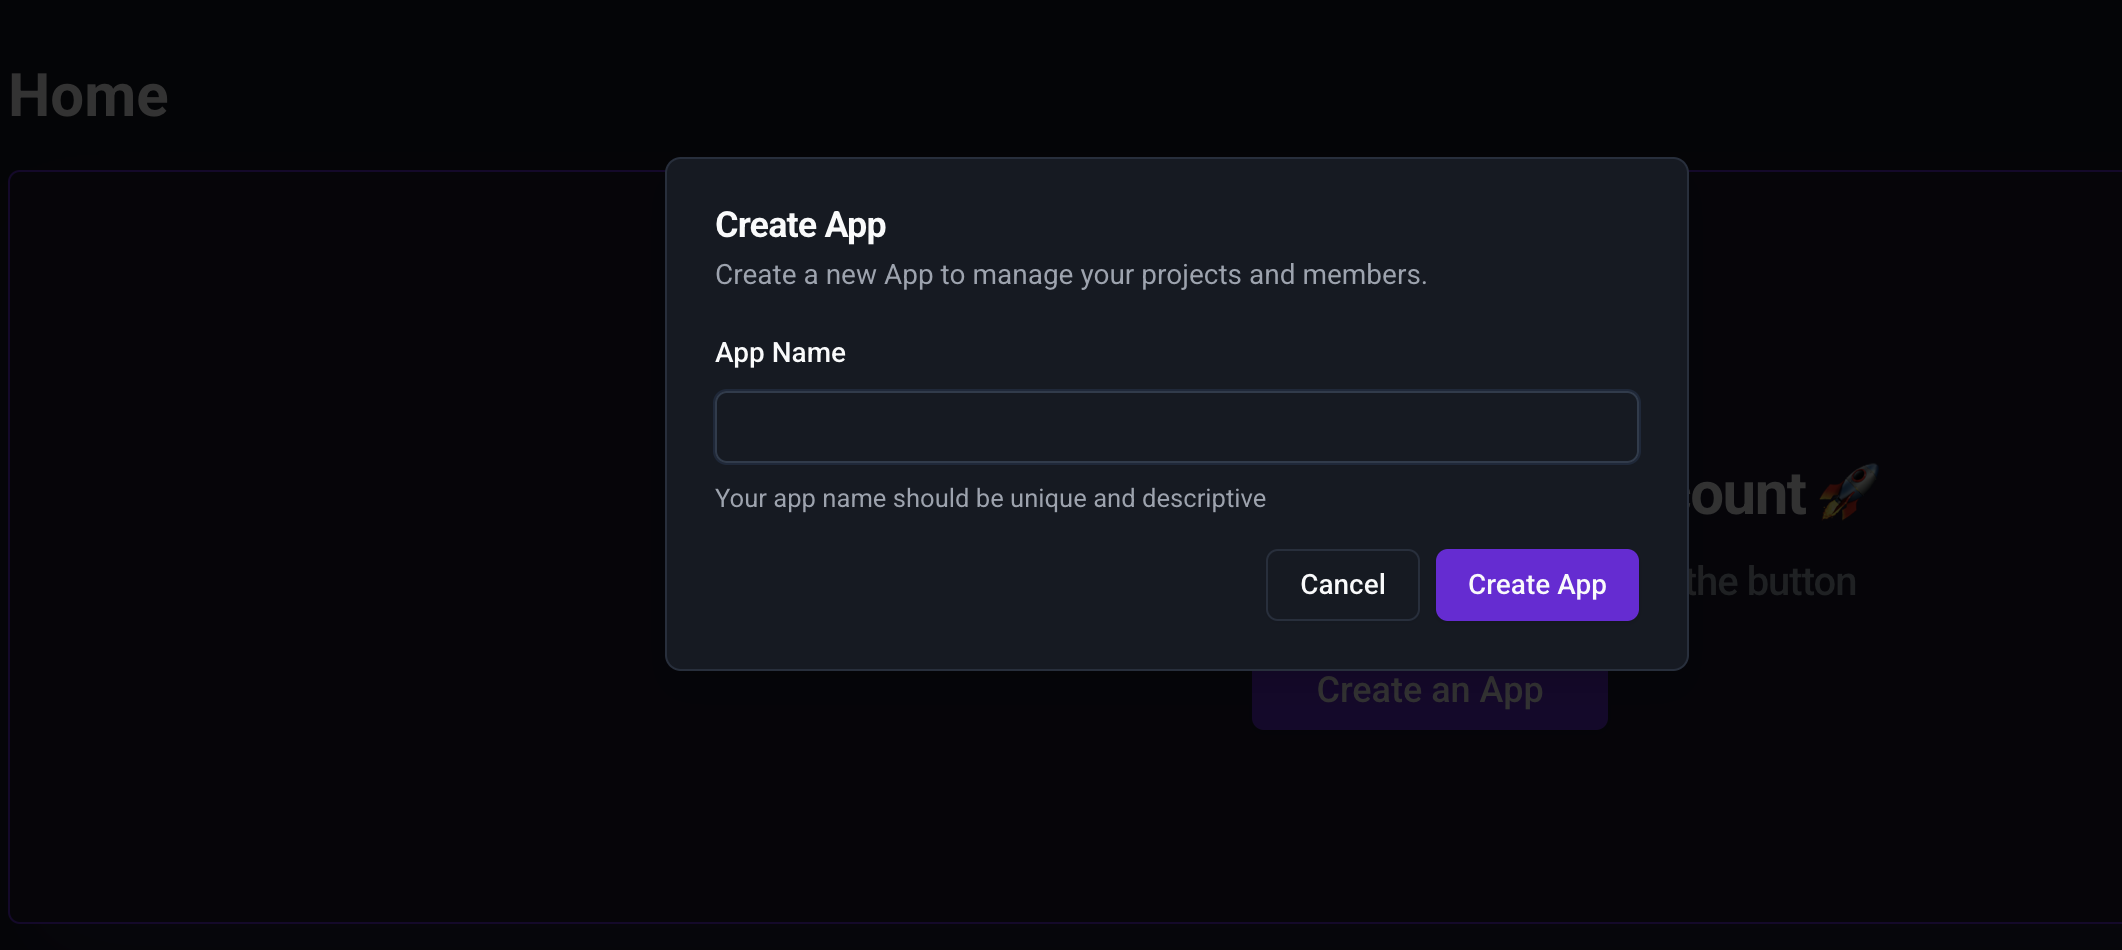
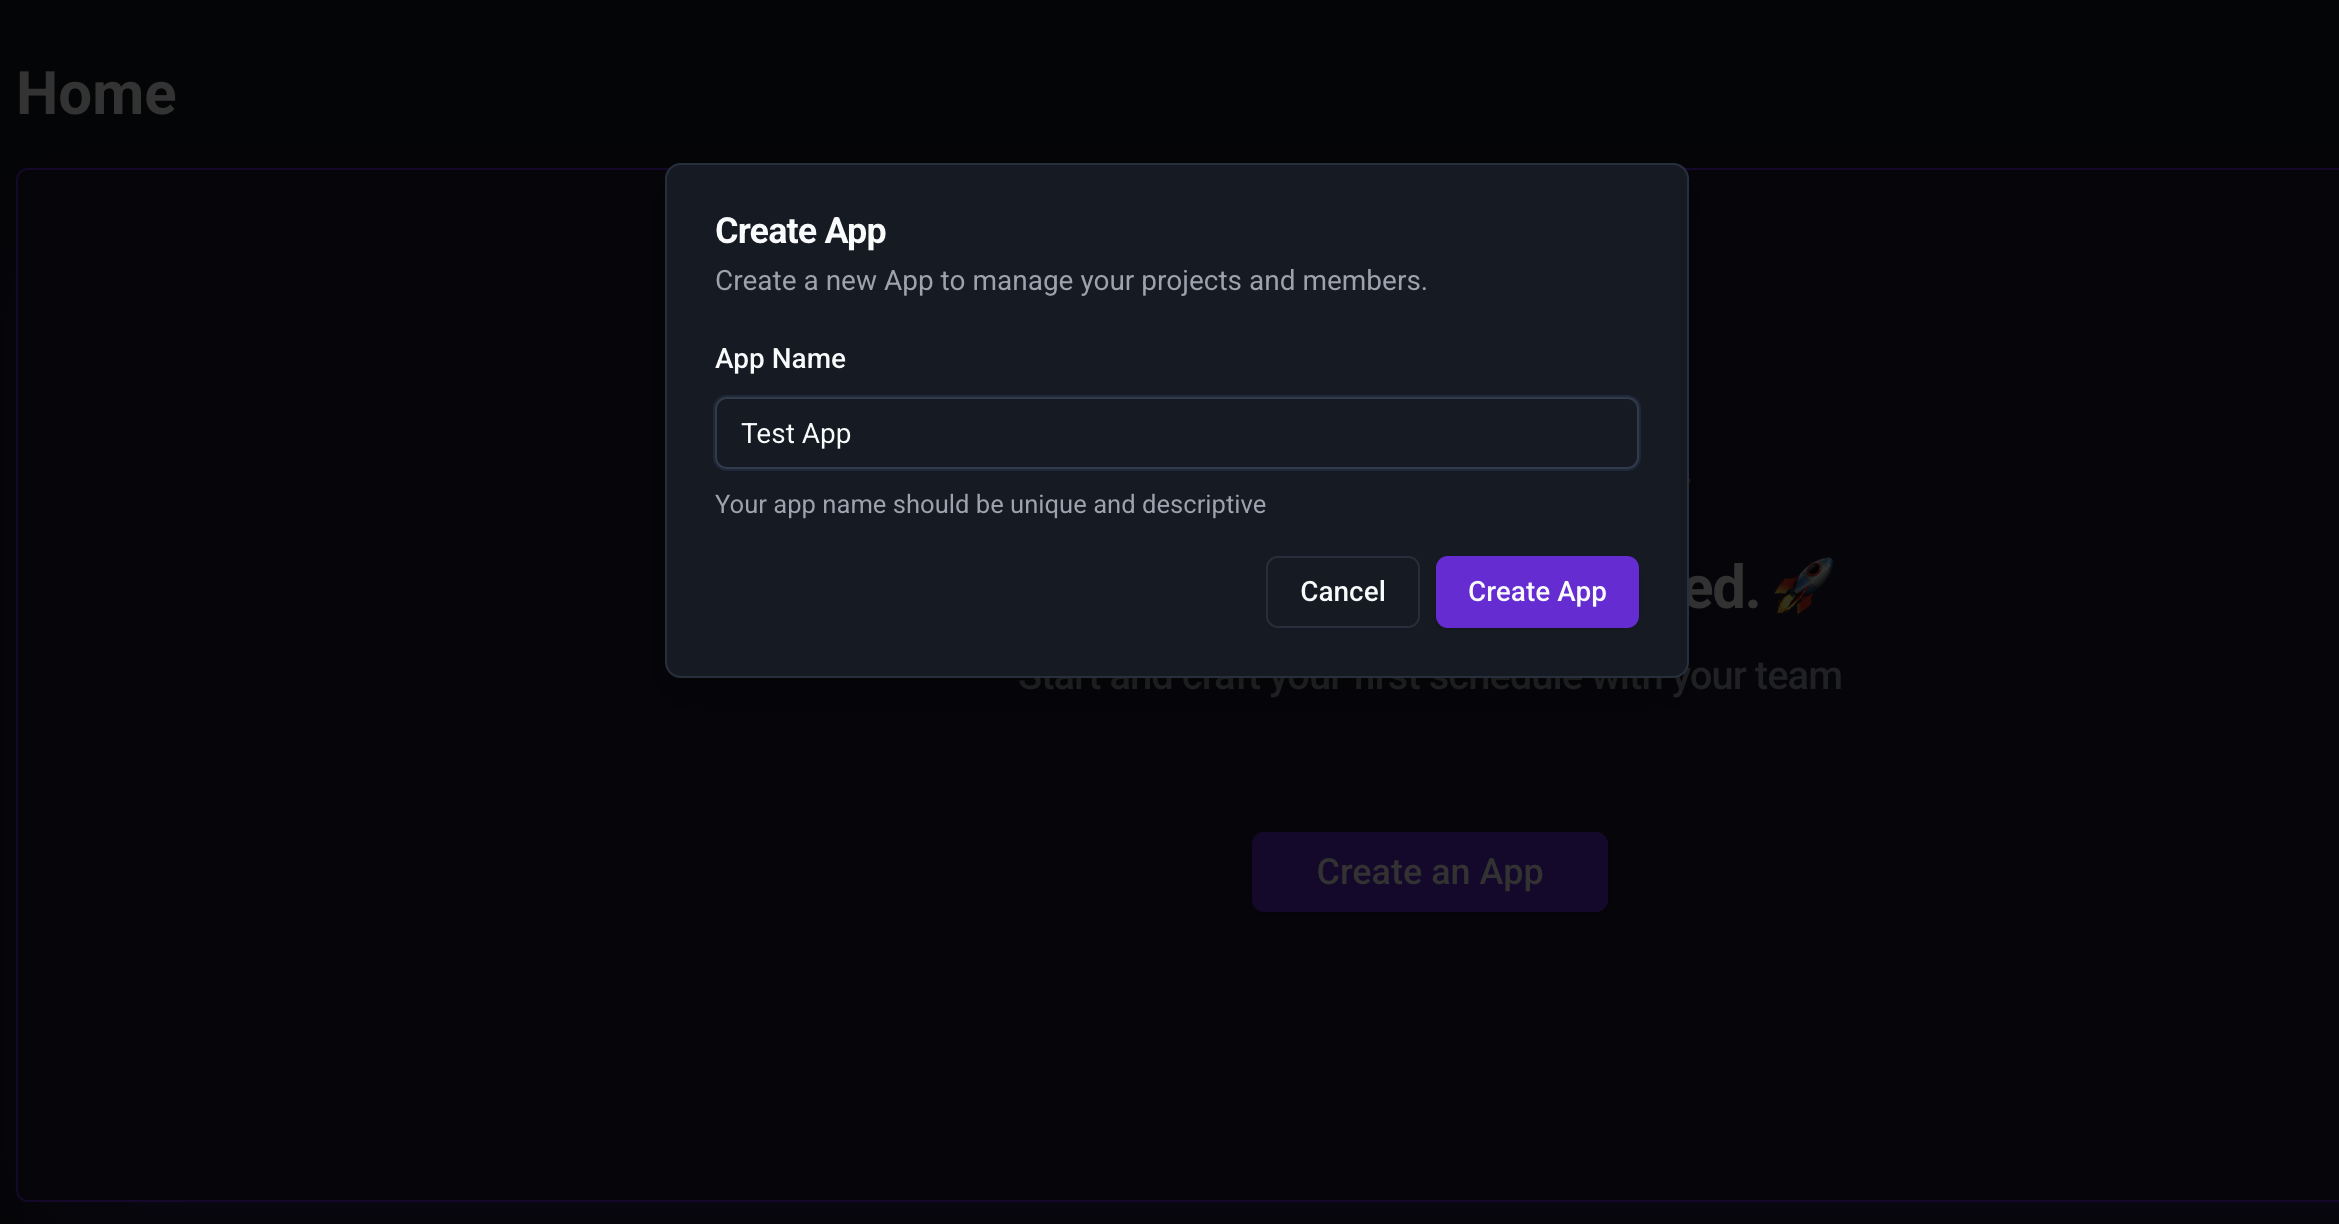
- Enter a name for your application in the pop-up dialog box and confirm your selection.
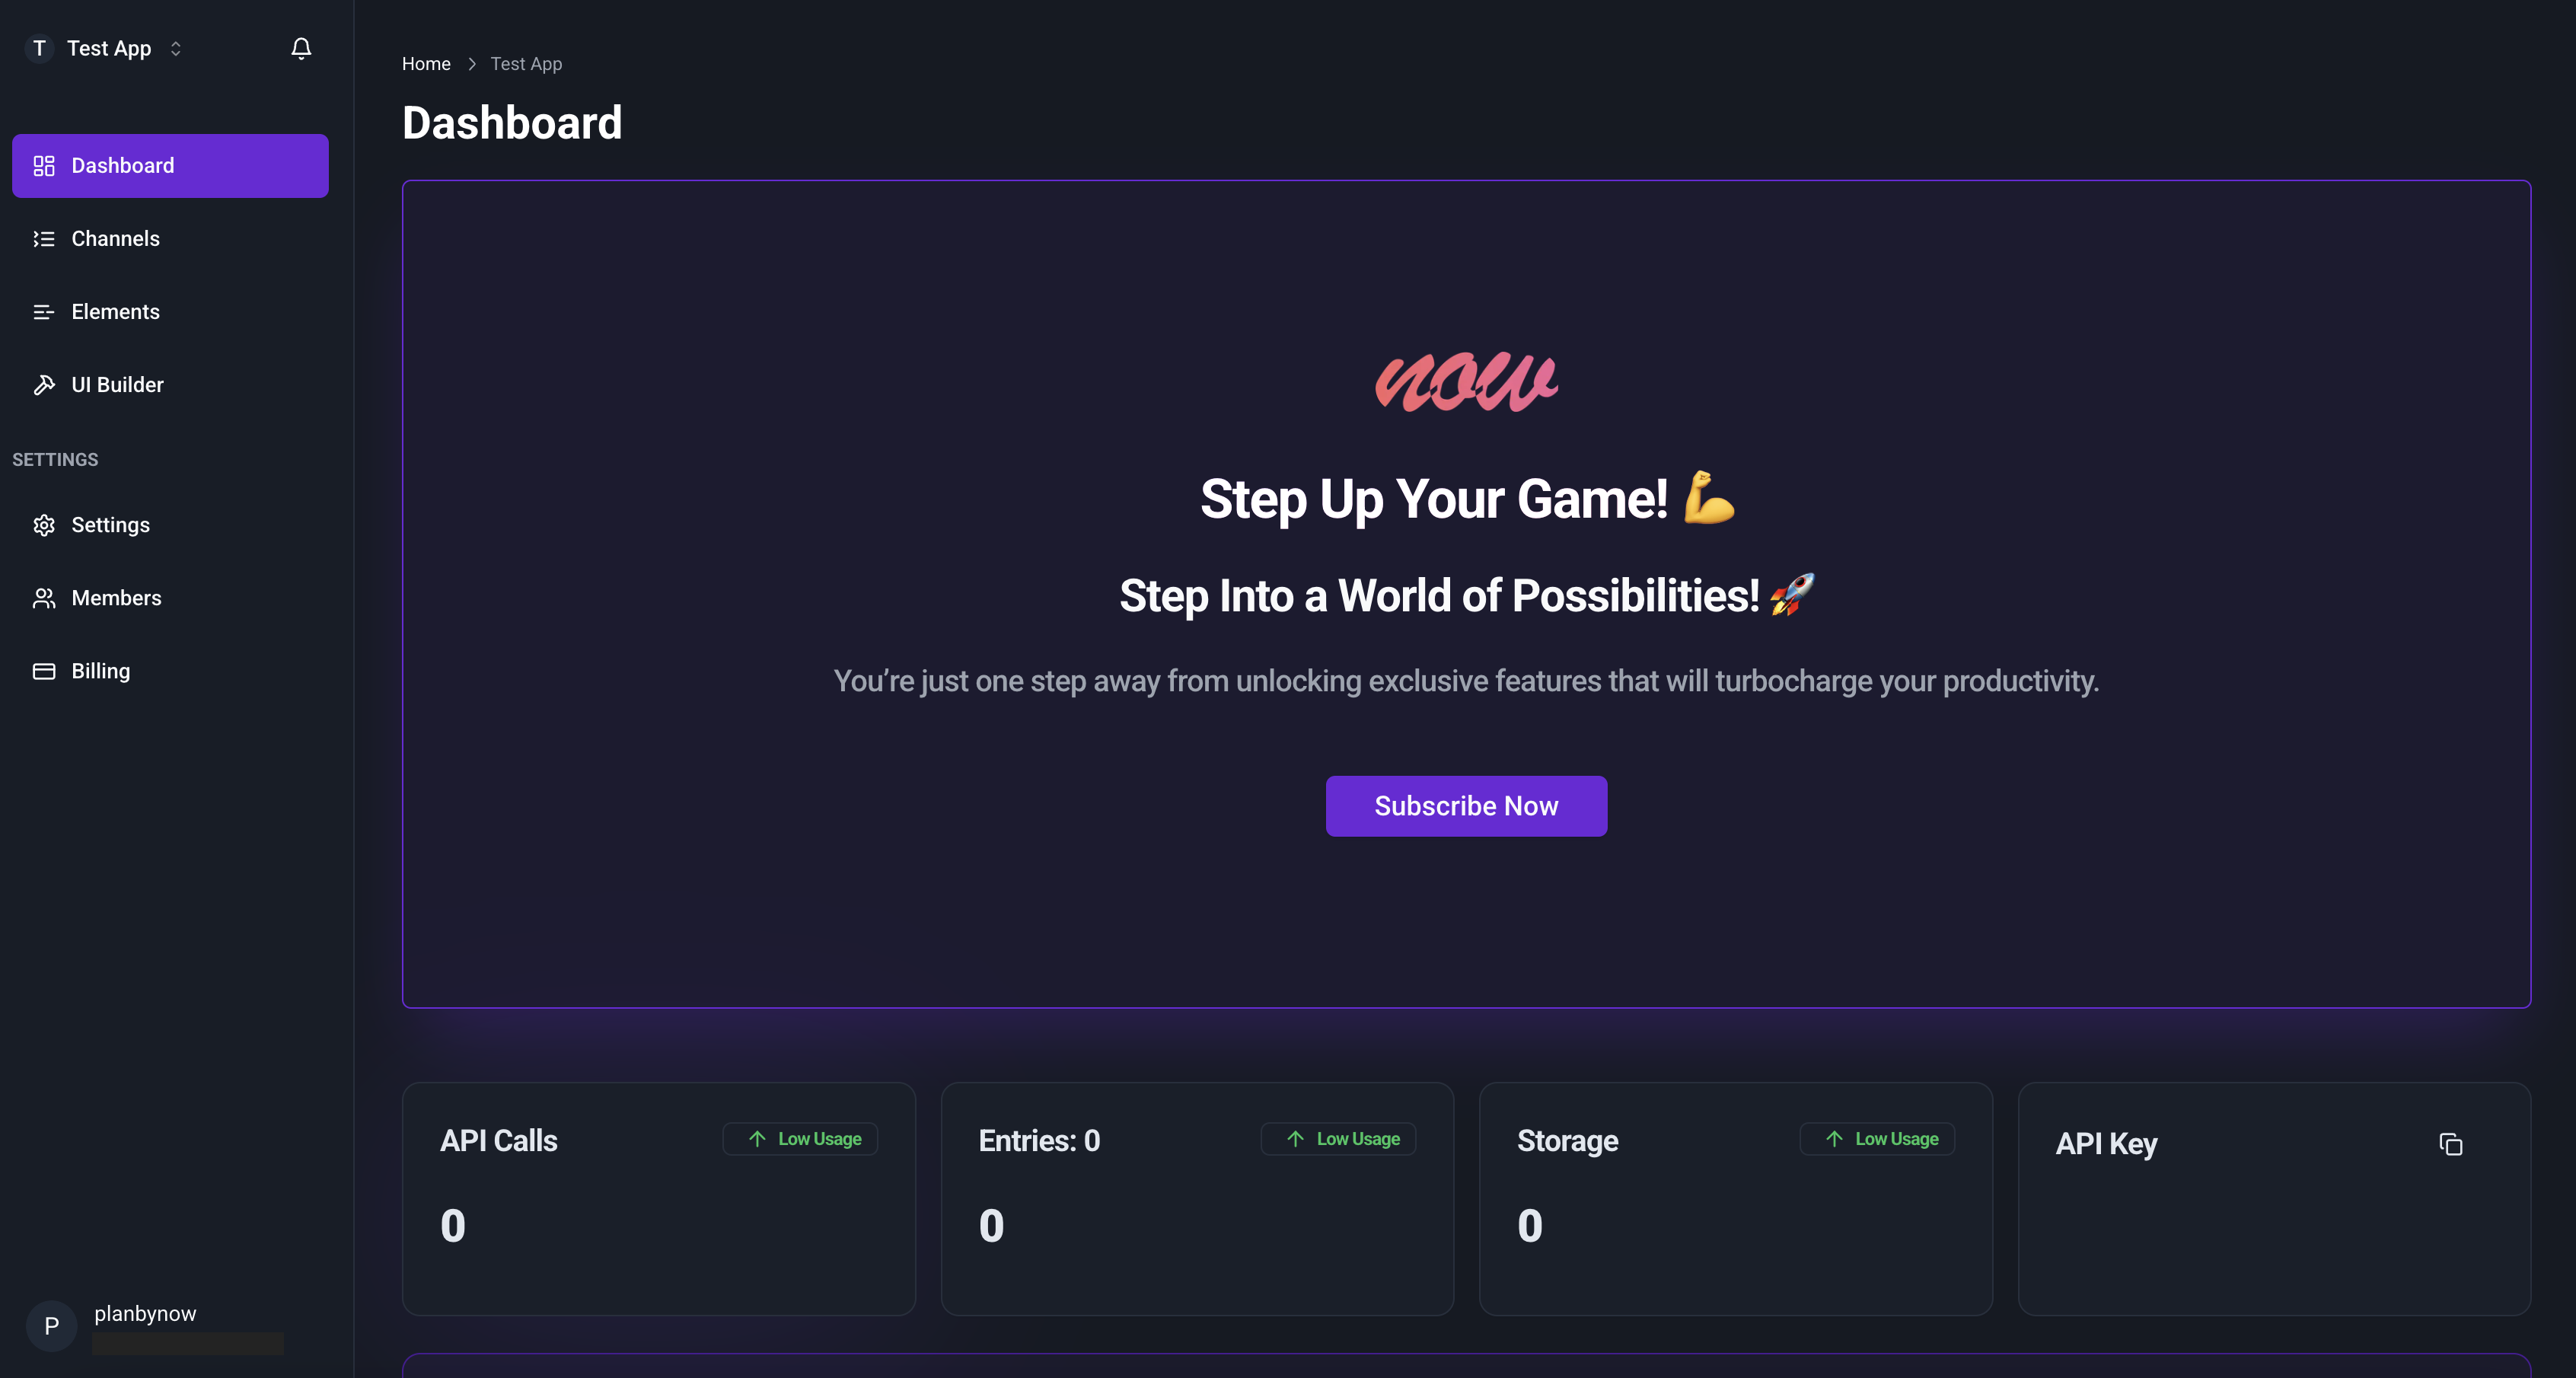
3. Access Your Application Workspace
- Once your application is created, you’ll be redirected to its dedicated workspace.
- This workspace includes a comprehensive panel designed to manage all aspects of your application.
4. Explore the Tabs
- Data: Manage and organize the data your application will use.
- Builder: Use the intuitive drag-and-drop interface to design your application.
- Settings: Configure application settings, update information, and manage subscription payments.
- Members: Invite team members to collaborate on your project.
You’re now ready to start customizing and building your application. Explore the tabs and features to make your app exactly how you envision it!
Need help? Visit our Support Page or contact us directly for assistance.