4. Add Elements Data
You can add data to your application by either manually entering it or uploading a CSV file. Follow these steps:
Download the example elements CSV file from -> Link.
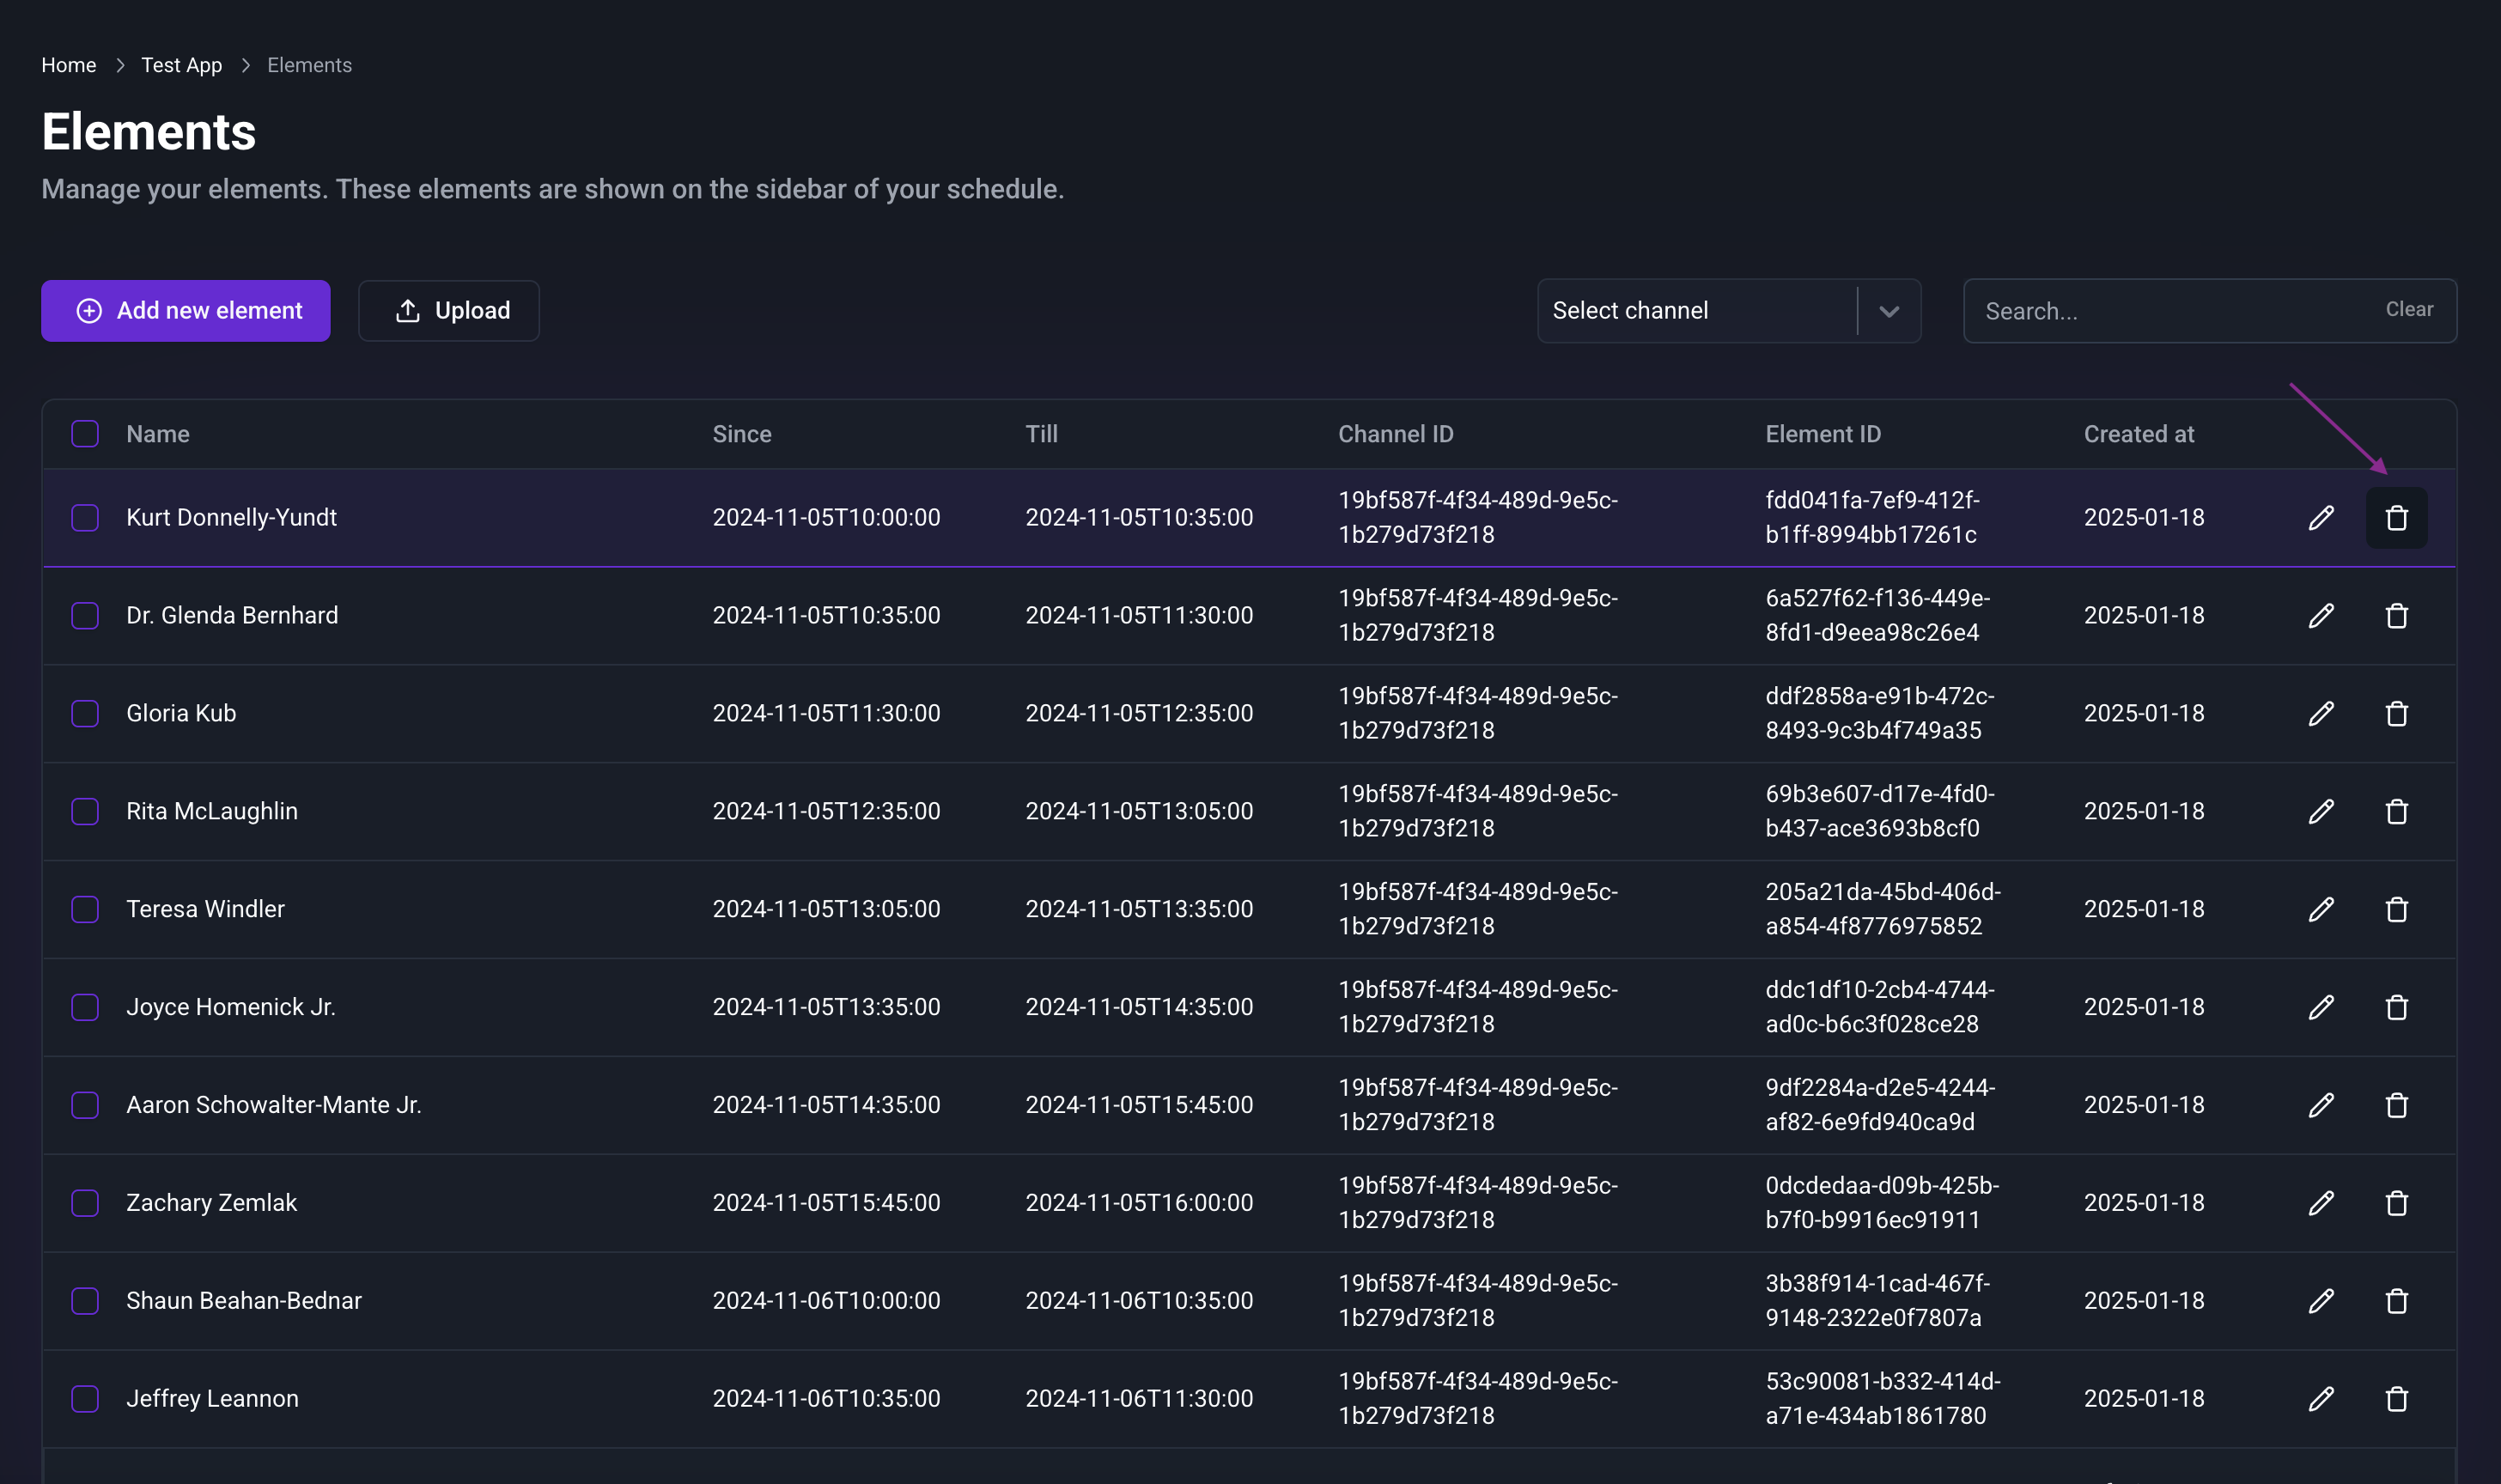
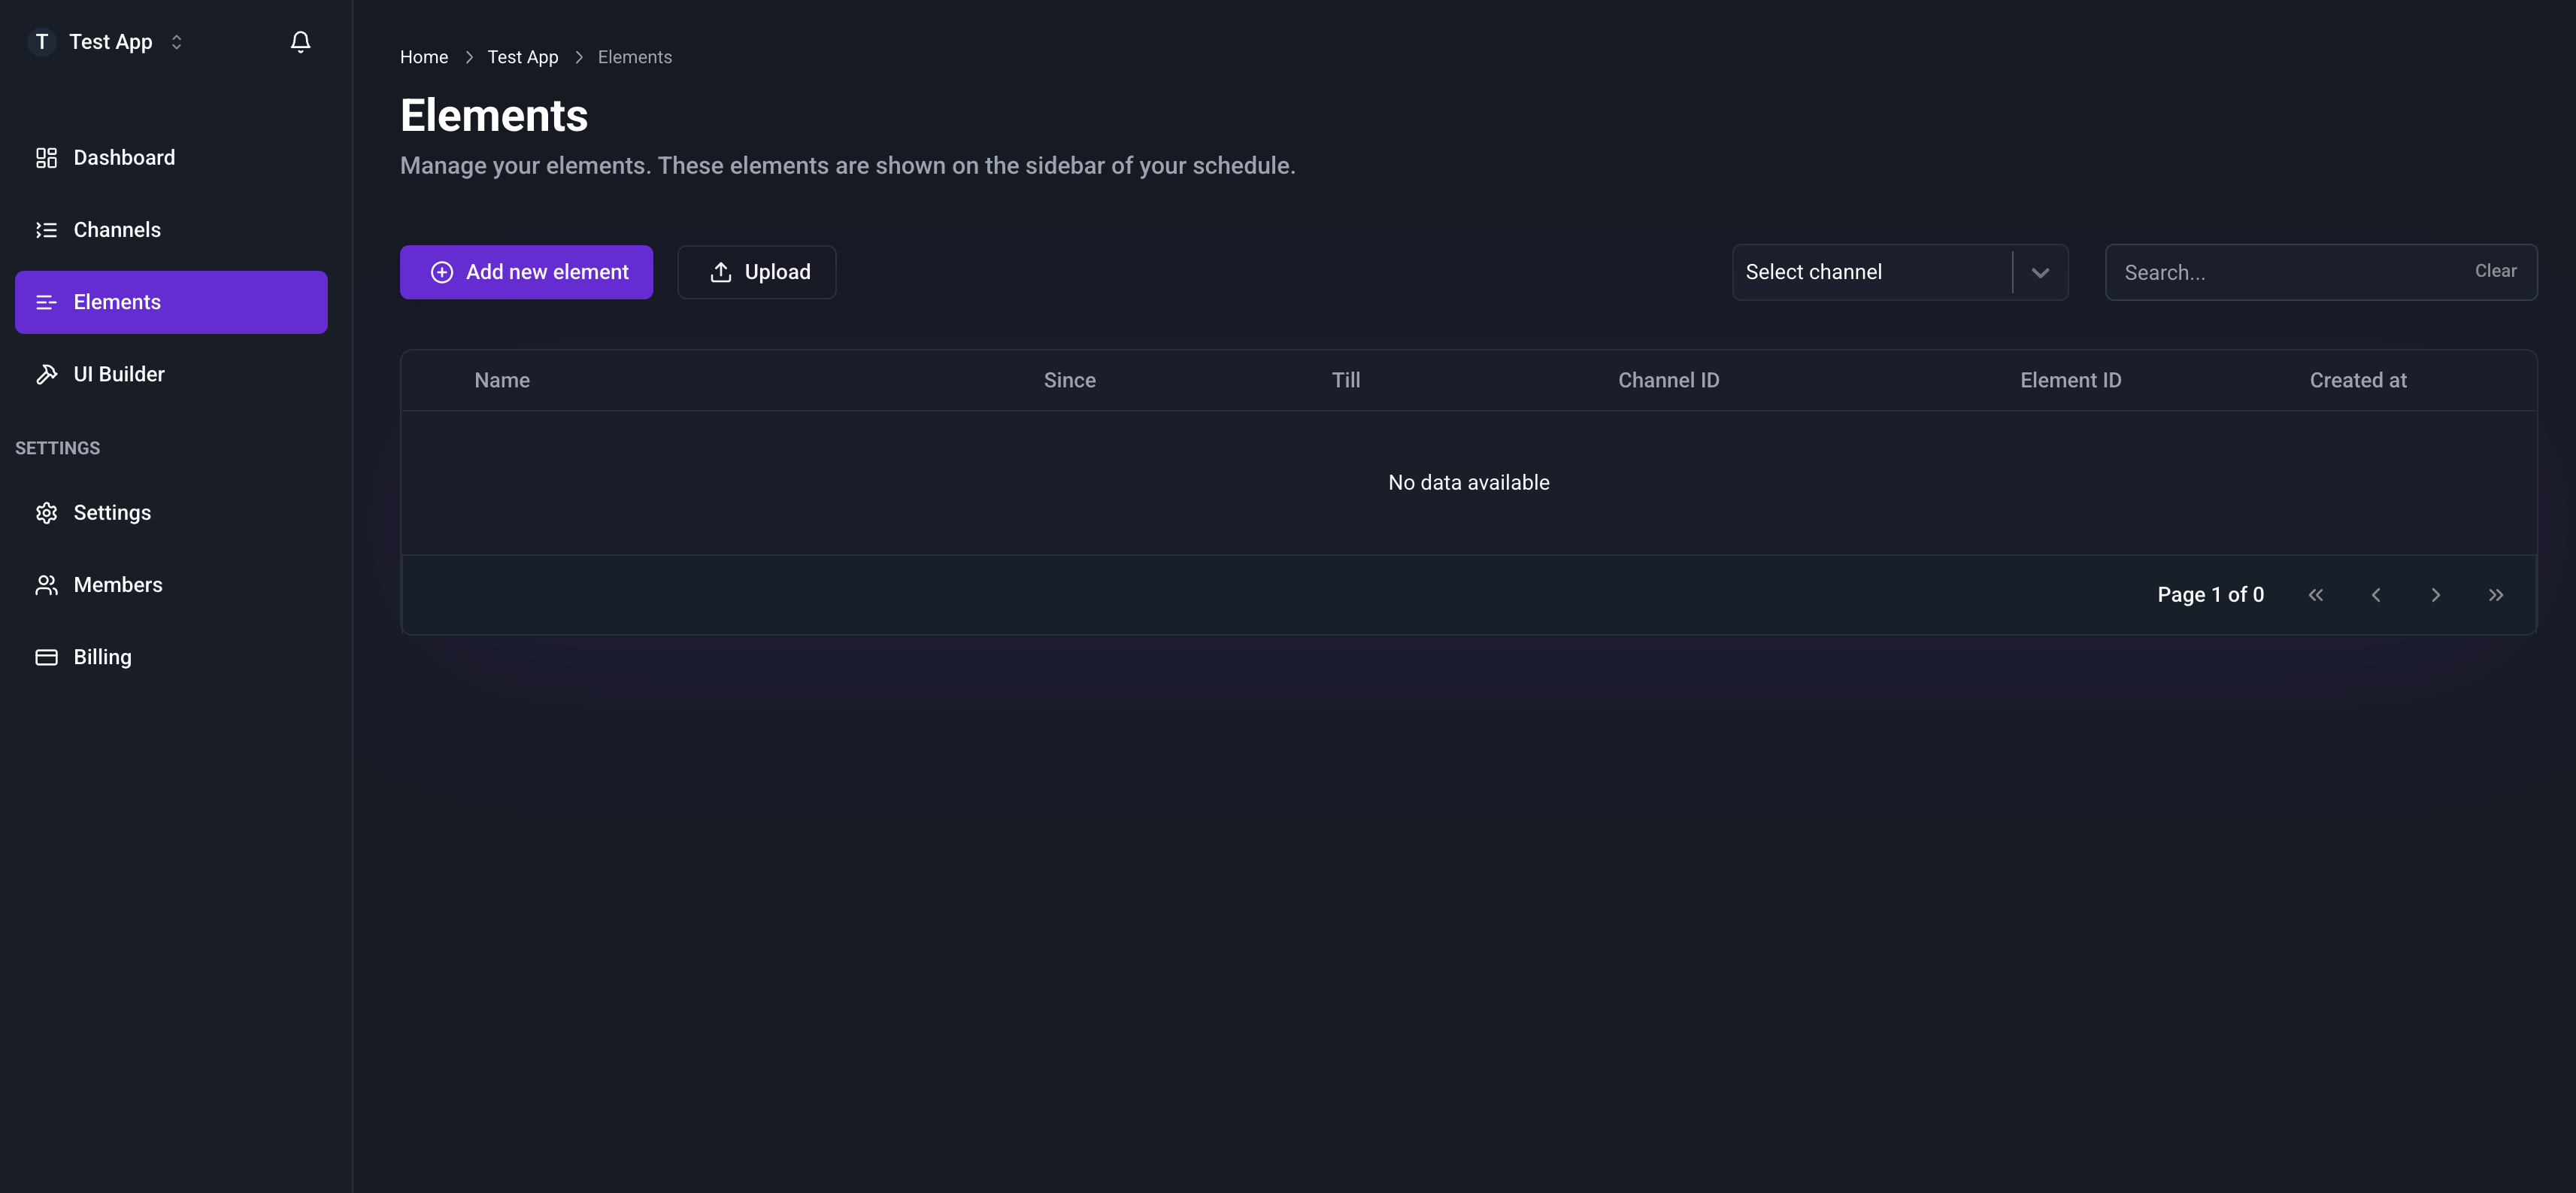
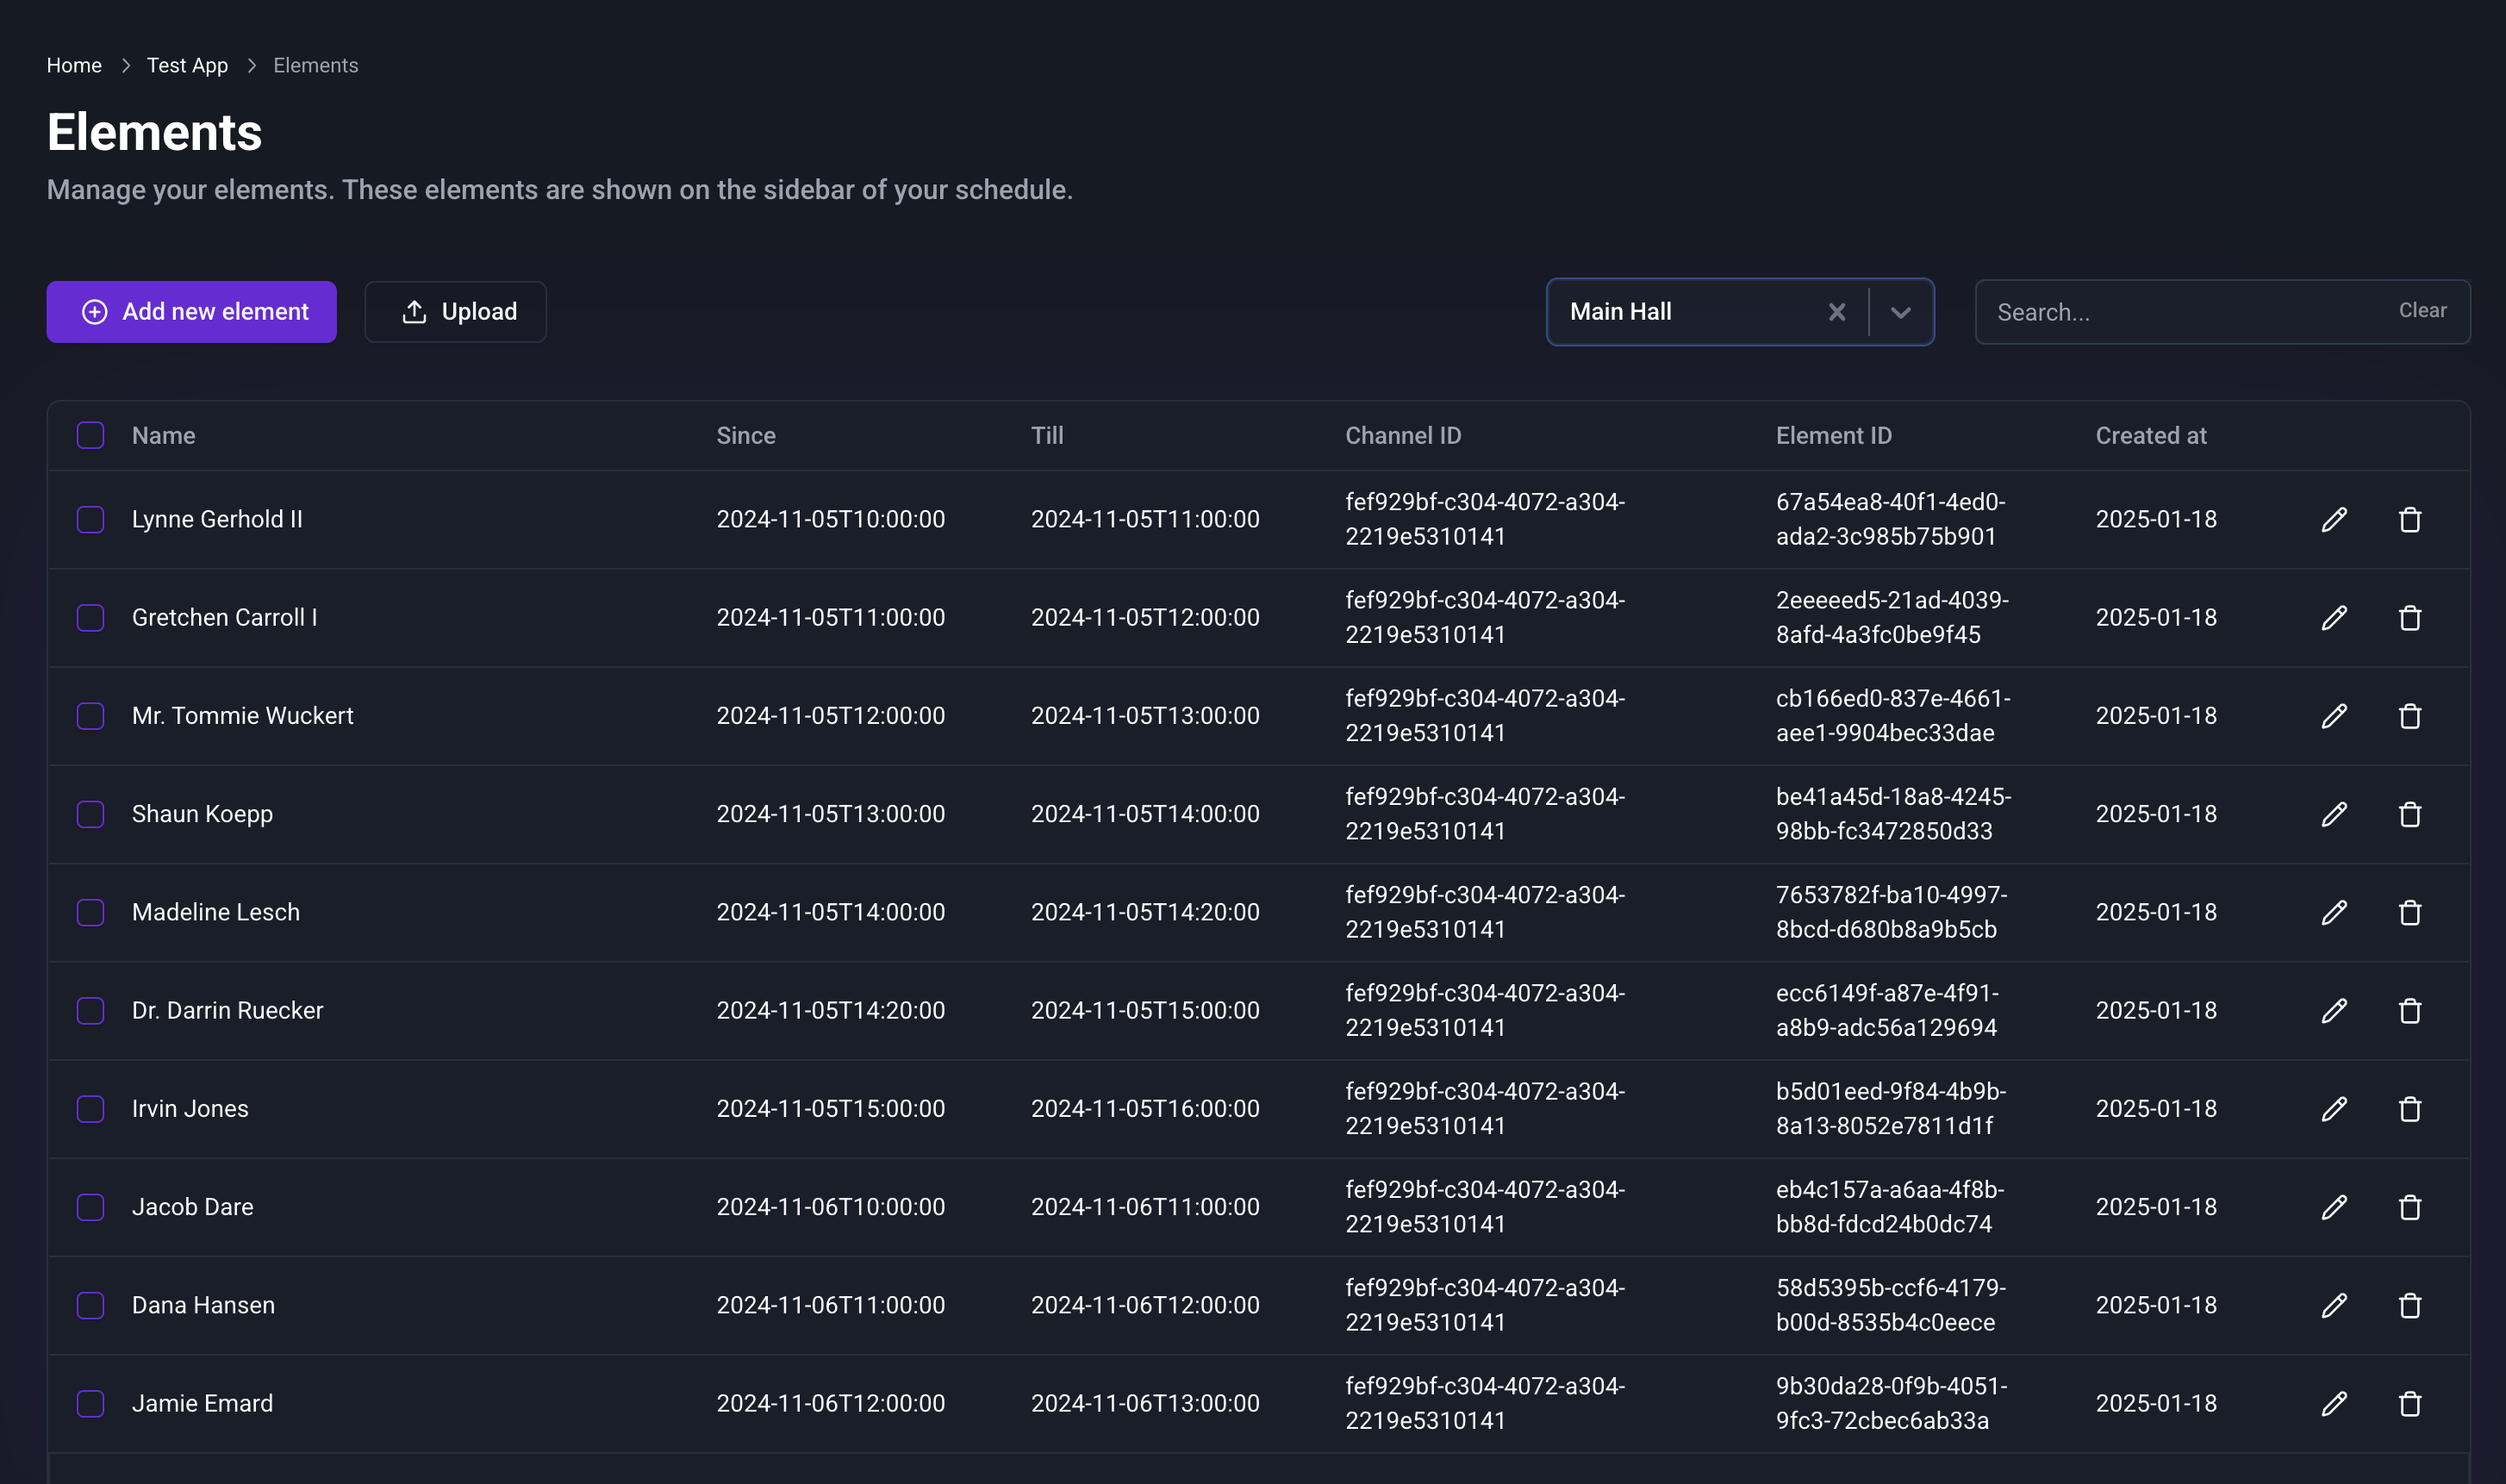
1. Go to the Elements Tab
Navigate to the Elements tab in your application workspace.
-> Link to download example elements
2. Choose a Method to Add Data
CSV Upload: Importing data via a CSV file is faster and ideal for large datasets.
Manual Entry: Perfect for entering smaller or more specific pieces of data.
-
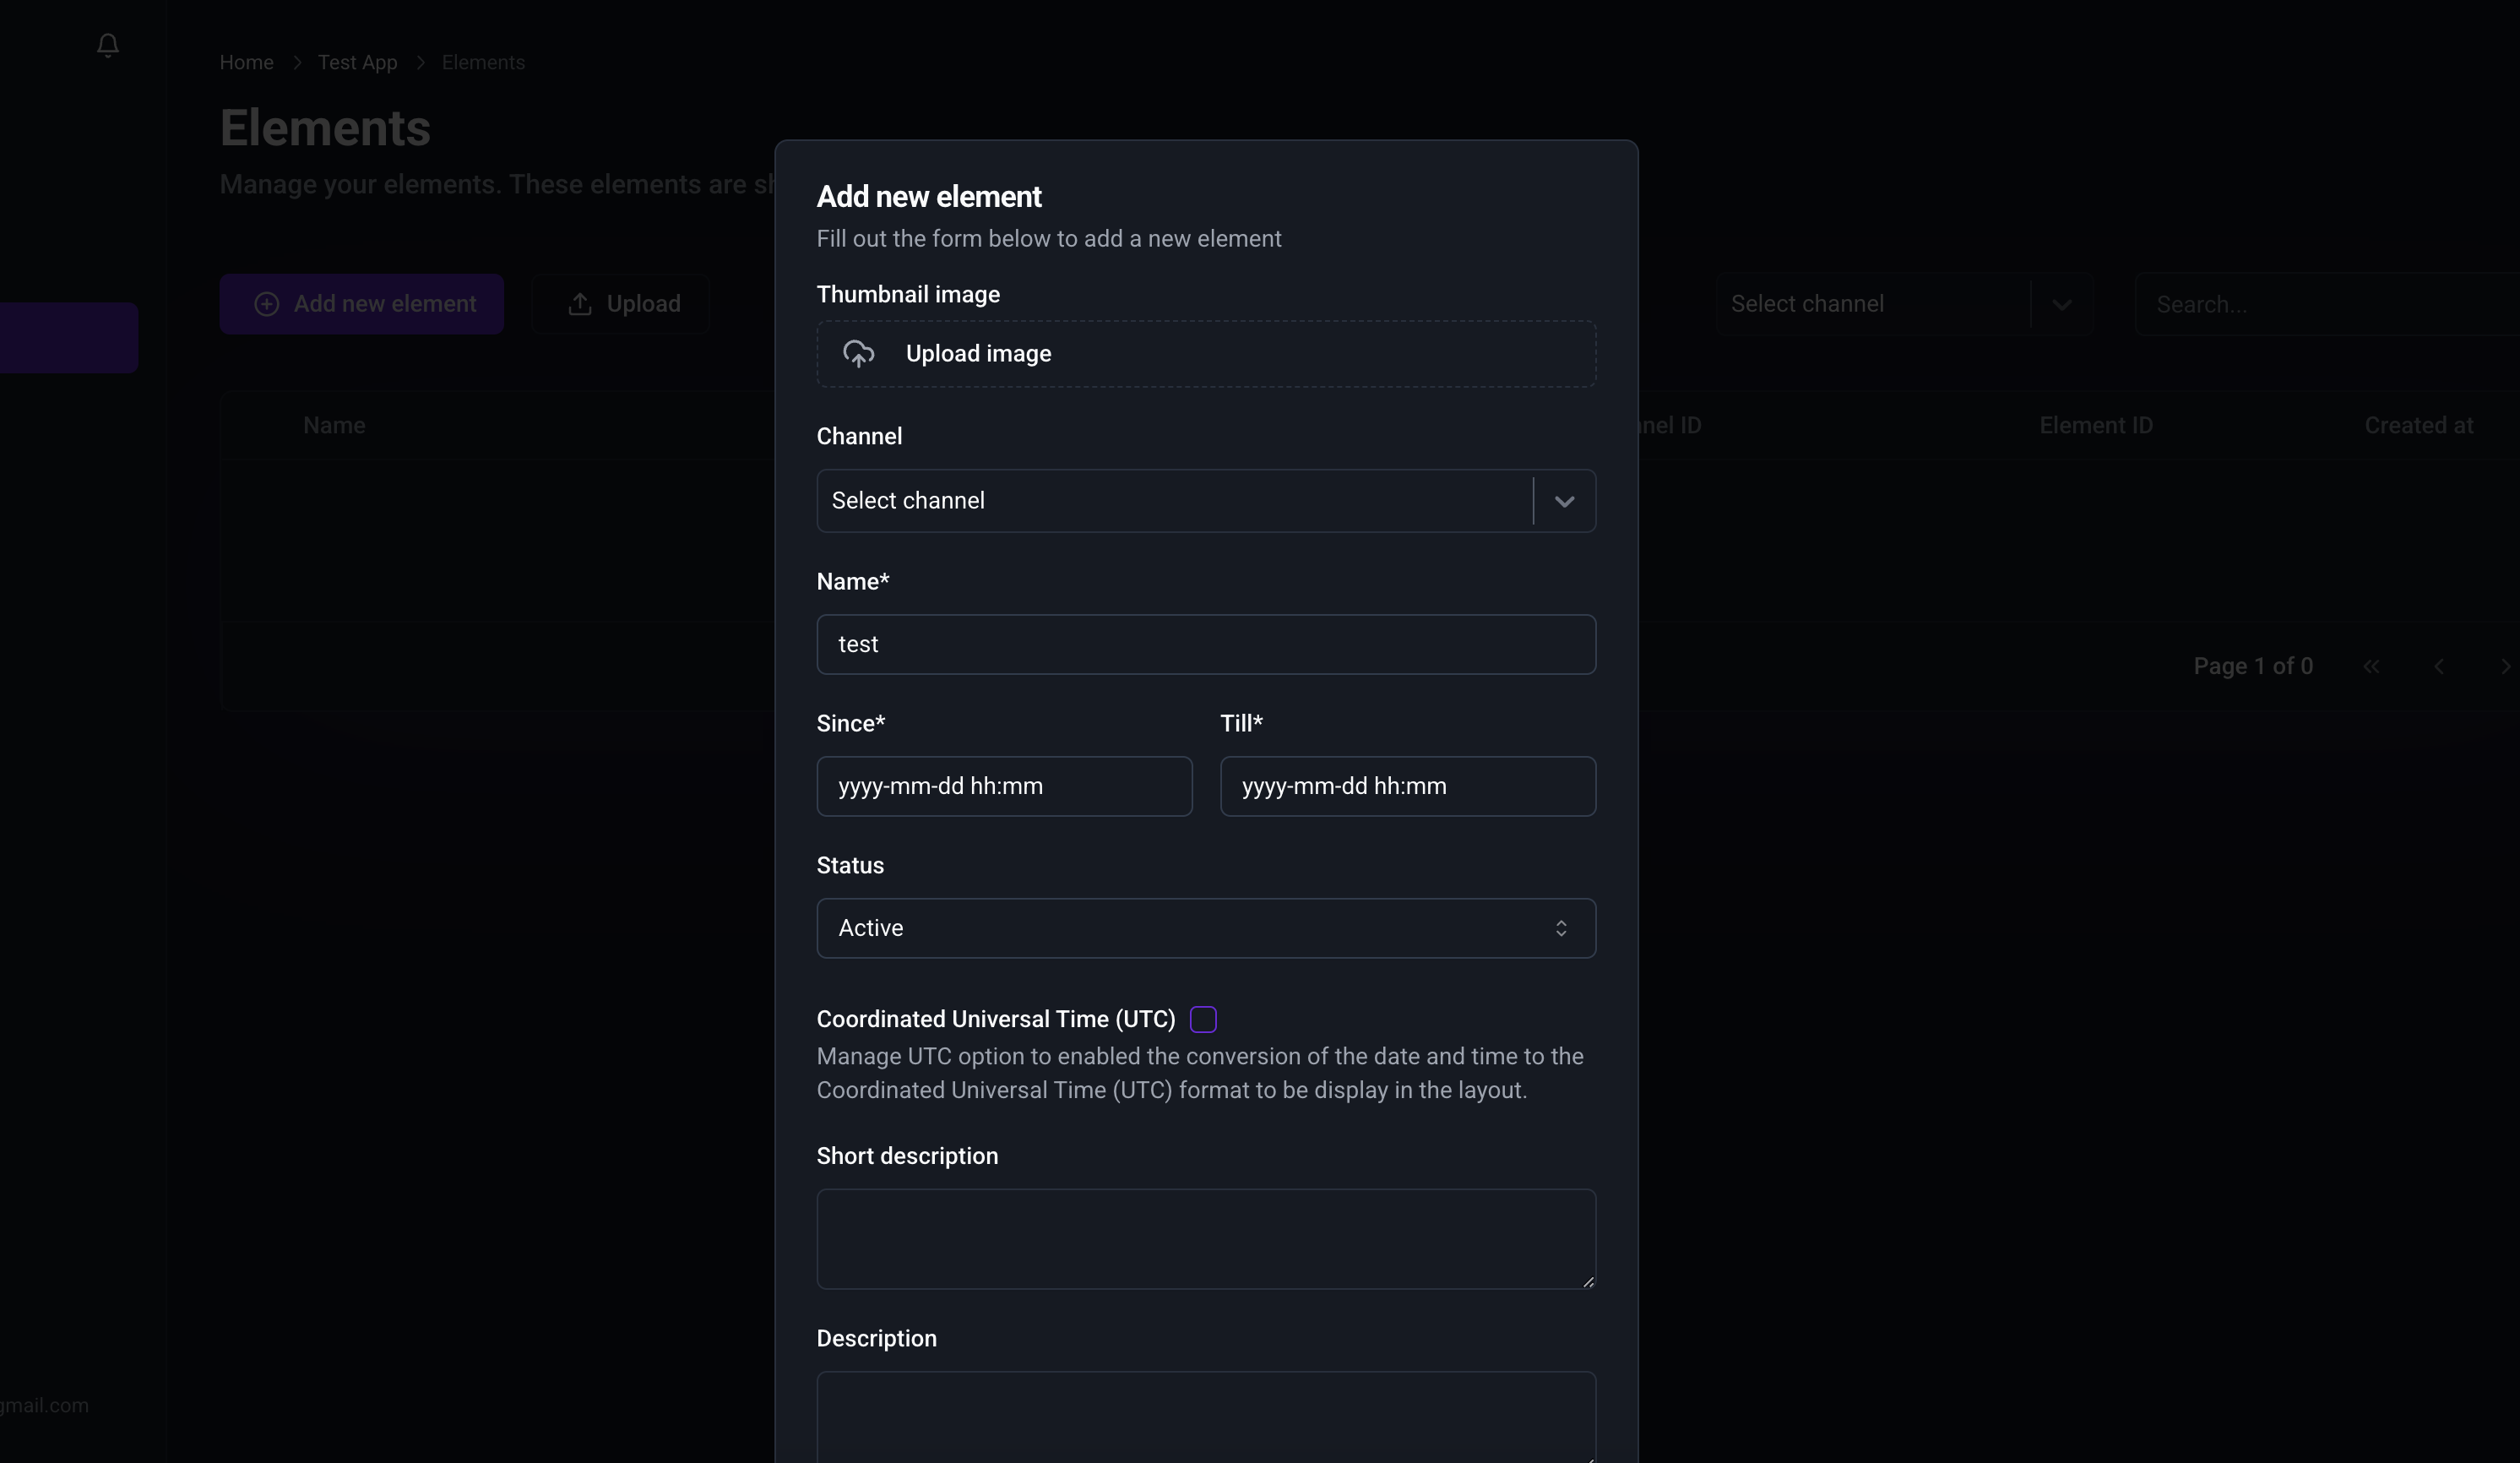
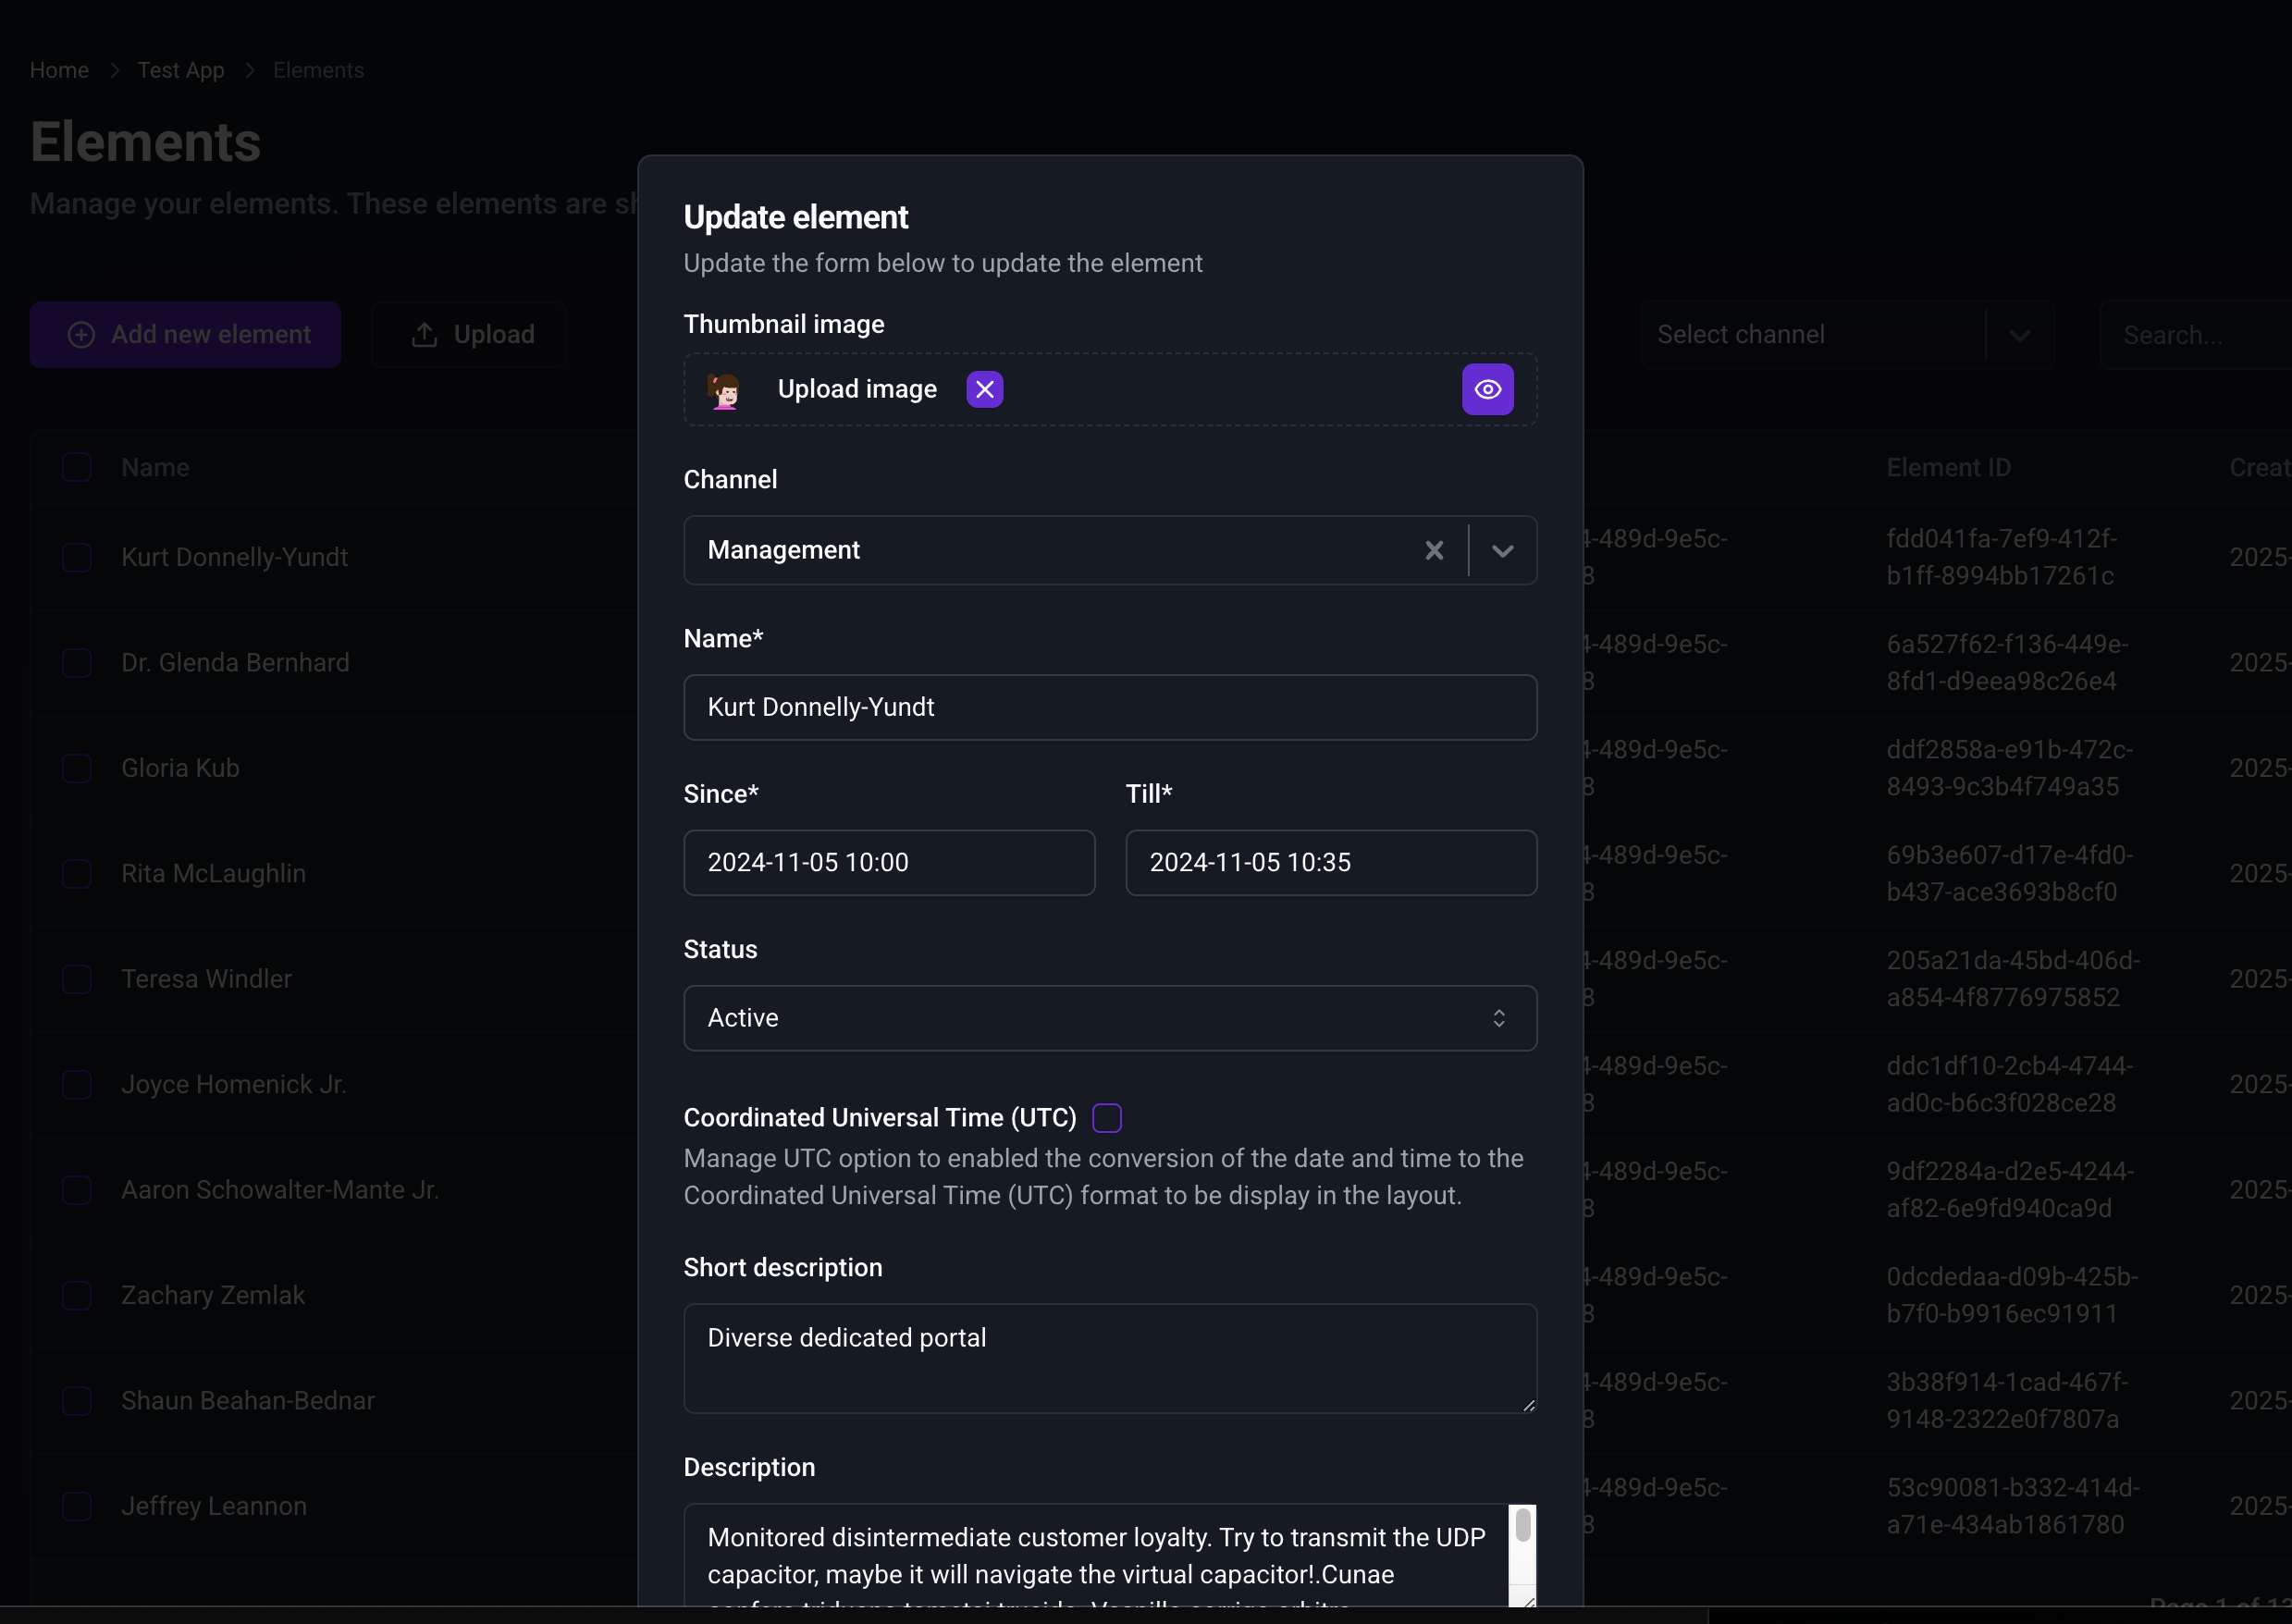
Manually Input Data: If you have specific data to add, click the "Add New" button. A modal window with a form will appear, allowing you to enter data manually.
-
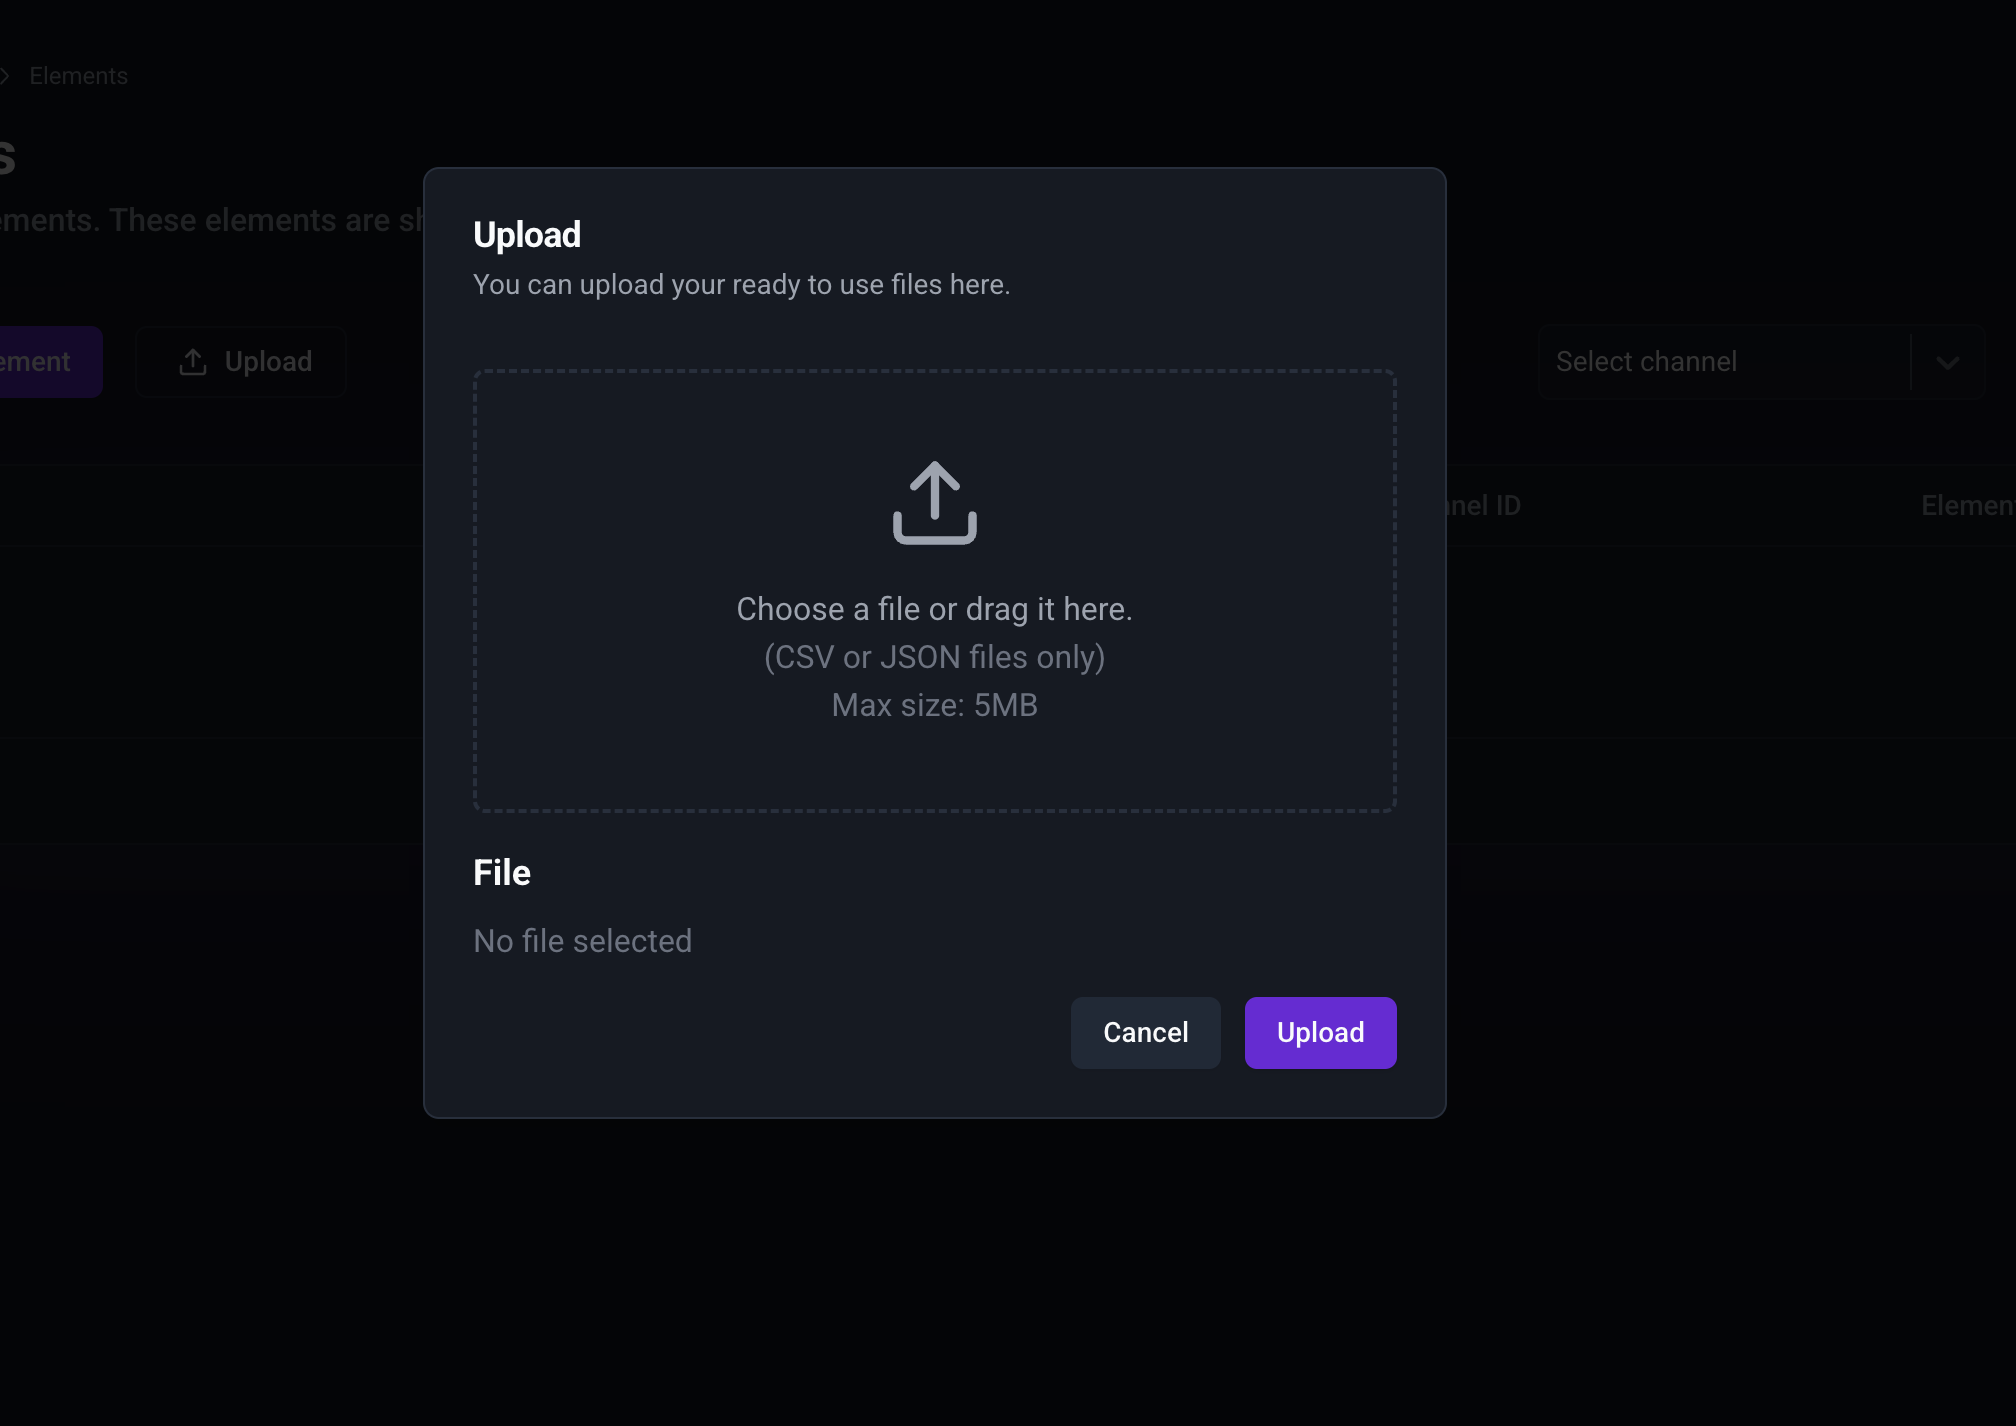
Upload Data via CSV File:
-> Link to download example elements
For larger datasets, upload a CSV file by clicking the "Upload" button.
- A file upload window will appear. Select your file (maximum size: 4 MB).
- If needed, you can download a sample CSV file from this link to ensure proper formatting.
3. Confirm Data Upload
- Once you upload the file or submit the manual form, your data will be added and displayed in the data table.
- Uploaded data will be visible in a table format for easy viewing and management.
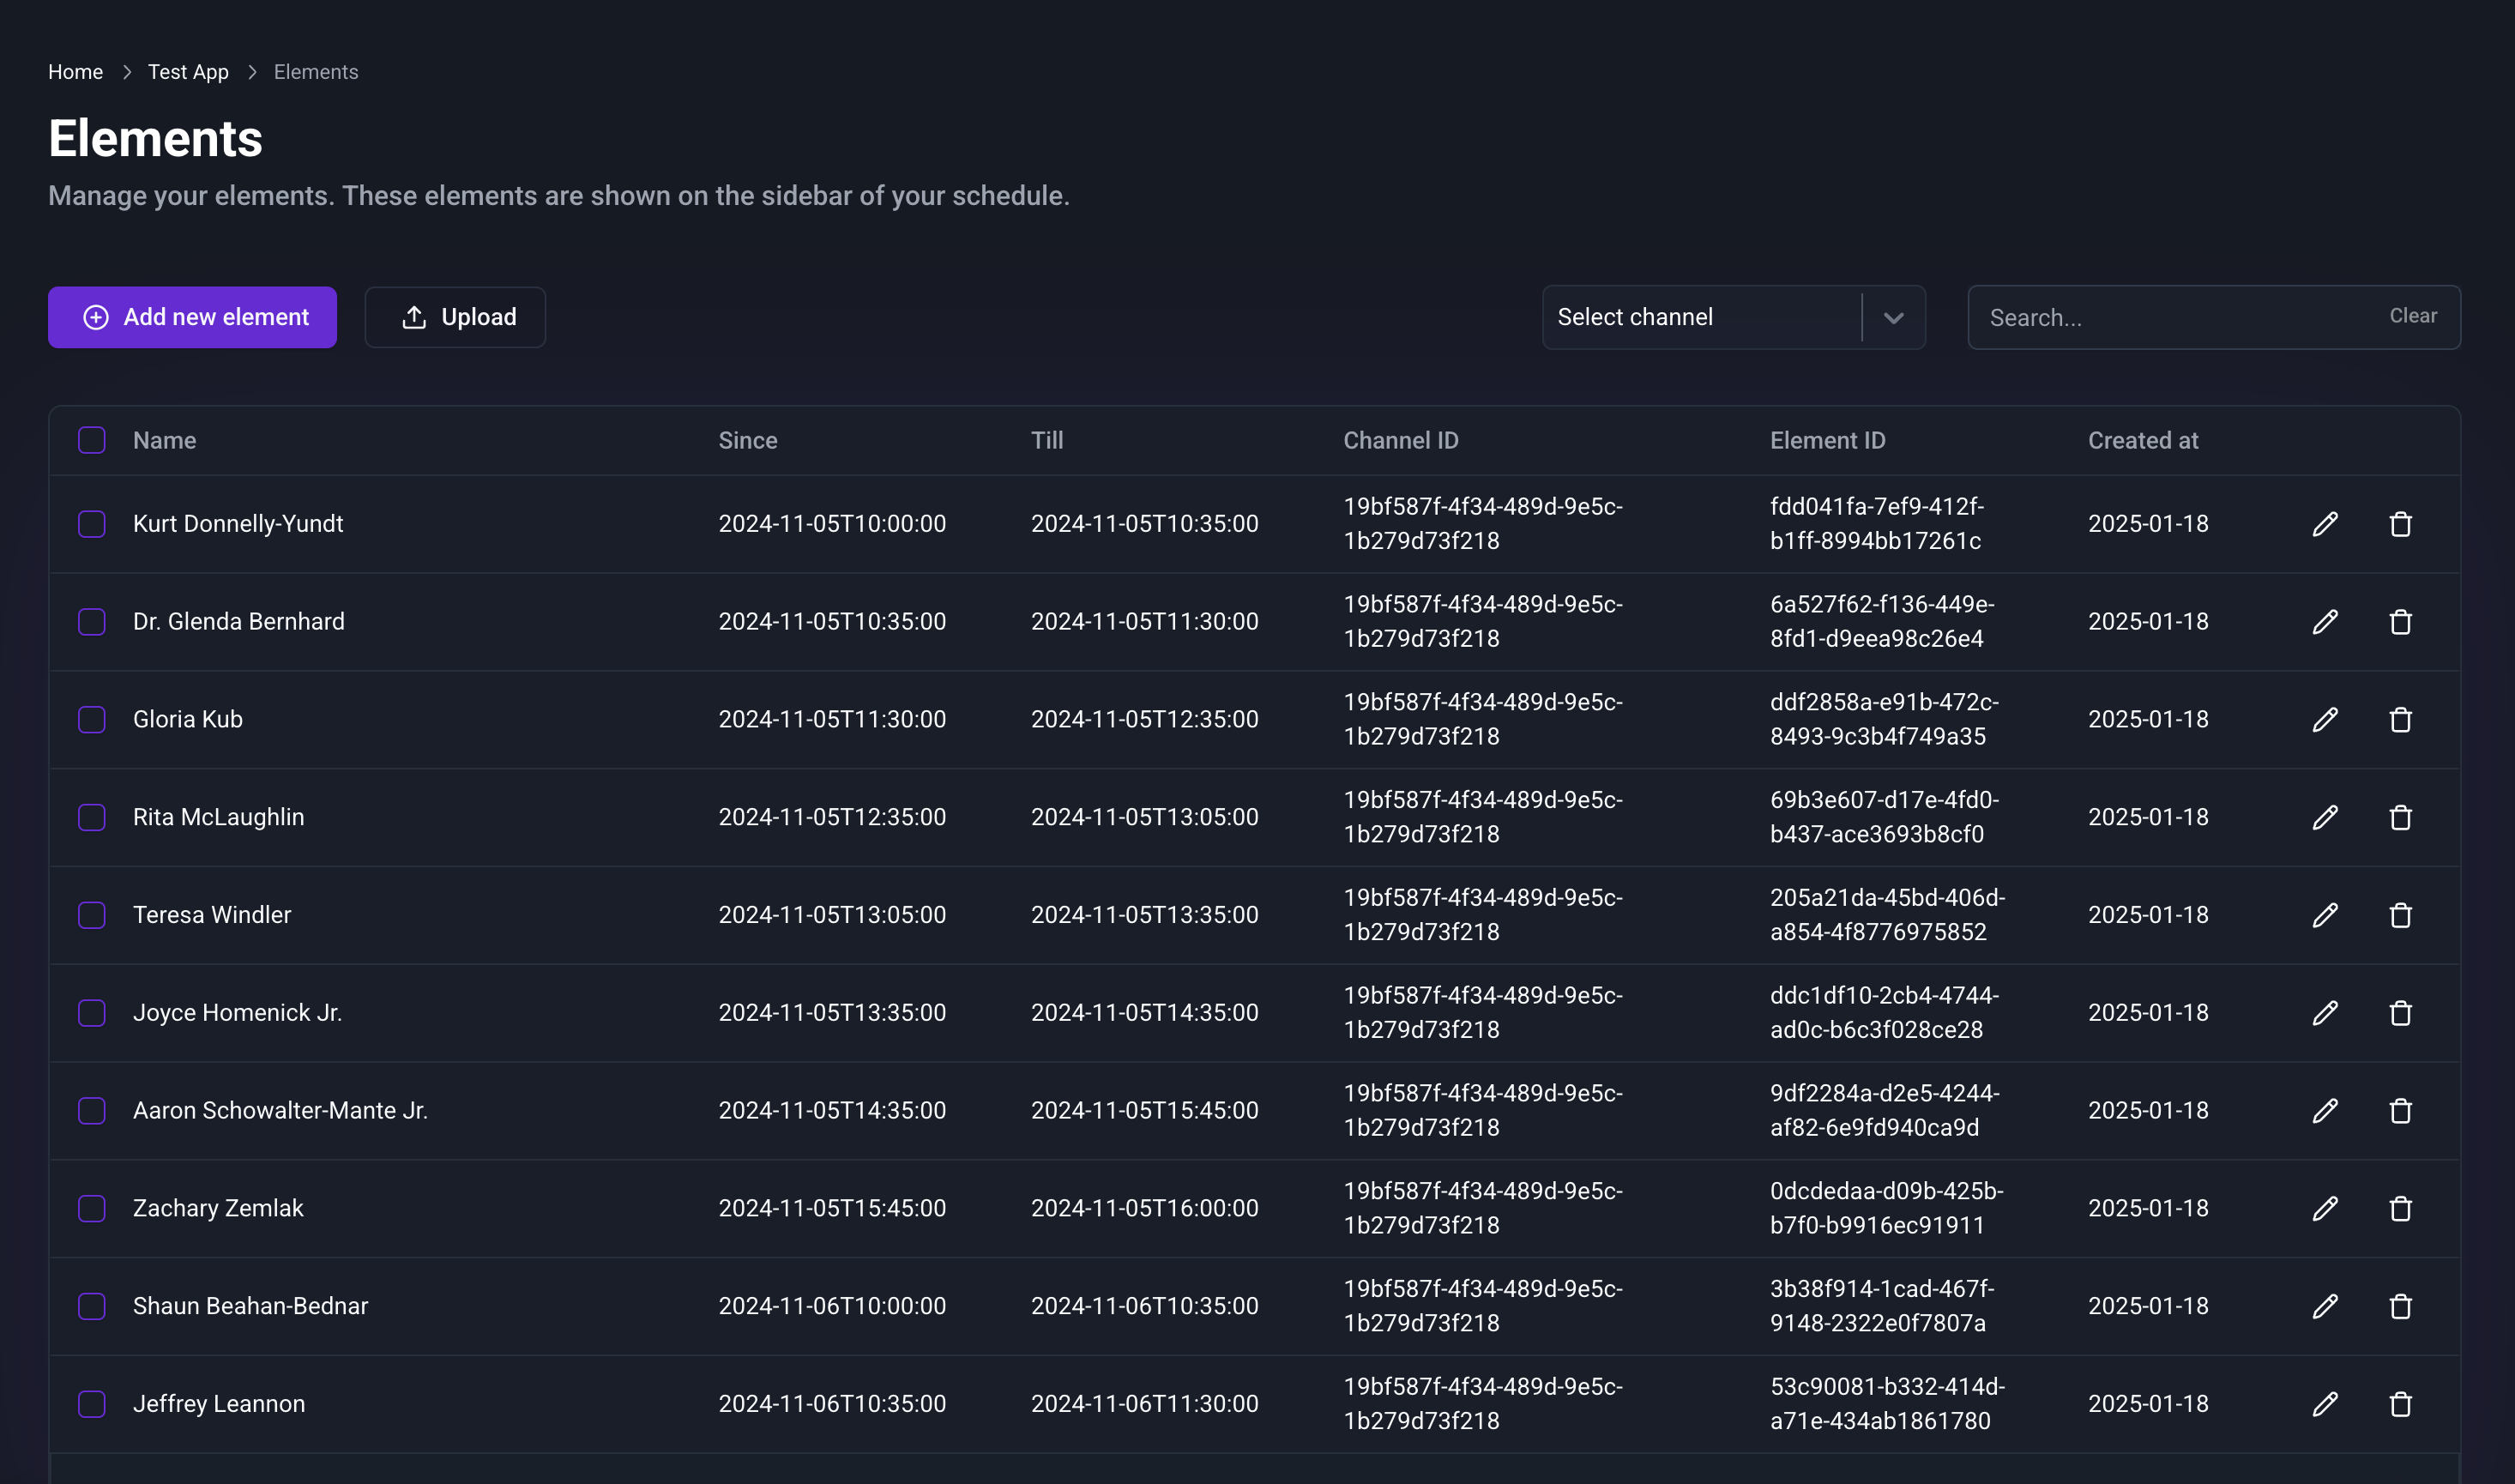
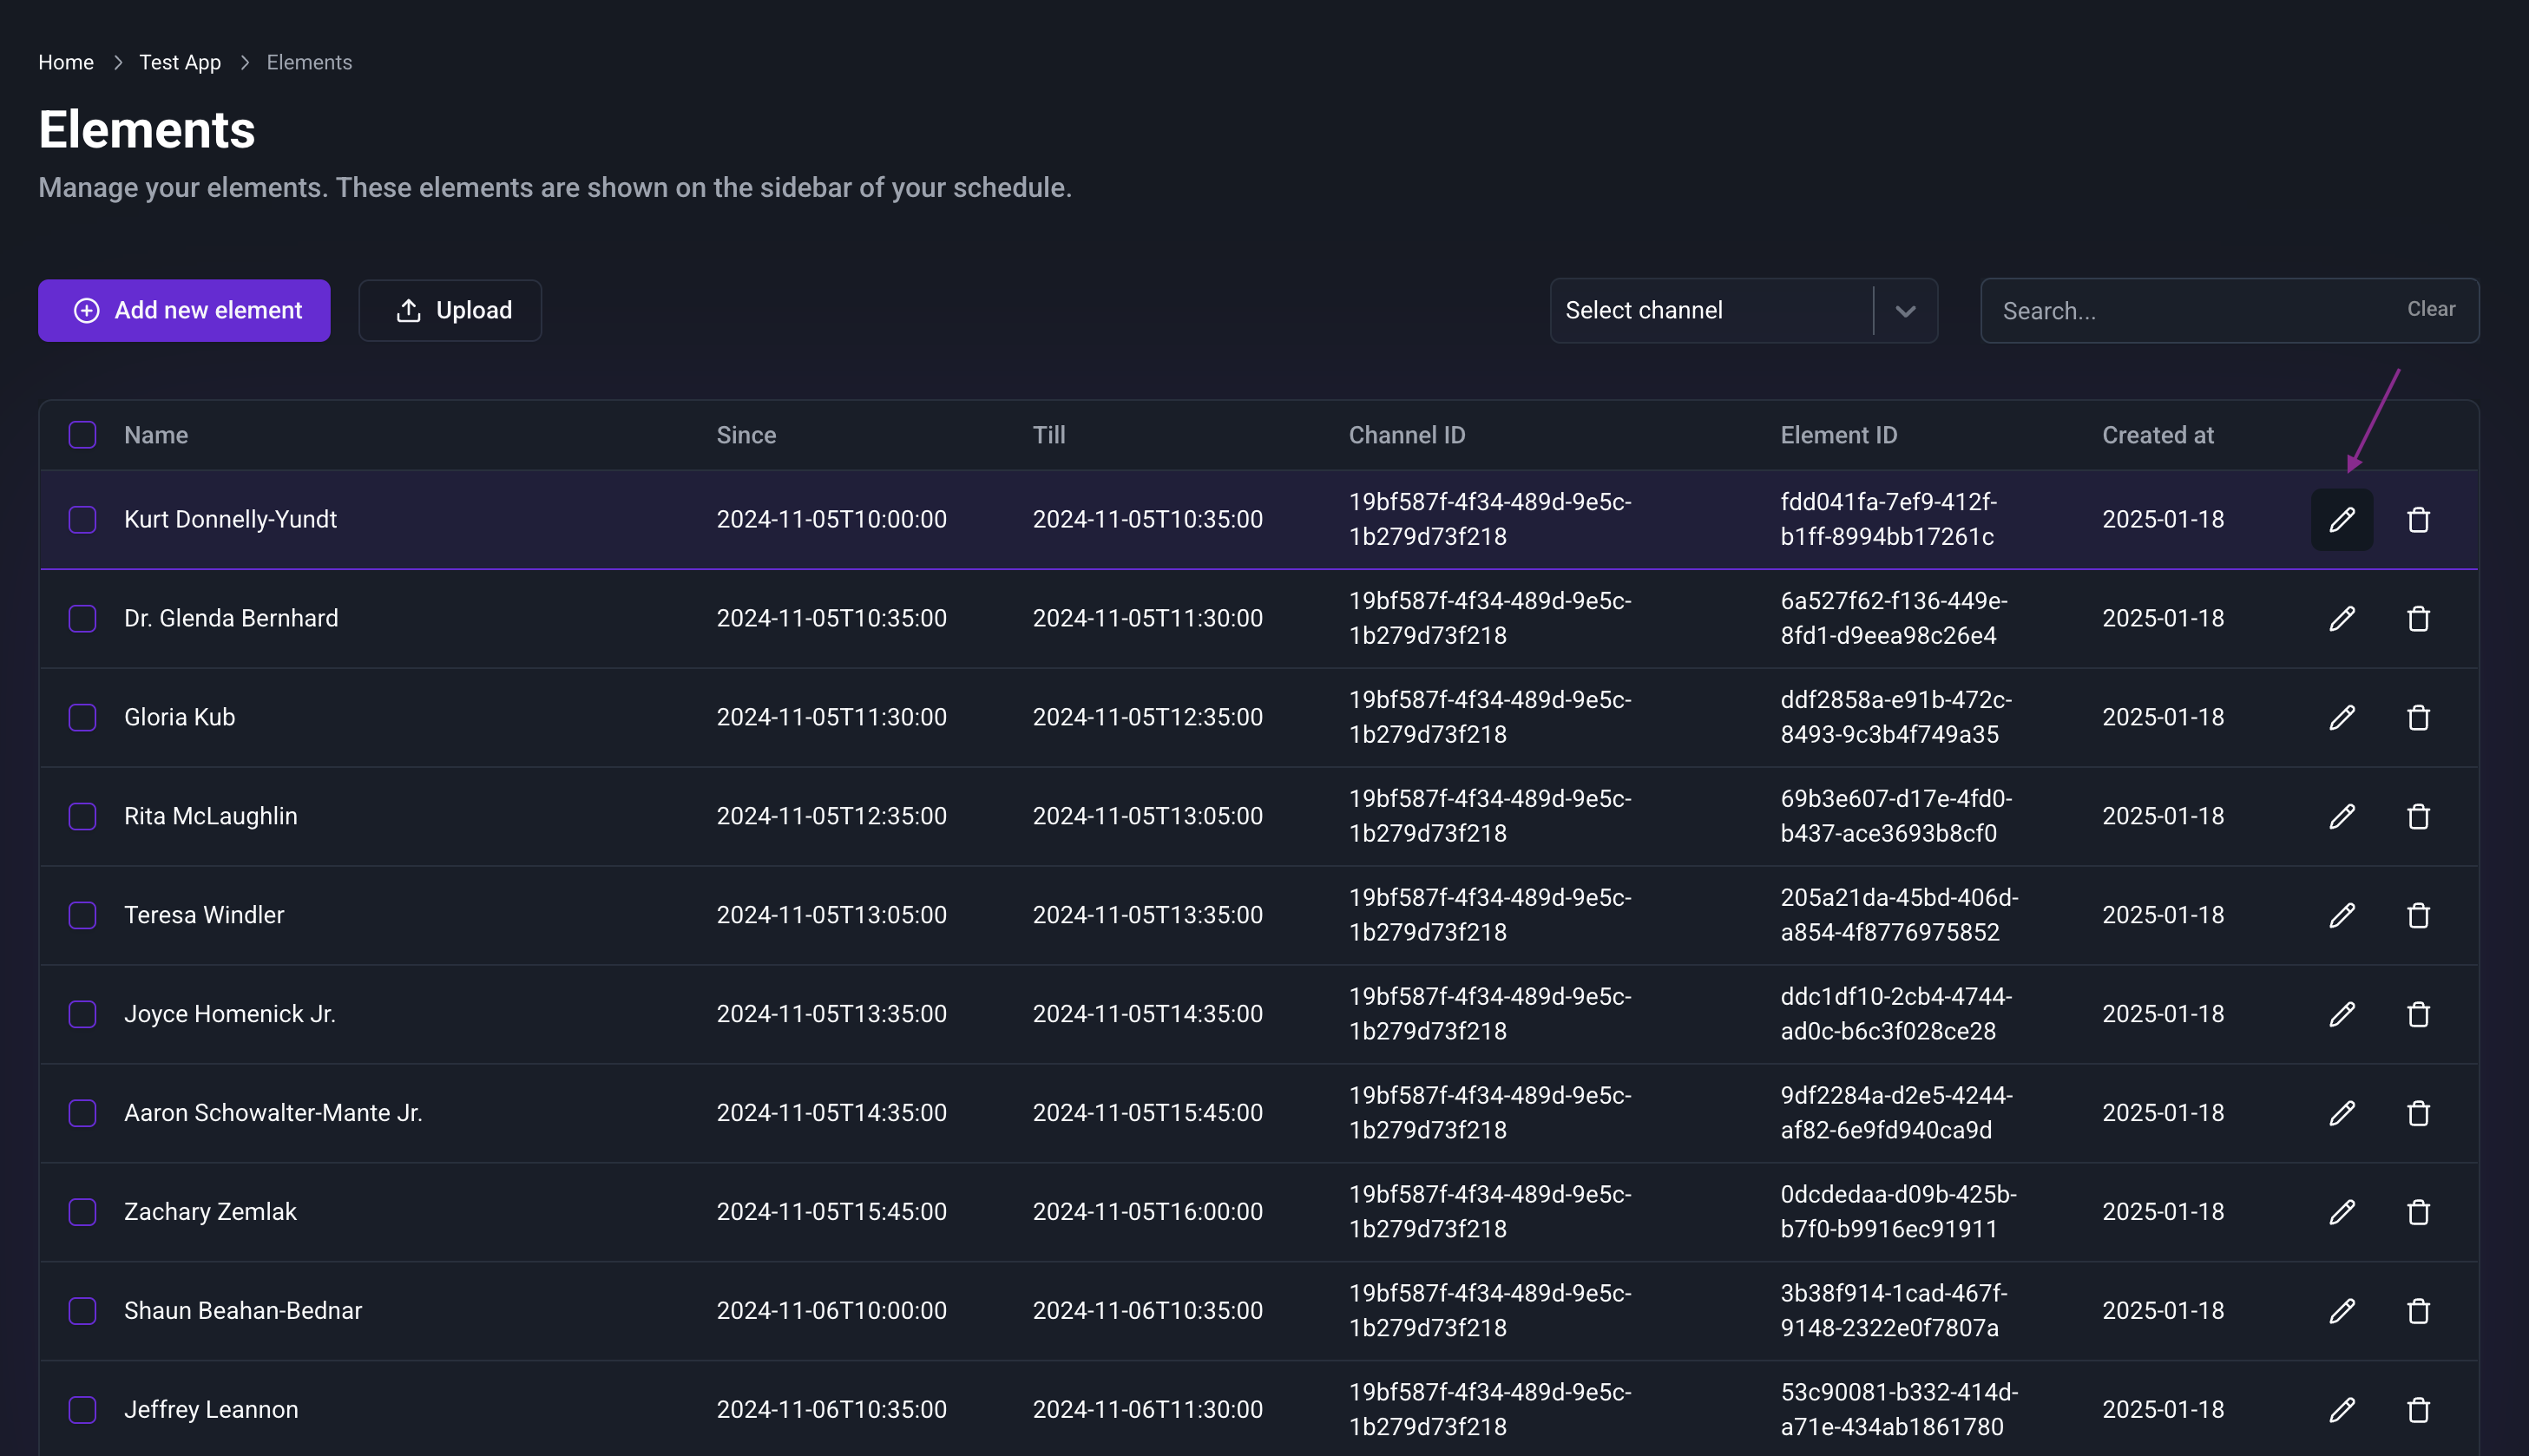
4. Manage Your Data
-
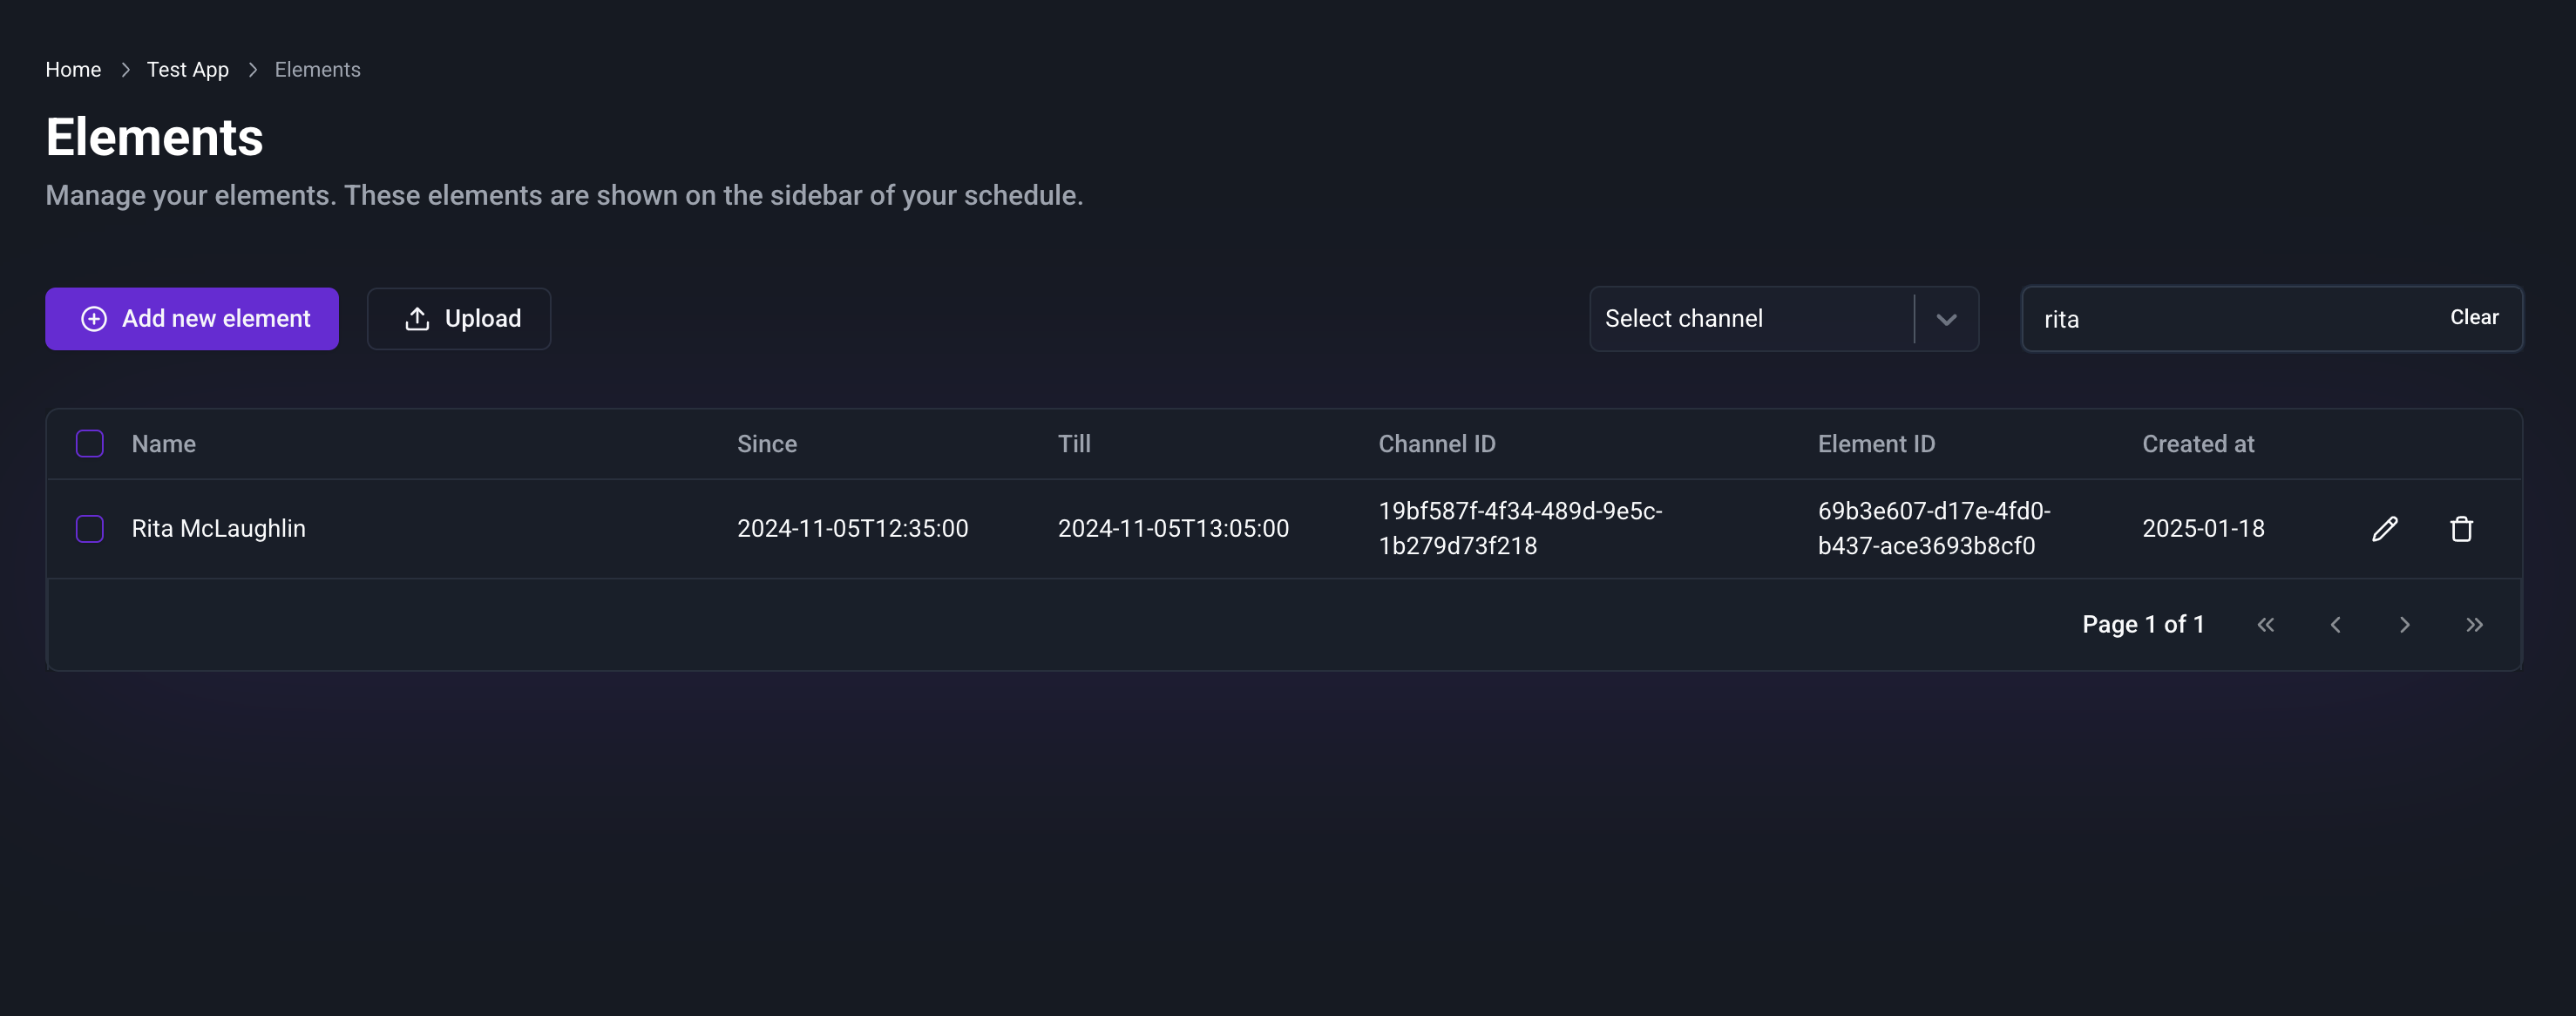
Use the search bar to quickly find specific entries.
-
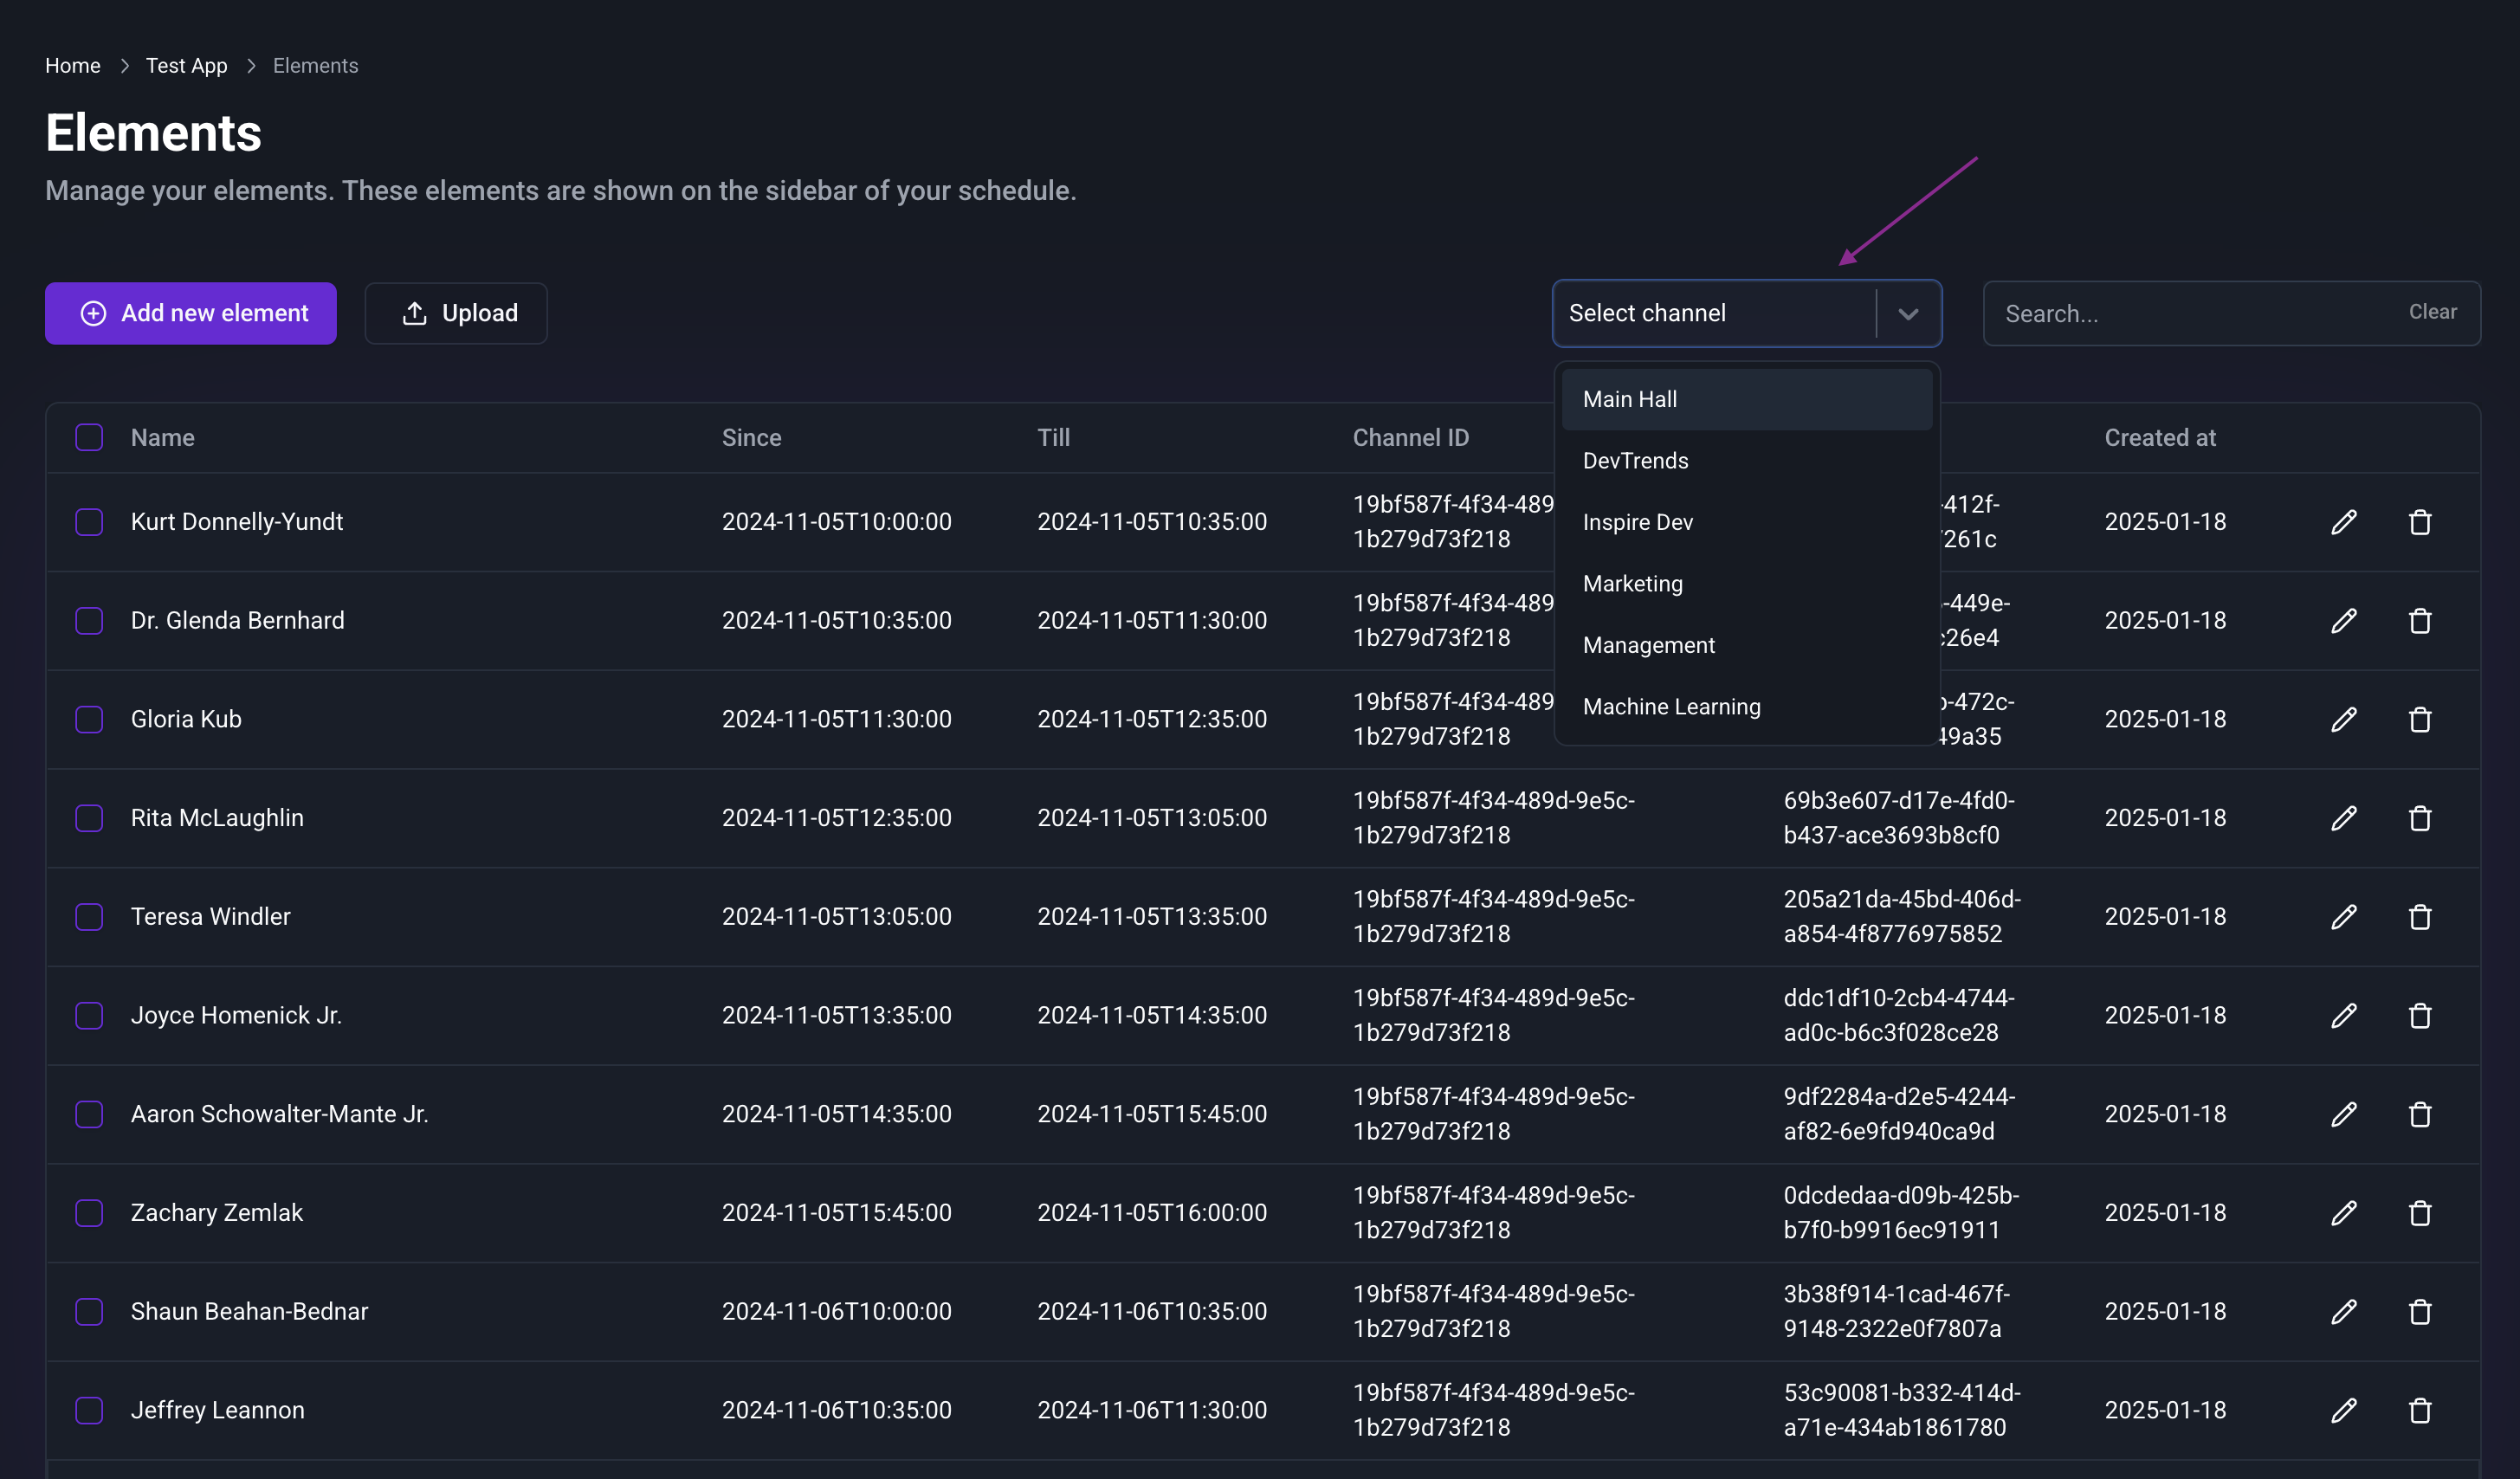
Use the filter option to search for specific data based on the channel.
-
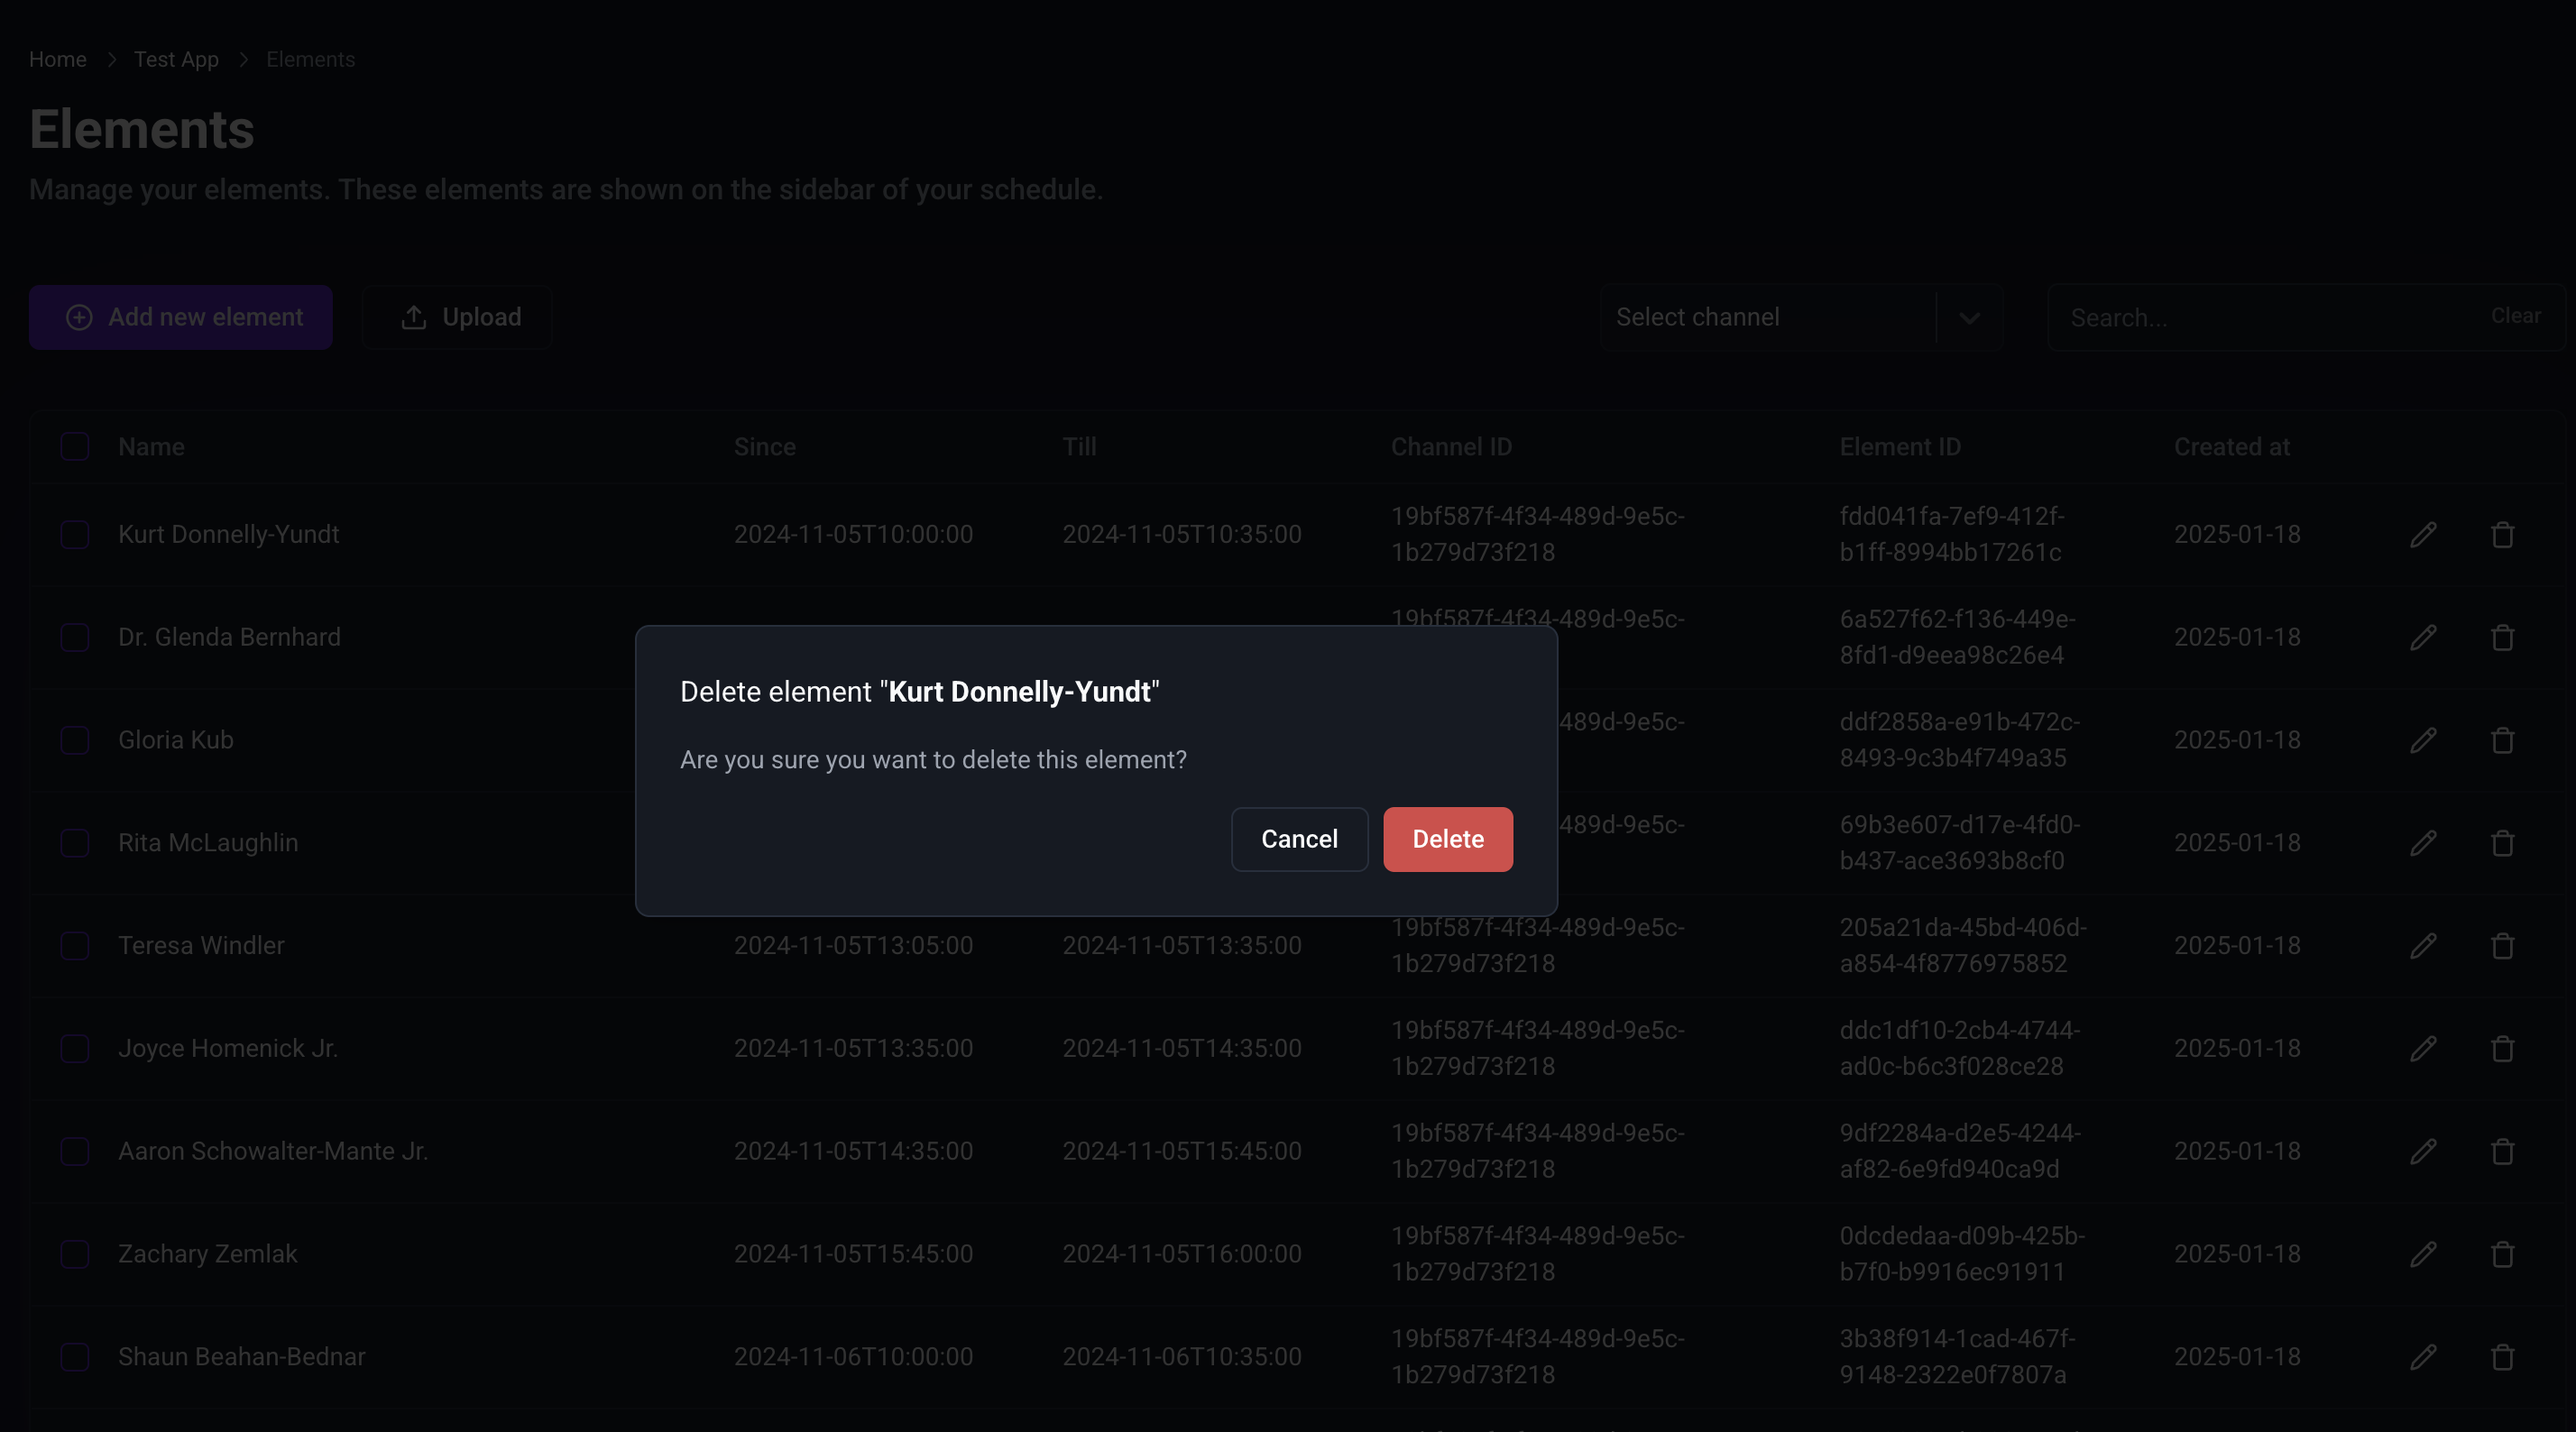
Edit data directly from the table as needed by selecting the appropriate options.
- Delete data directly from the table as needed by selecting the appropriate options.