6. Use the Builder
Follow these steps to start building and customizing your application:
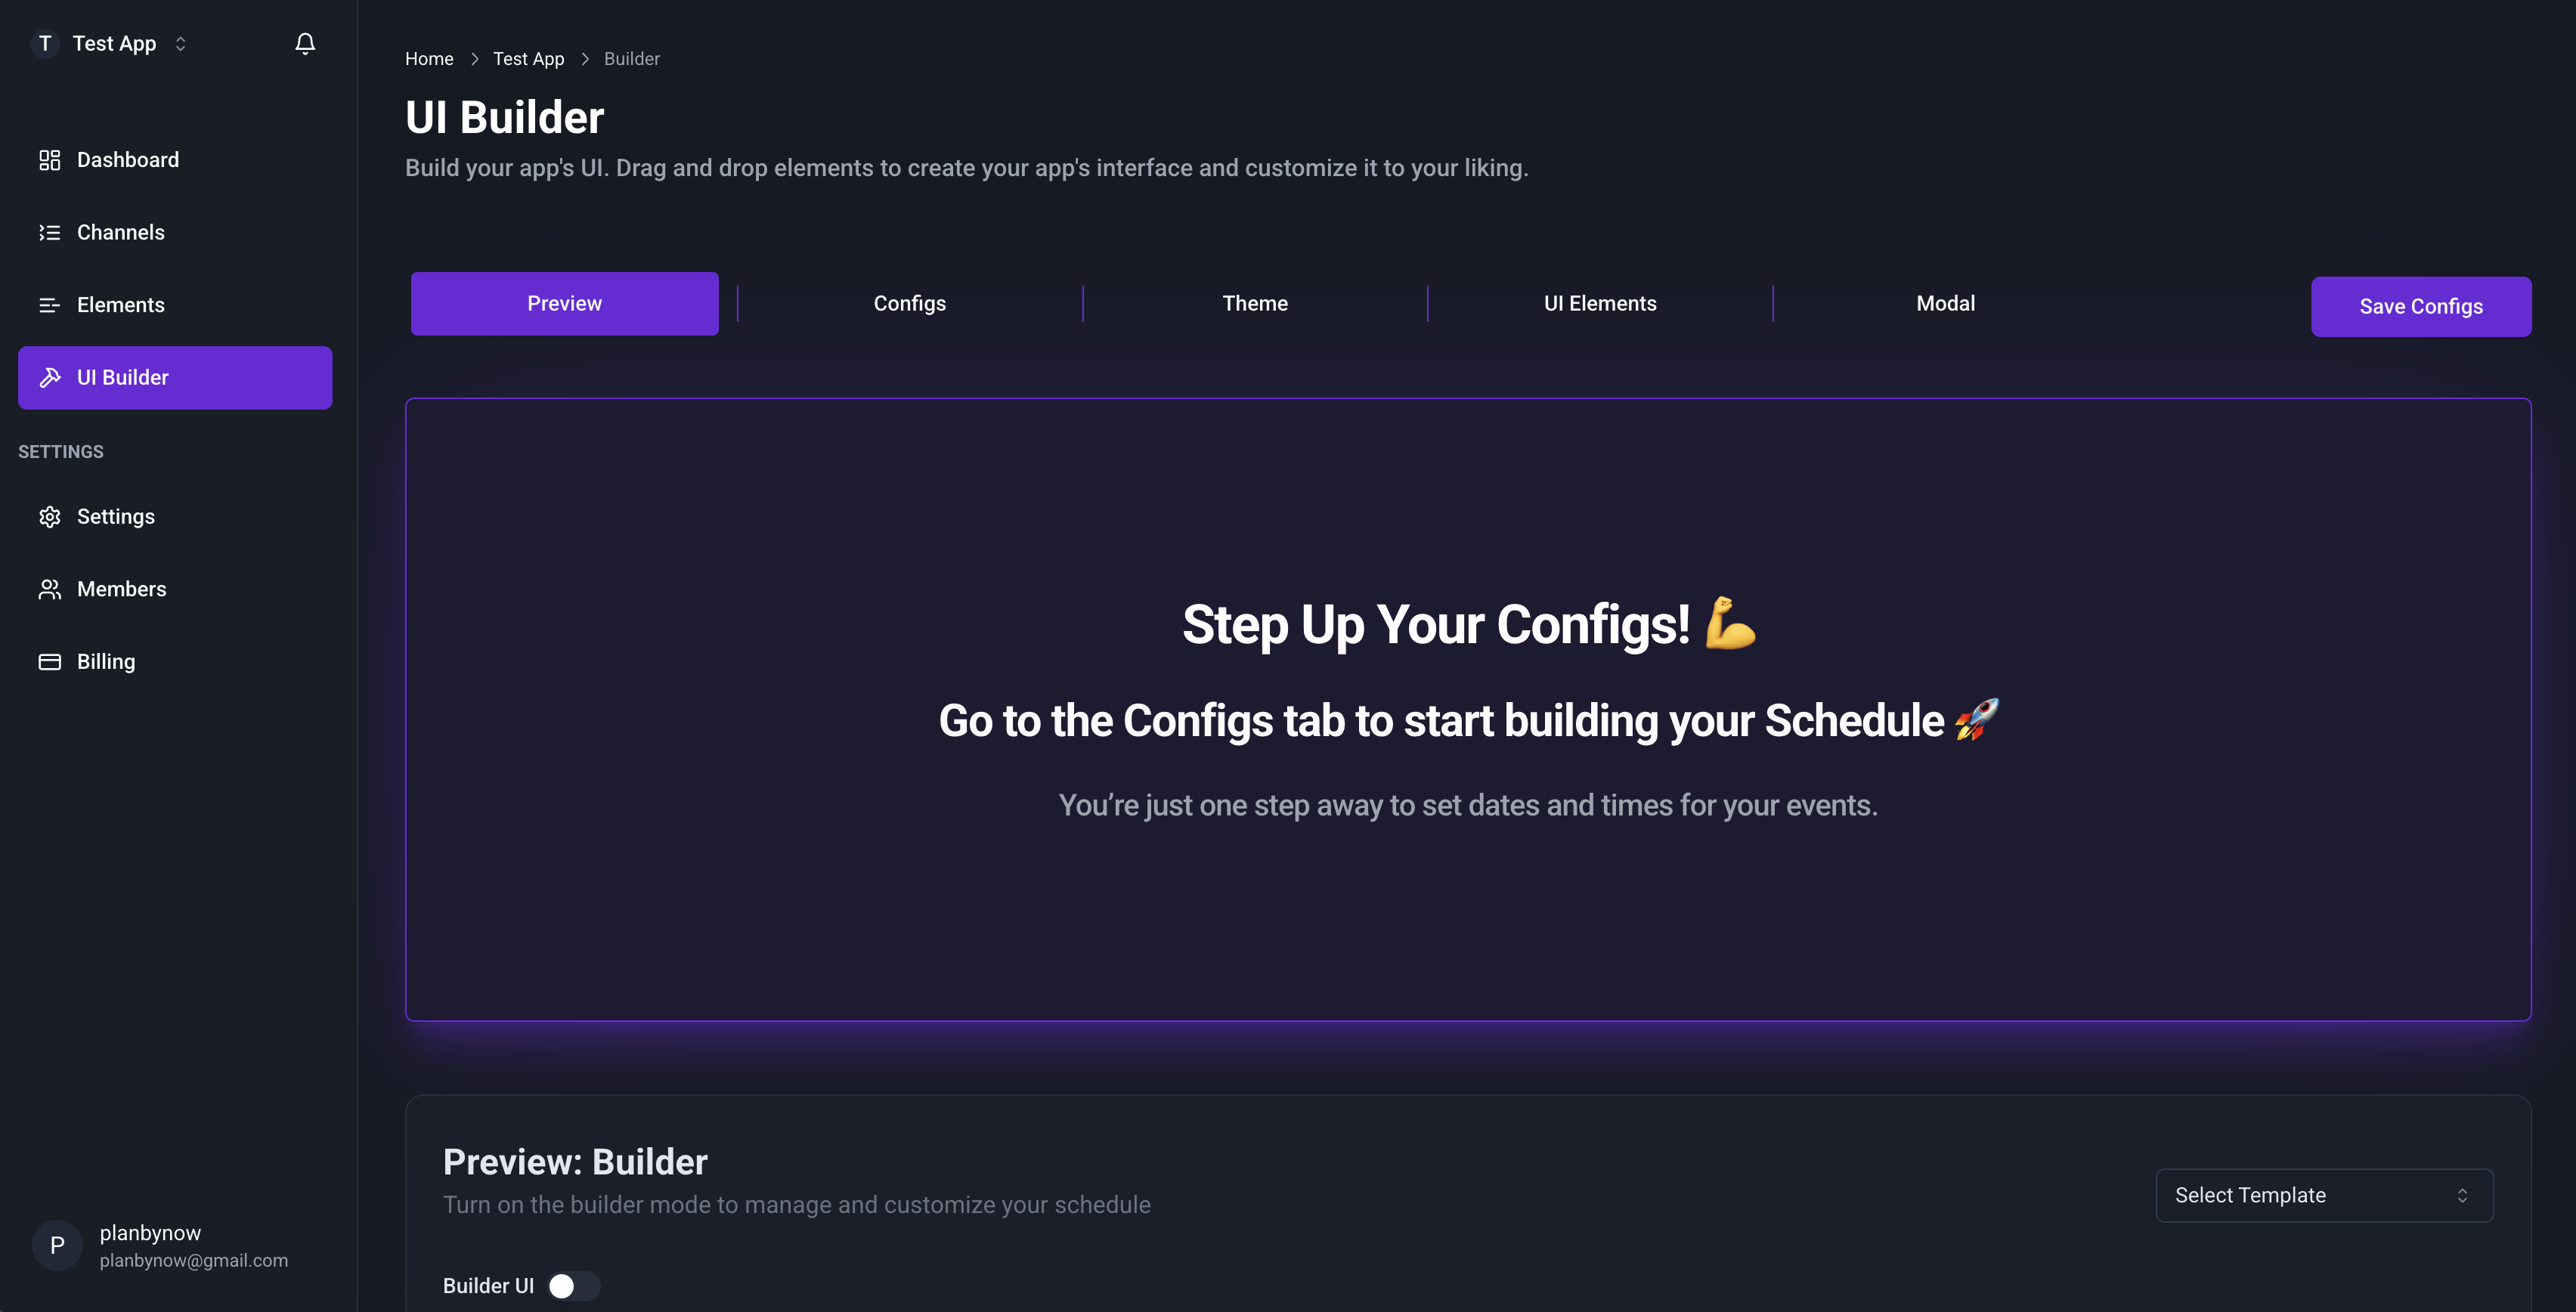
1. Go to the Builder Tab
Navigate to the Builder tab in your application workspace.
![]()
2. Set Initial Configurations
- When you first access the Builder, you’ll see an informational notification prompting you to configure your application’s initial data.
- Go to the "Configs" tab and add the required dates:
- Start Date
- End Date
![]()
- Once you’ve entered the dates, your application will be initialized.
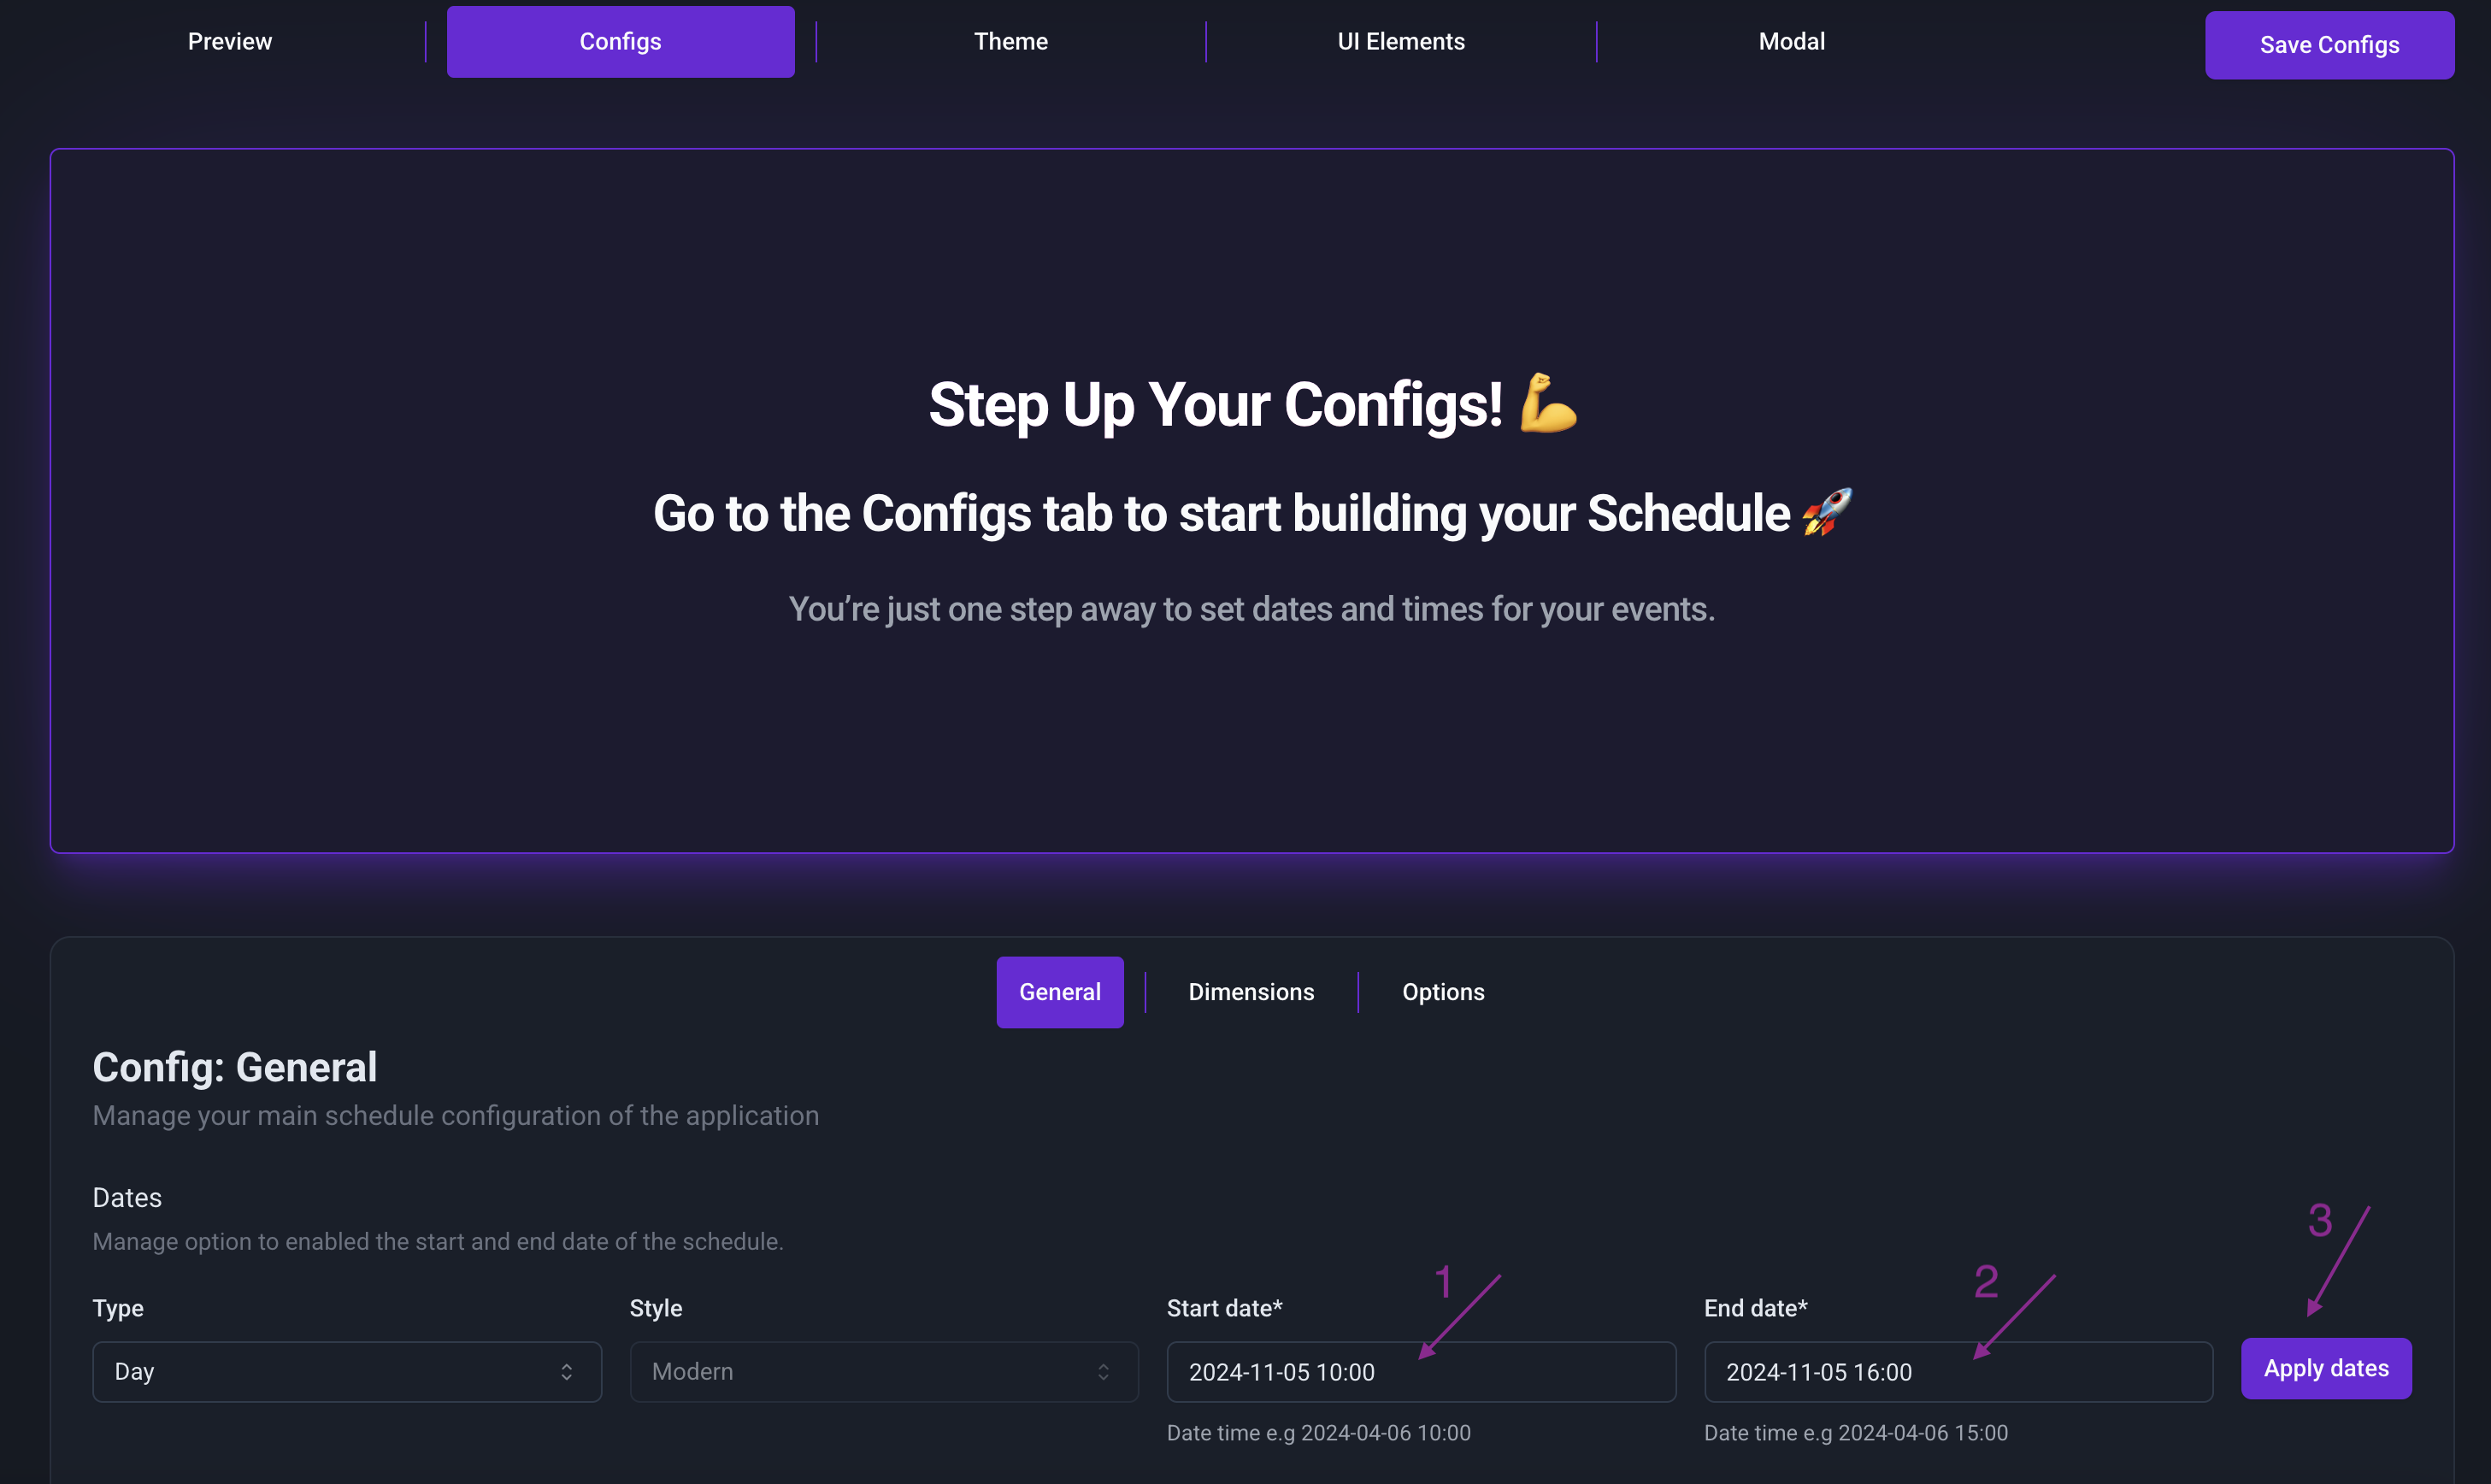
-
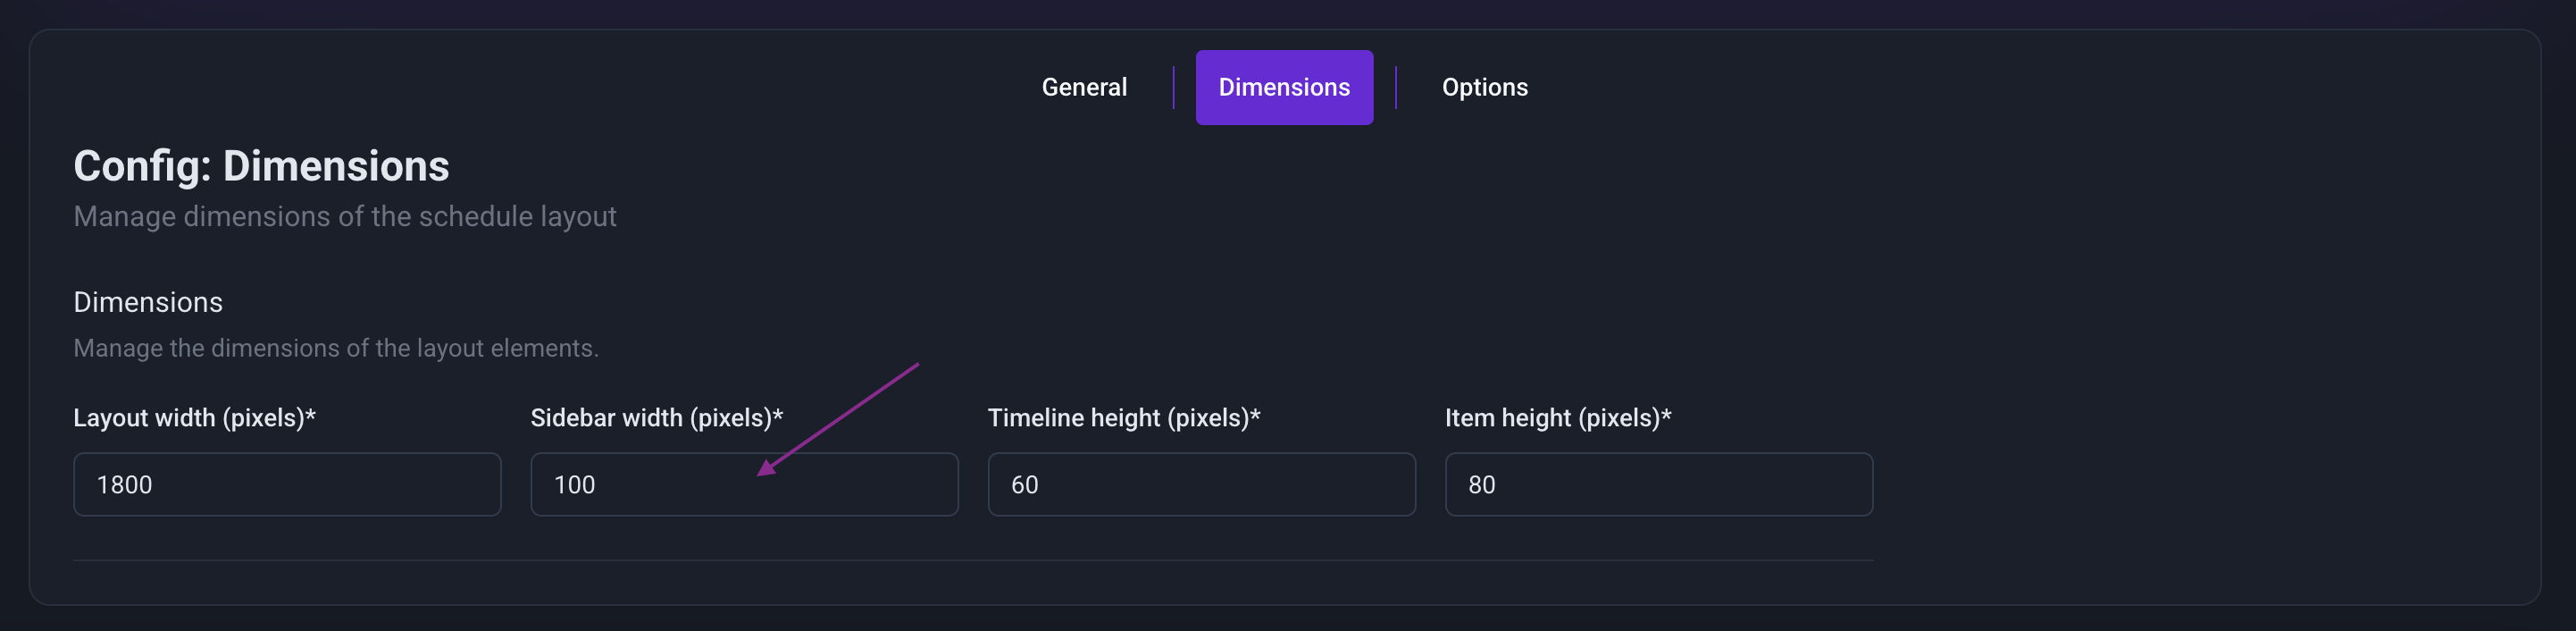
Change the dimensions of the application by adjusting the "Initials" settings.

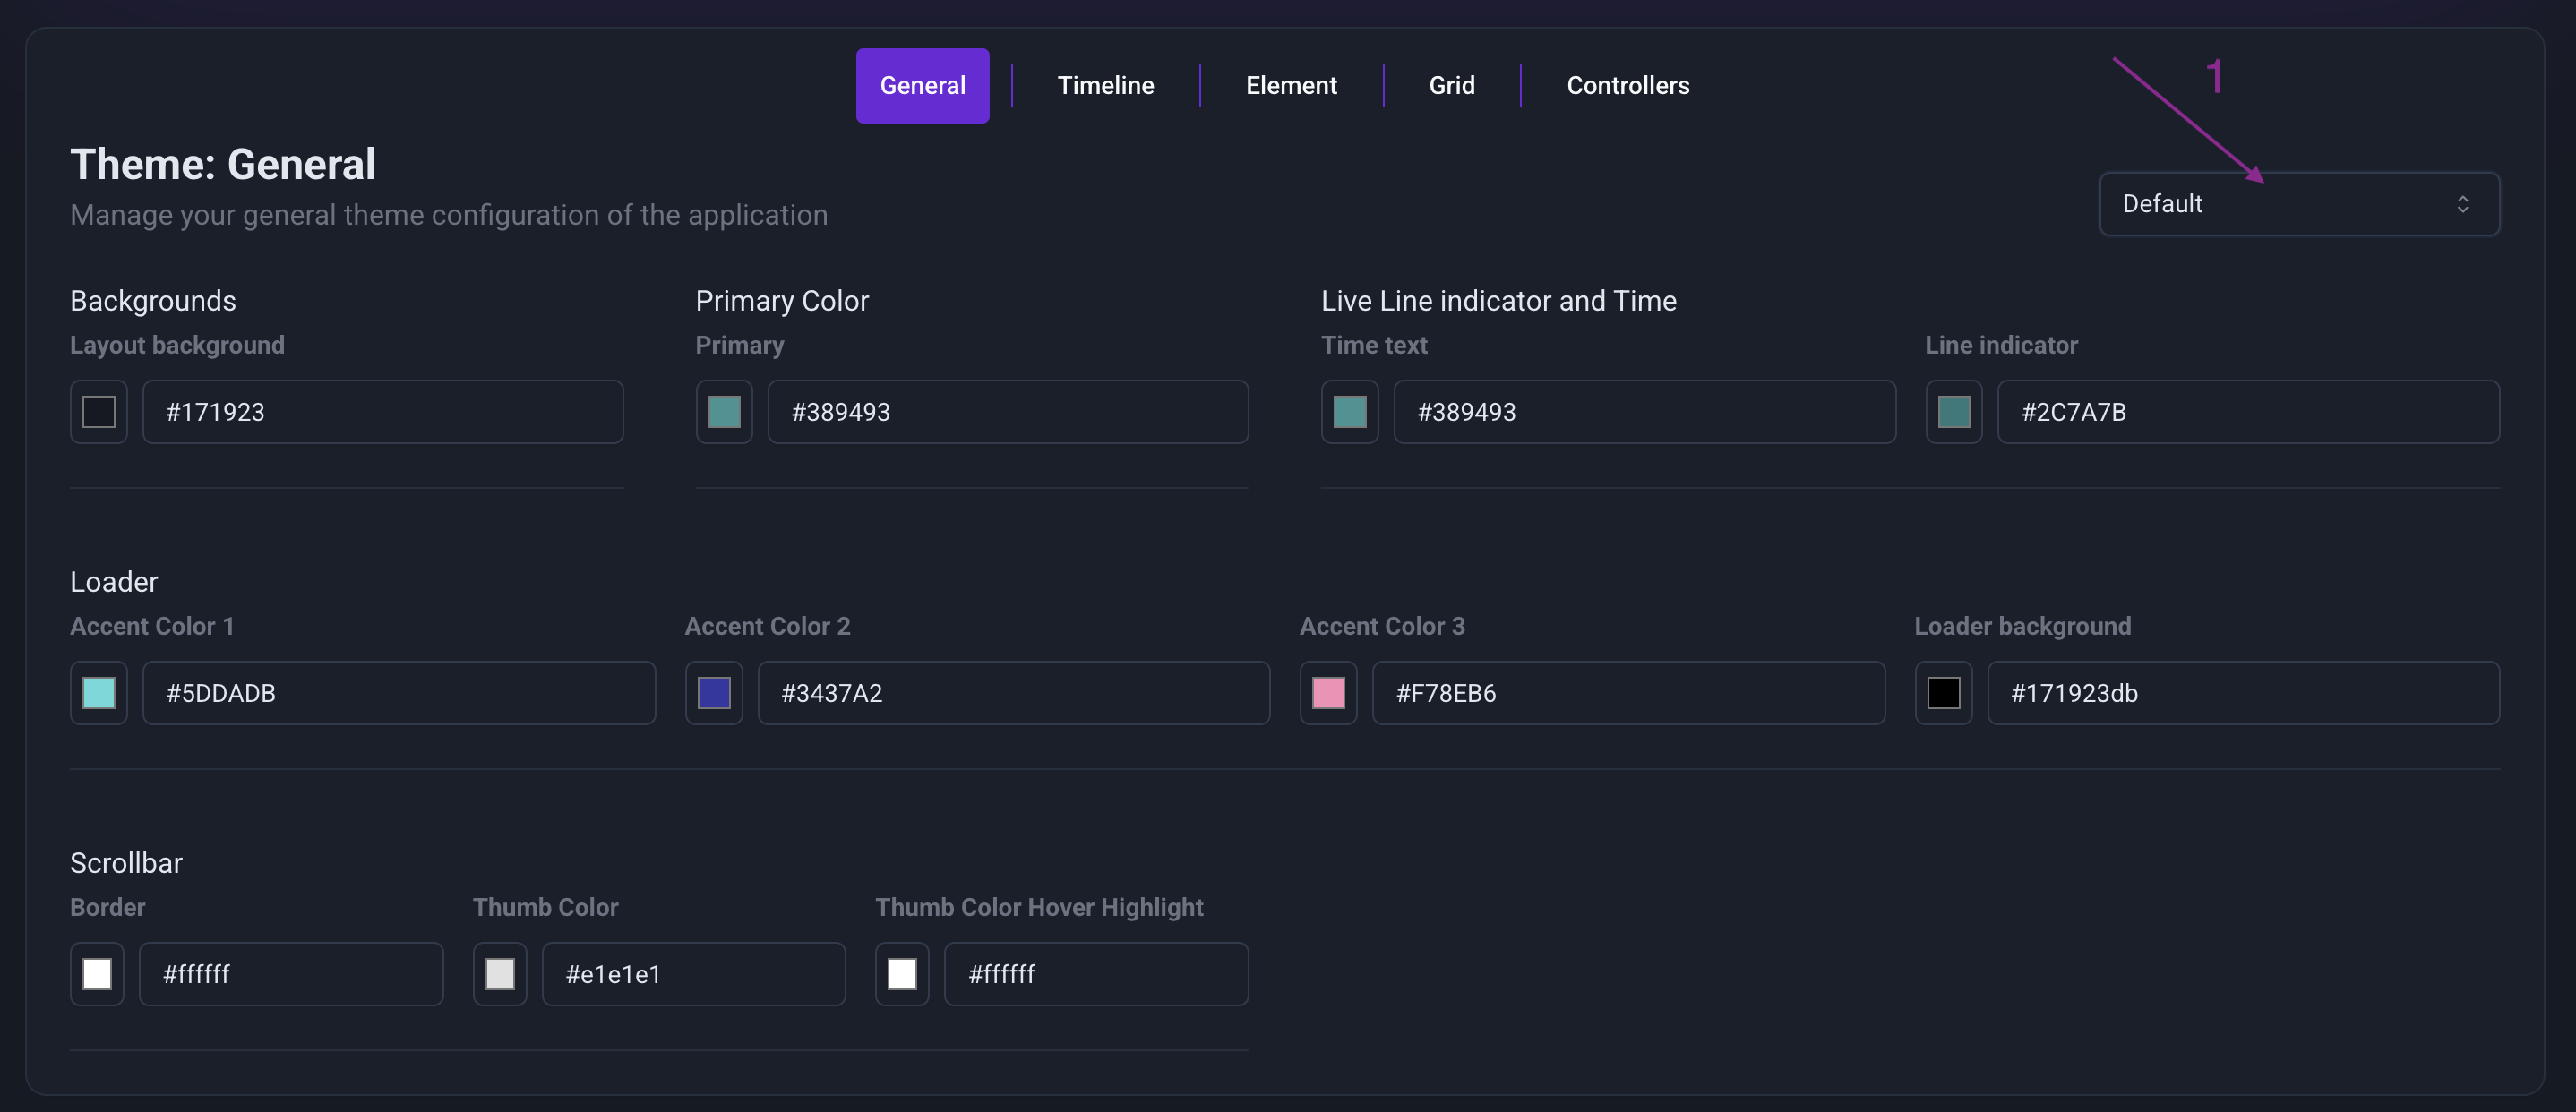
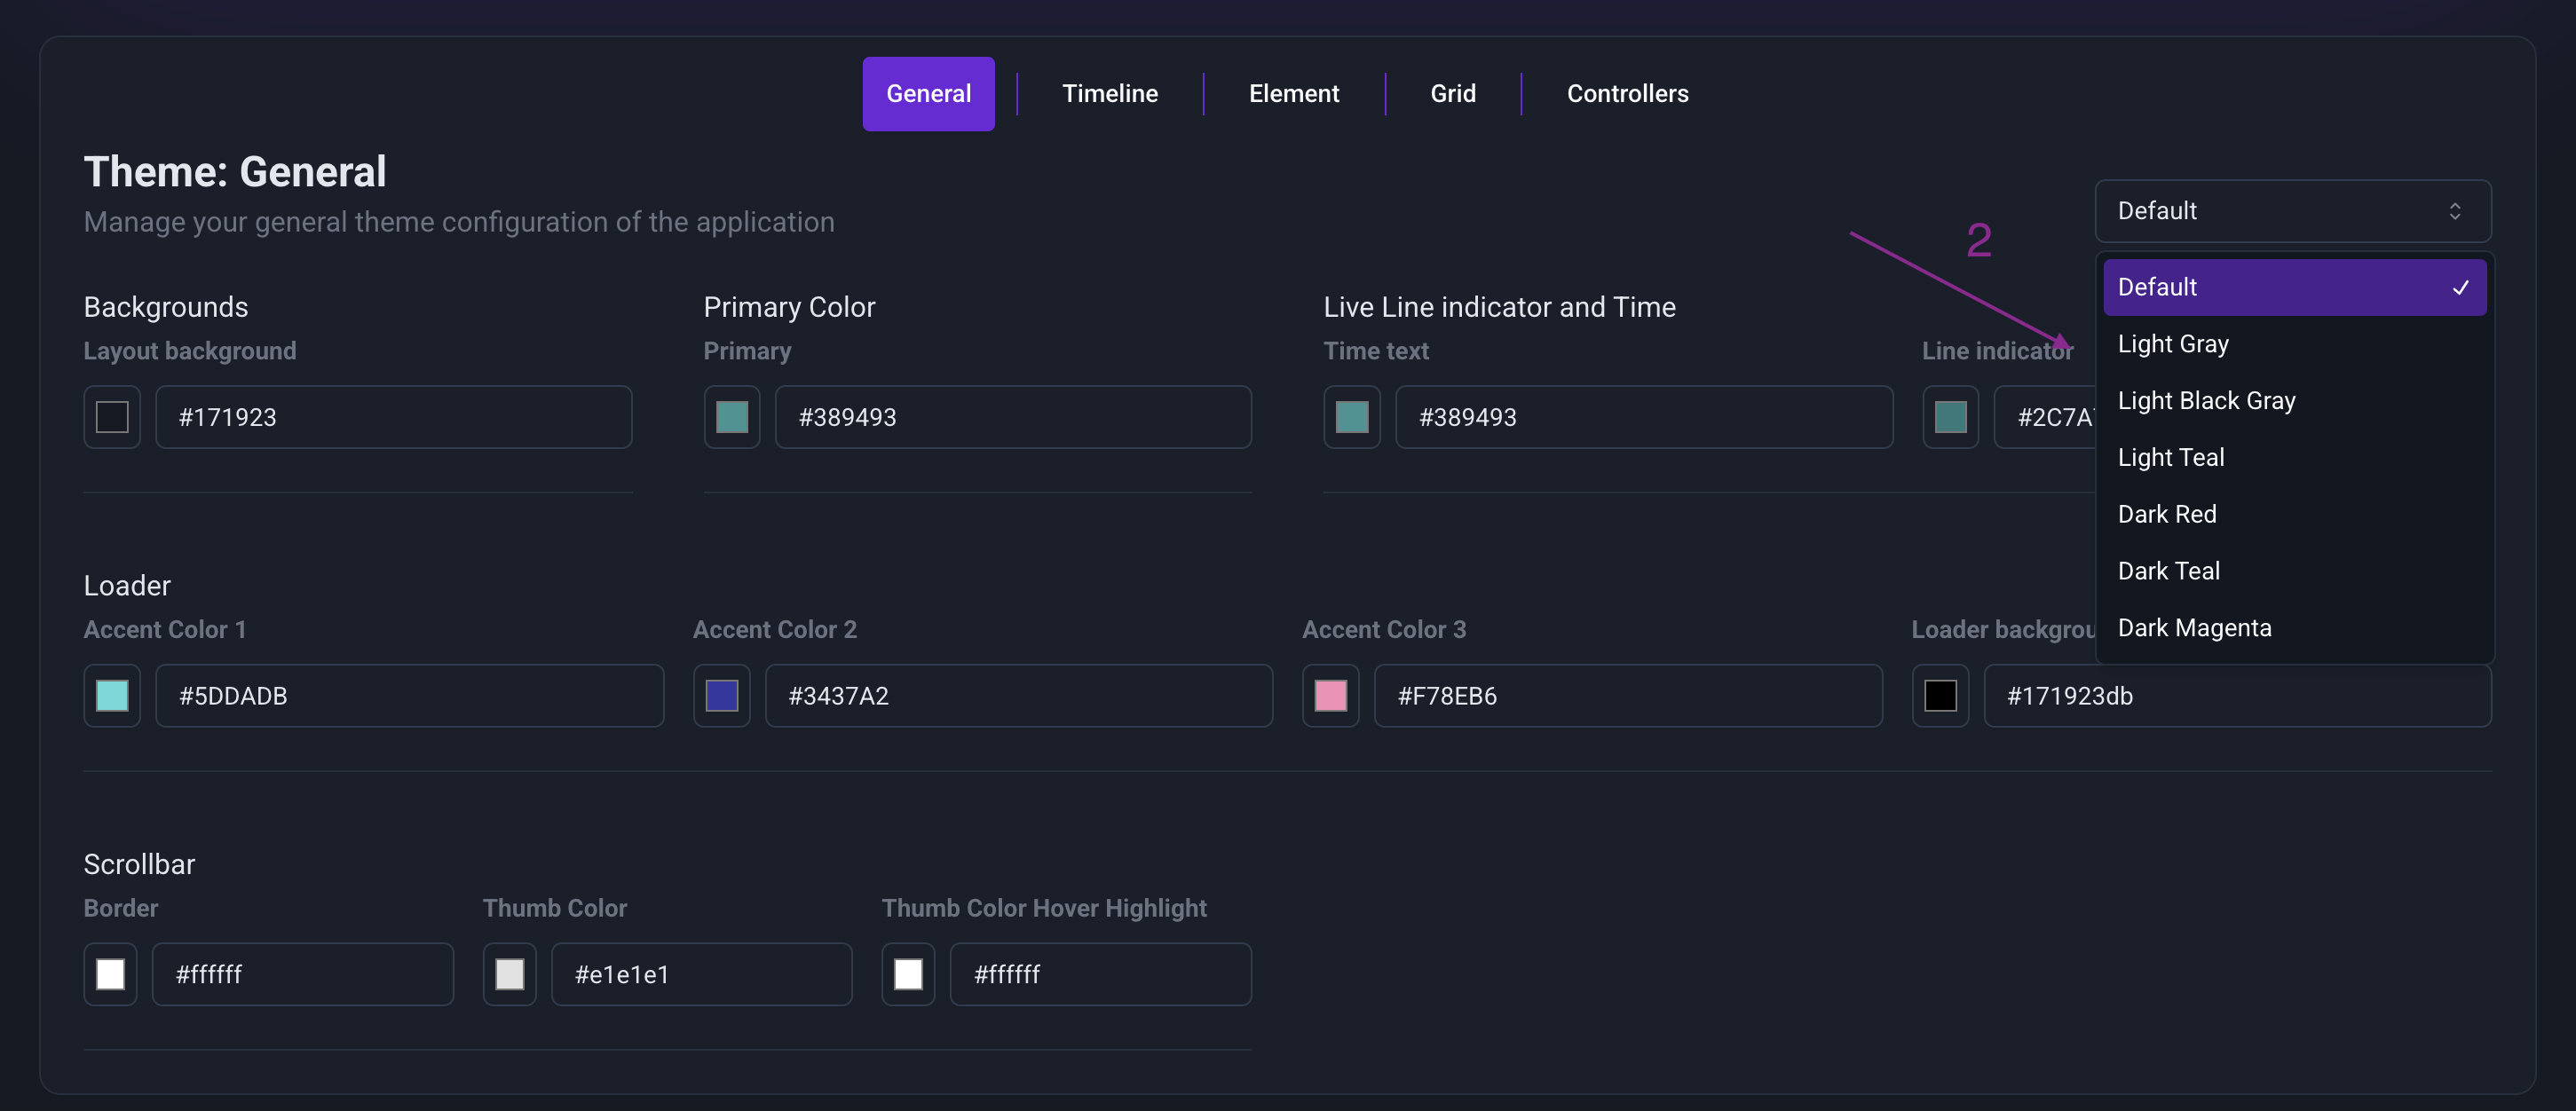
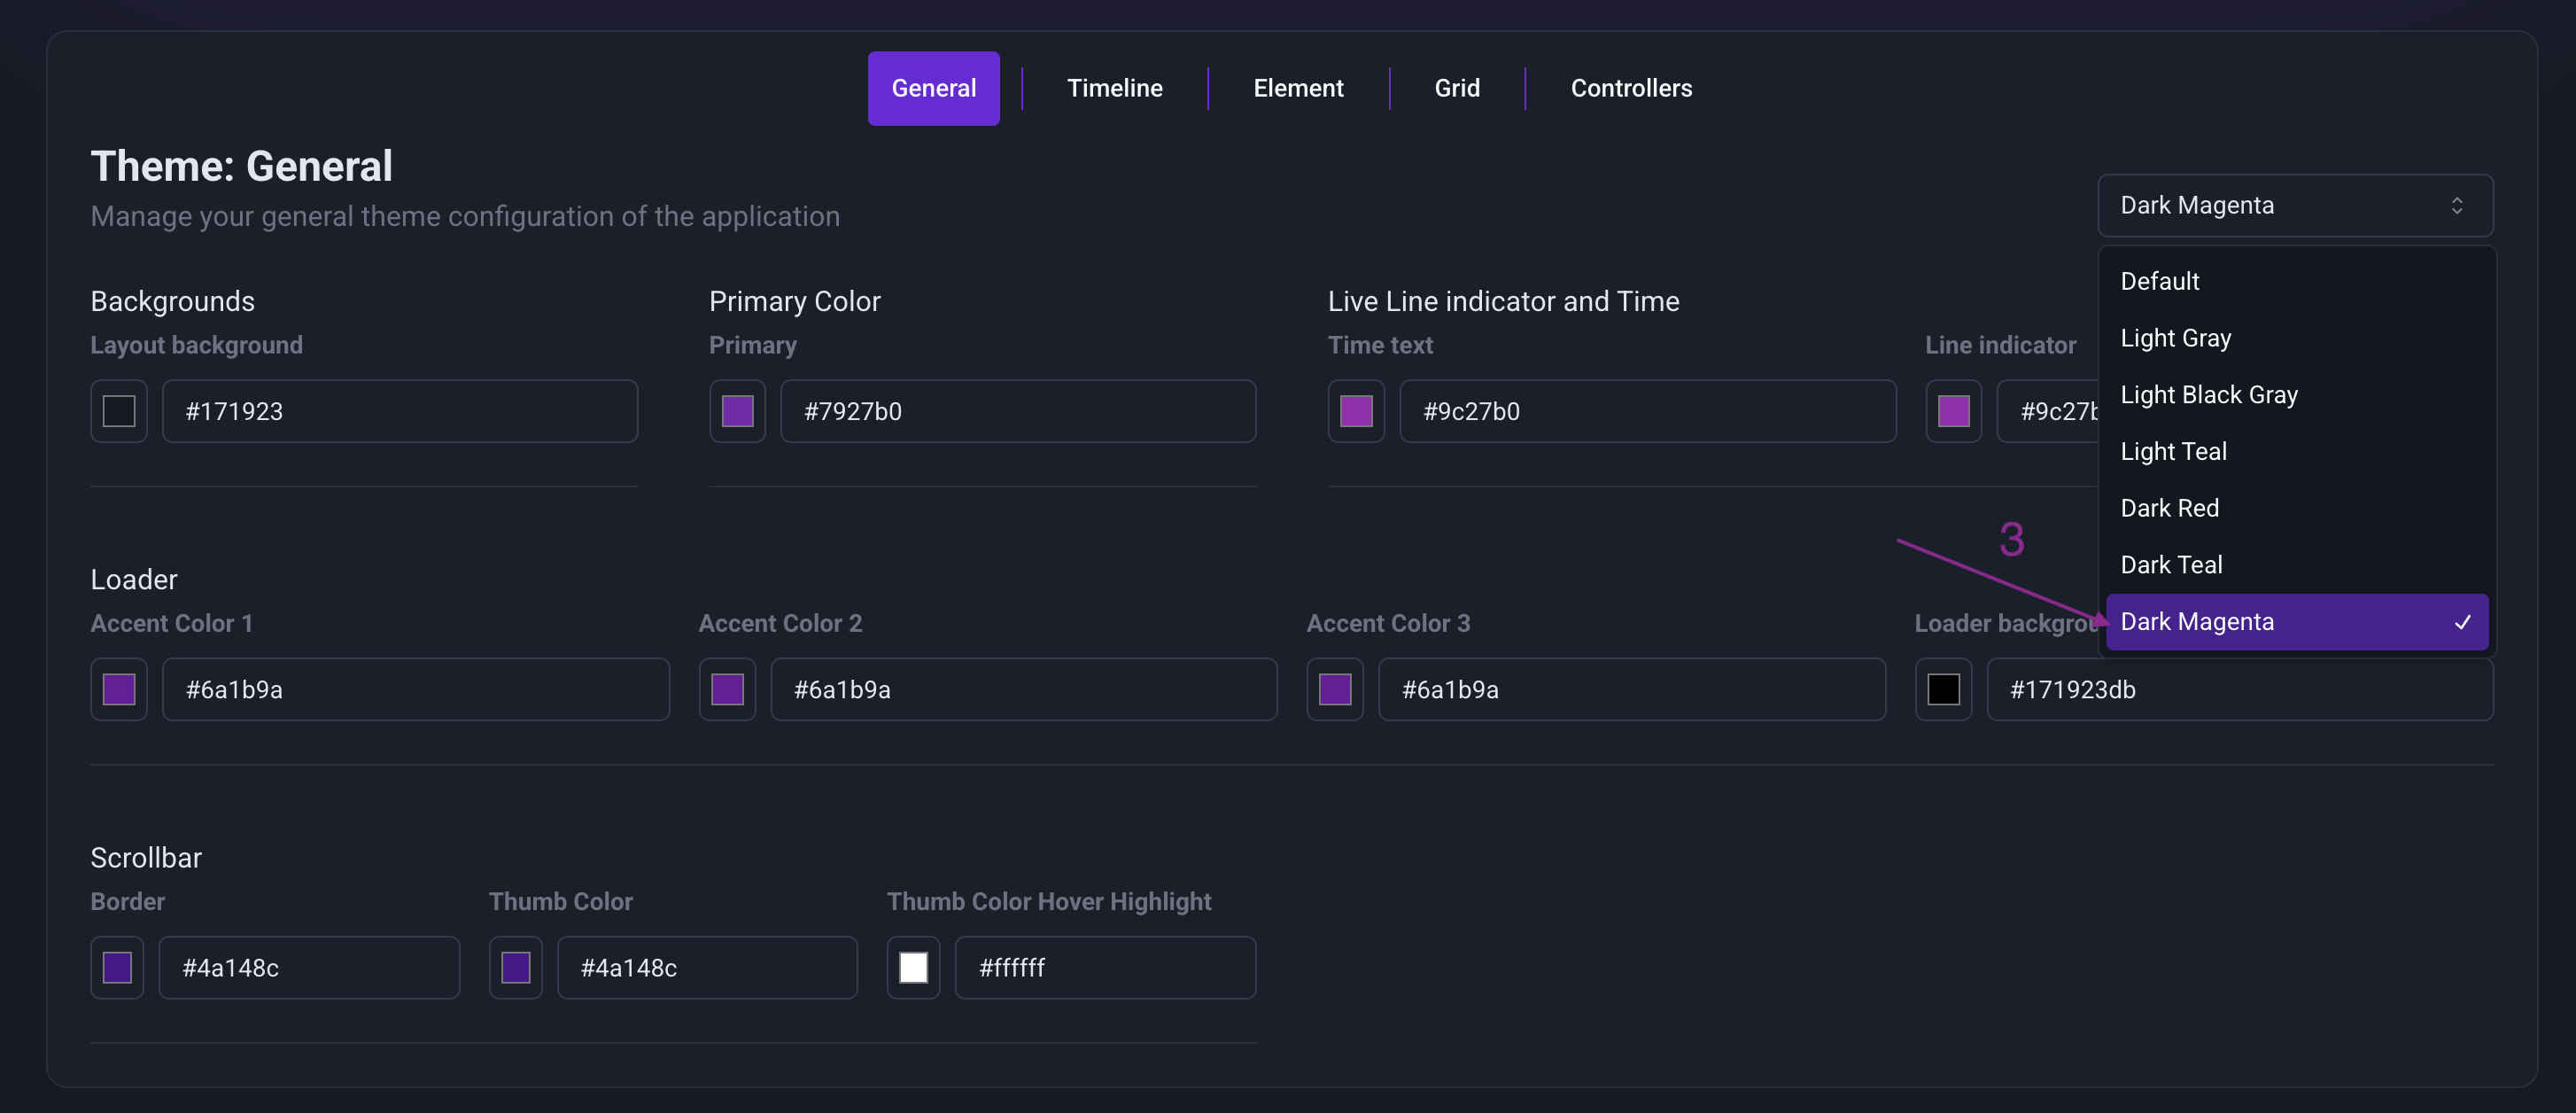
3. Customize Your Application
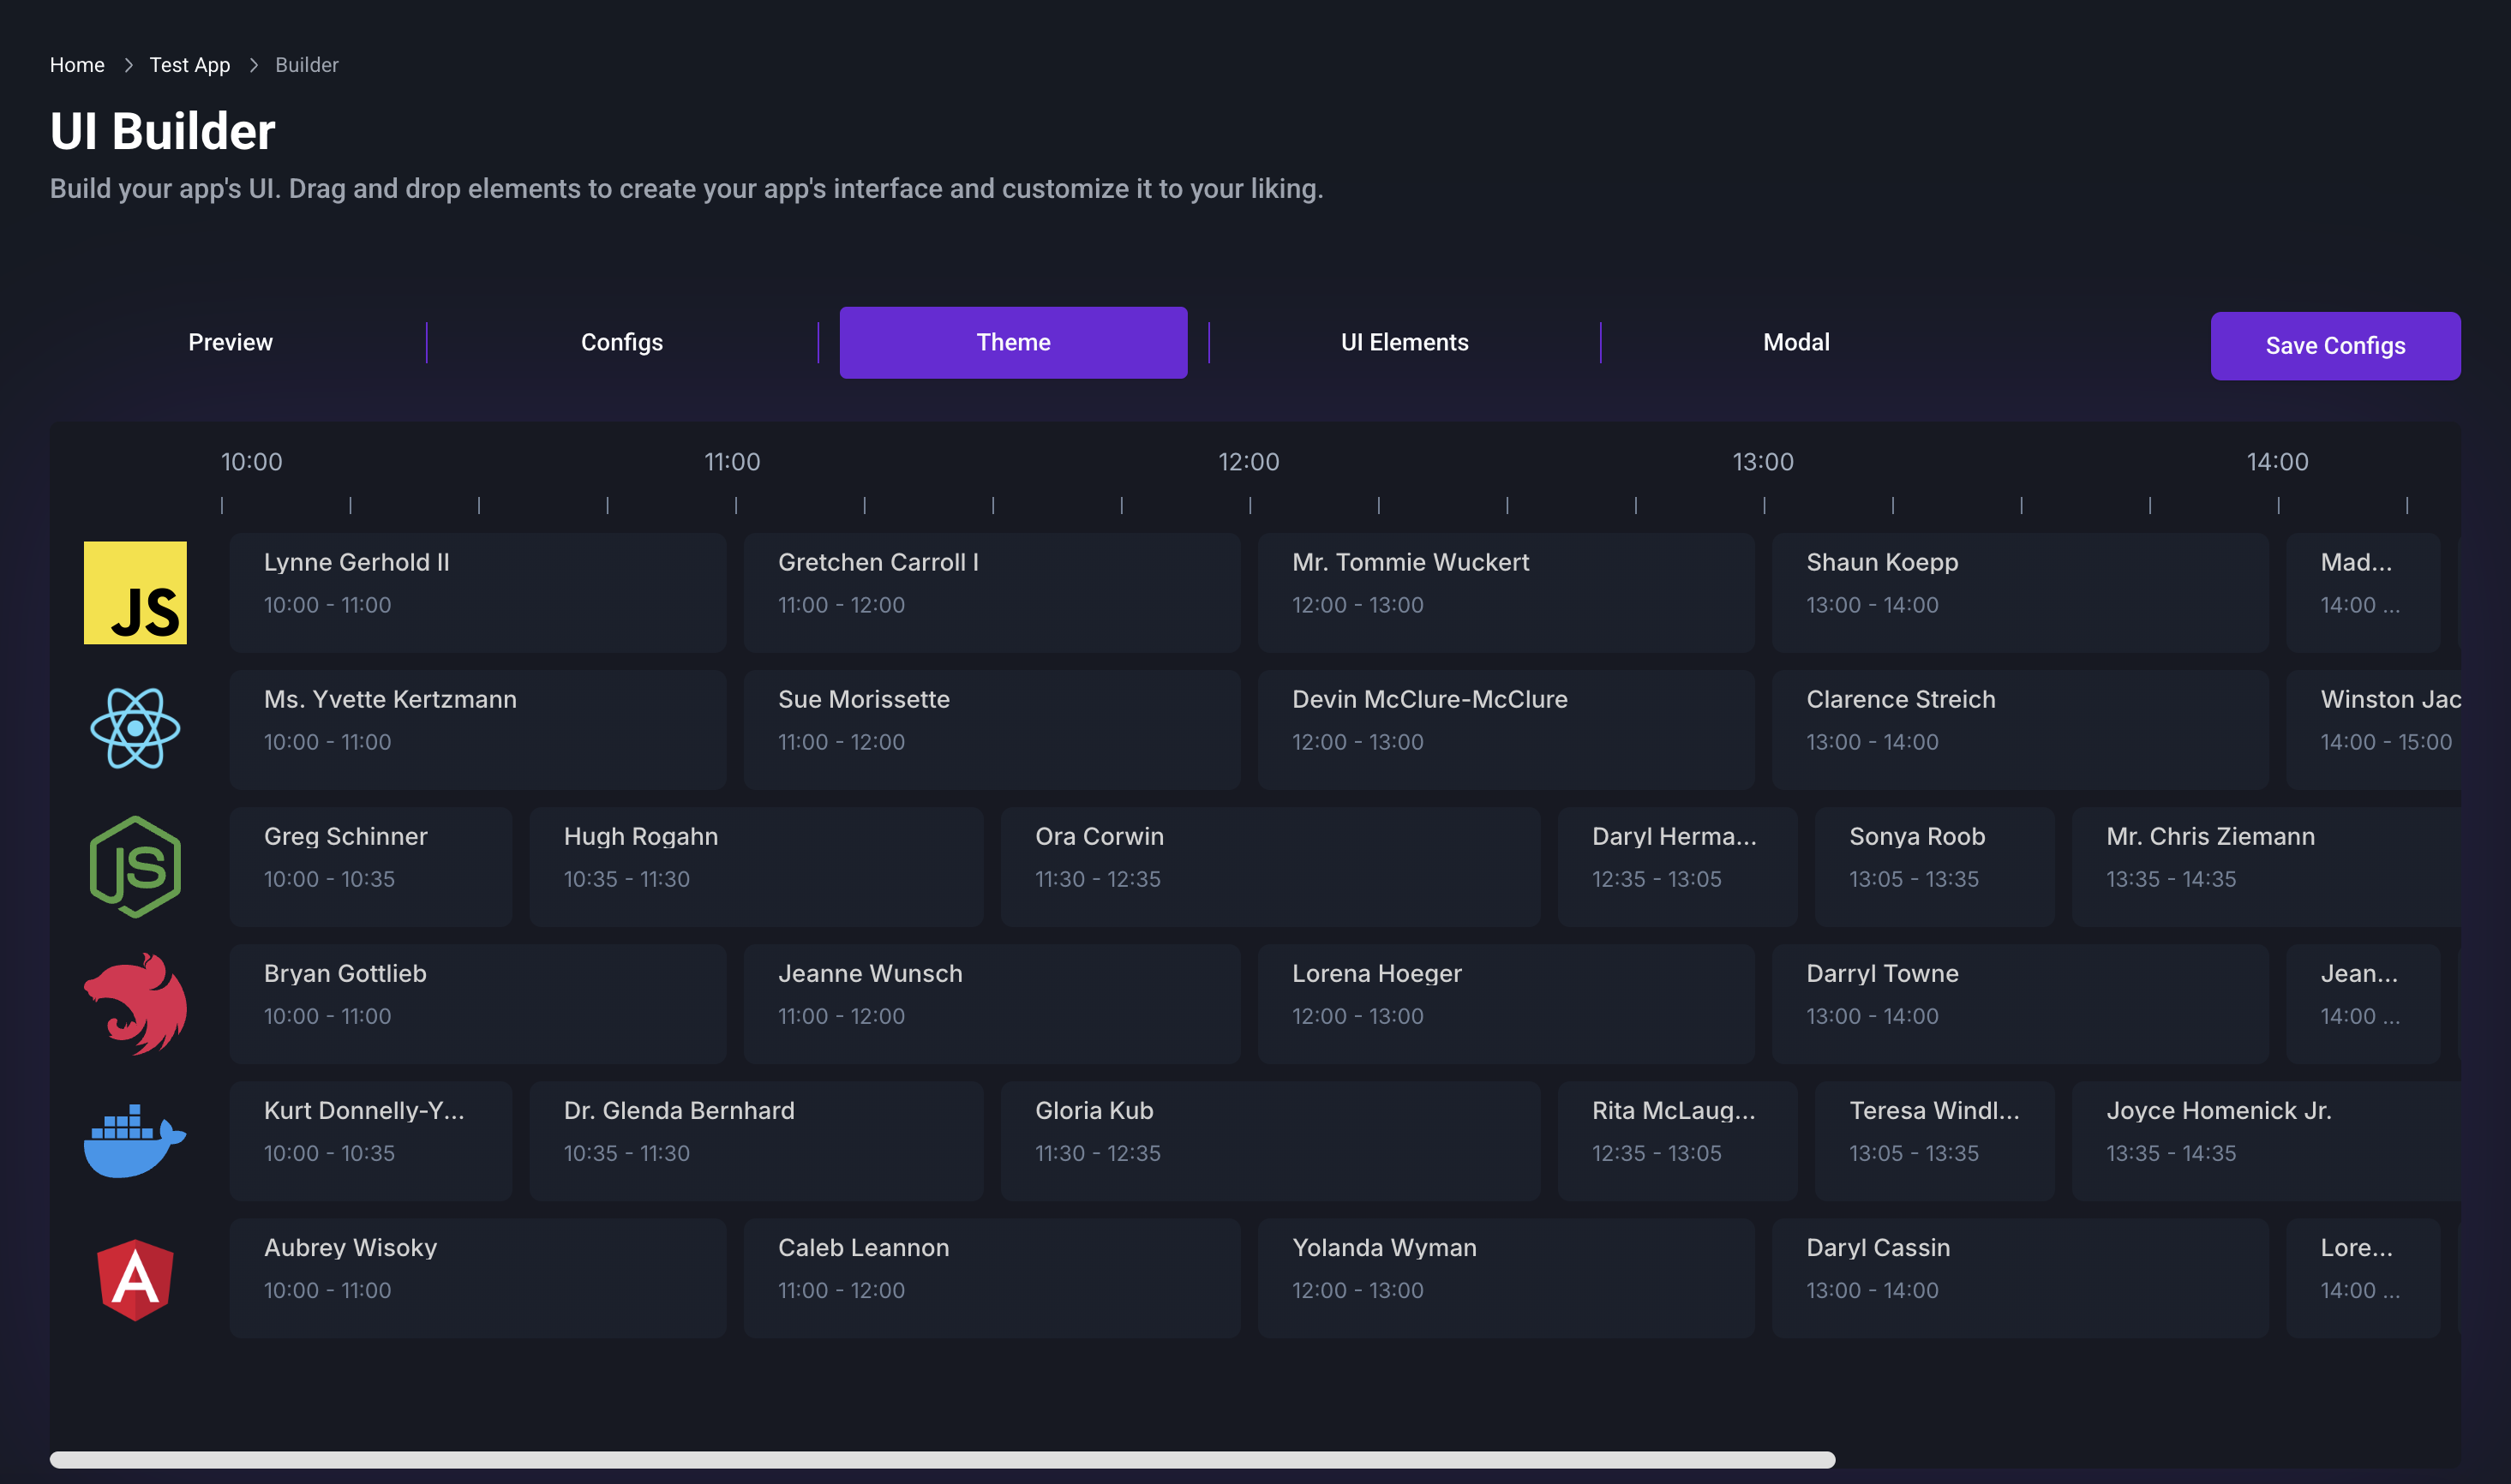
3.1 In the "Theme" tab, you can customize the look and feel of your application.
- Adjust styles such as colors, fonts, and layouts.
- Alternatively, choose a pre-built template and either use it as-is or modify it to suit your needs.
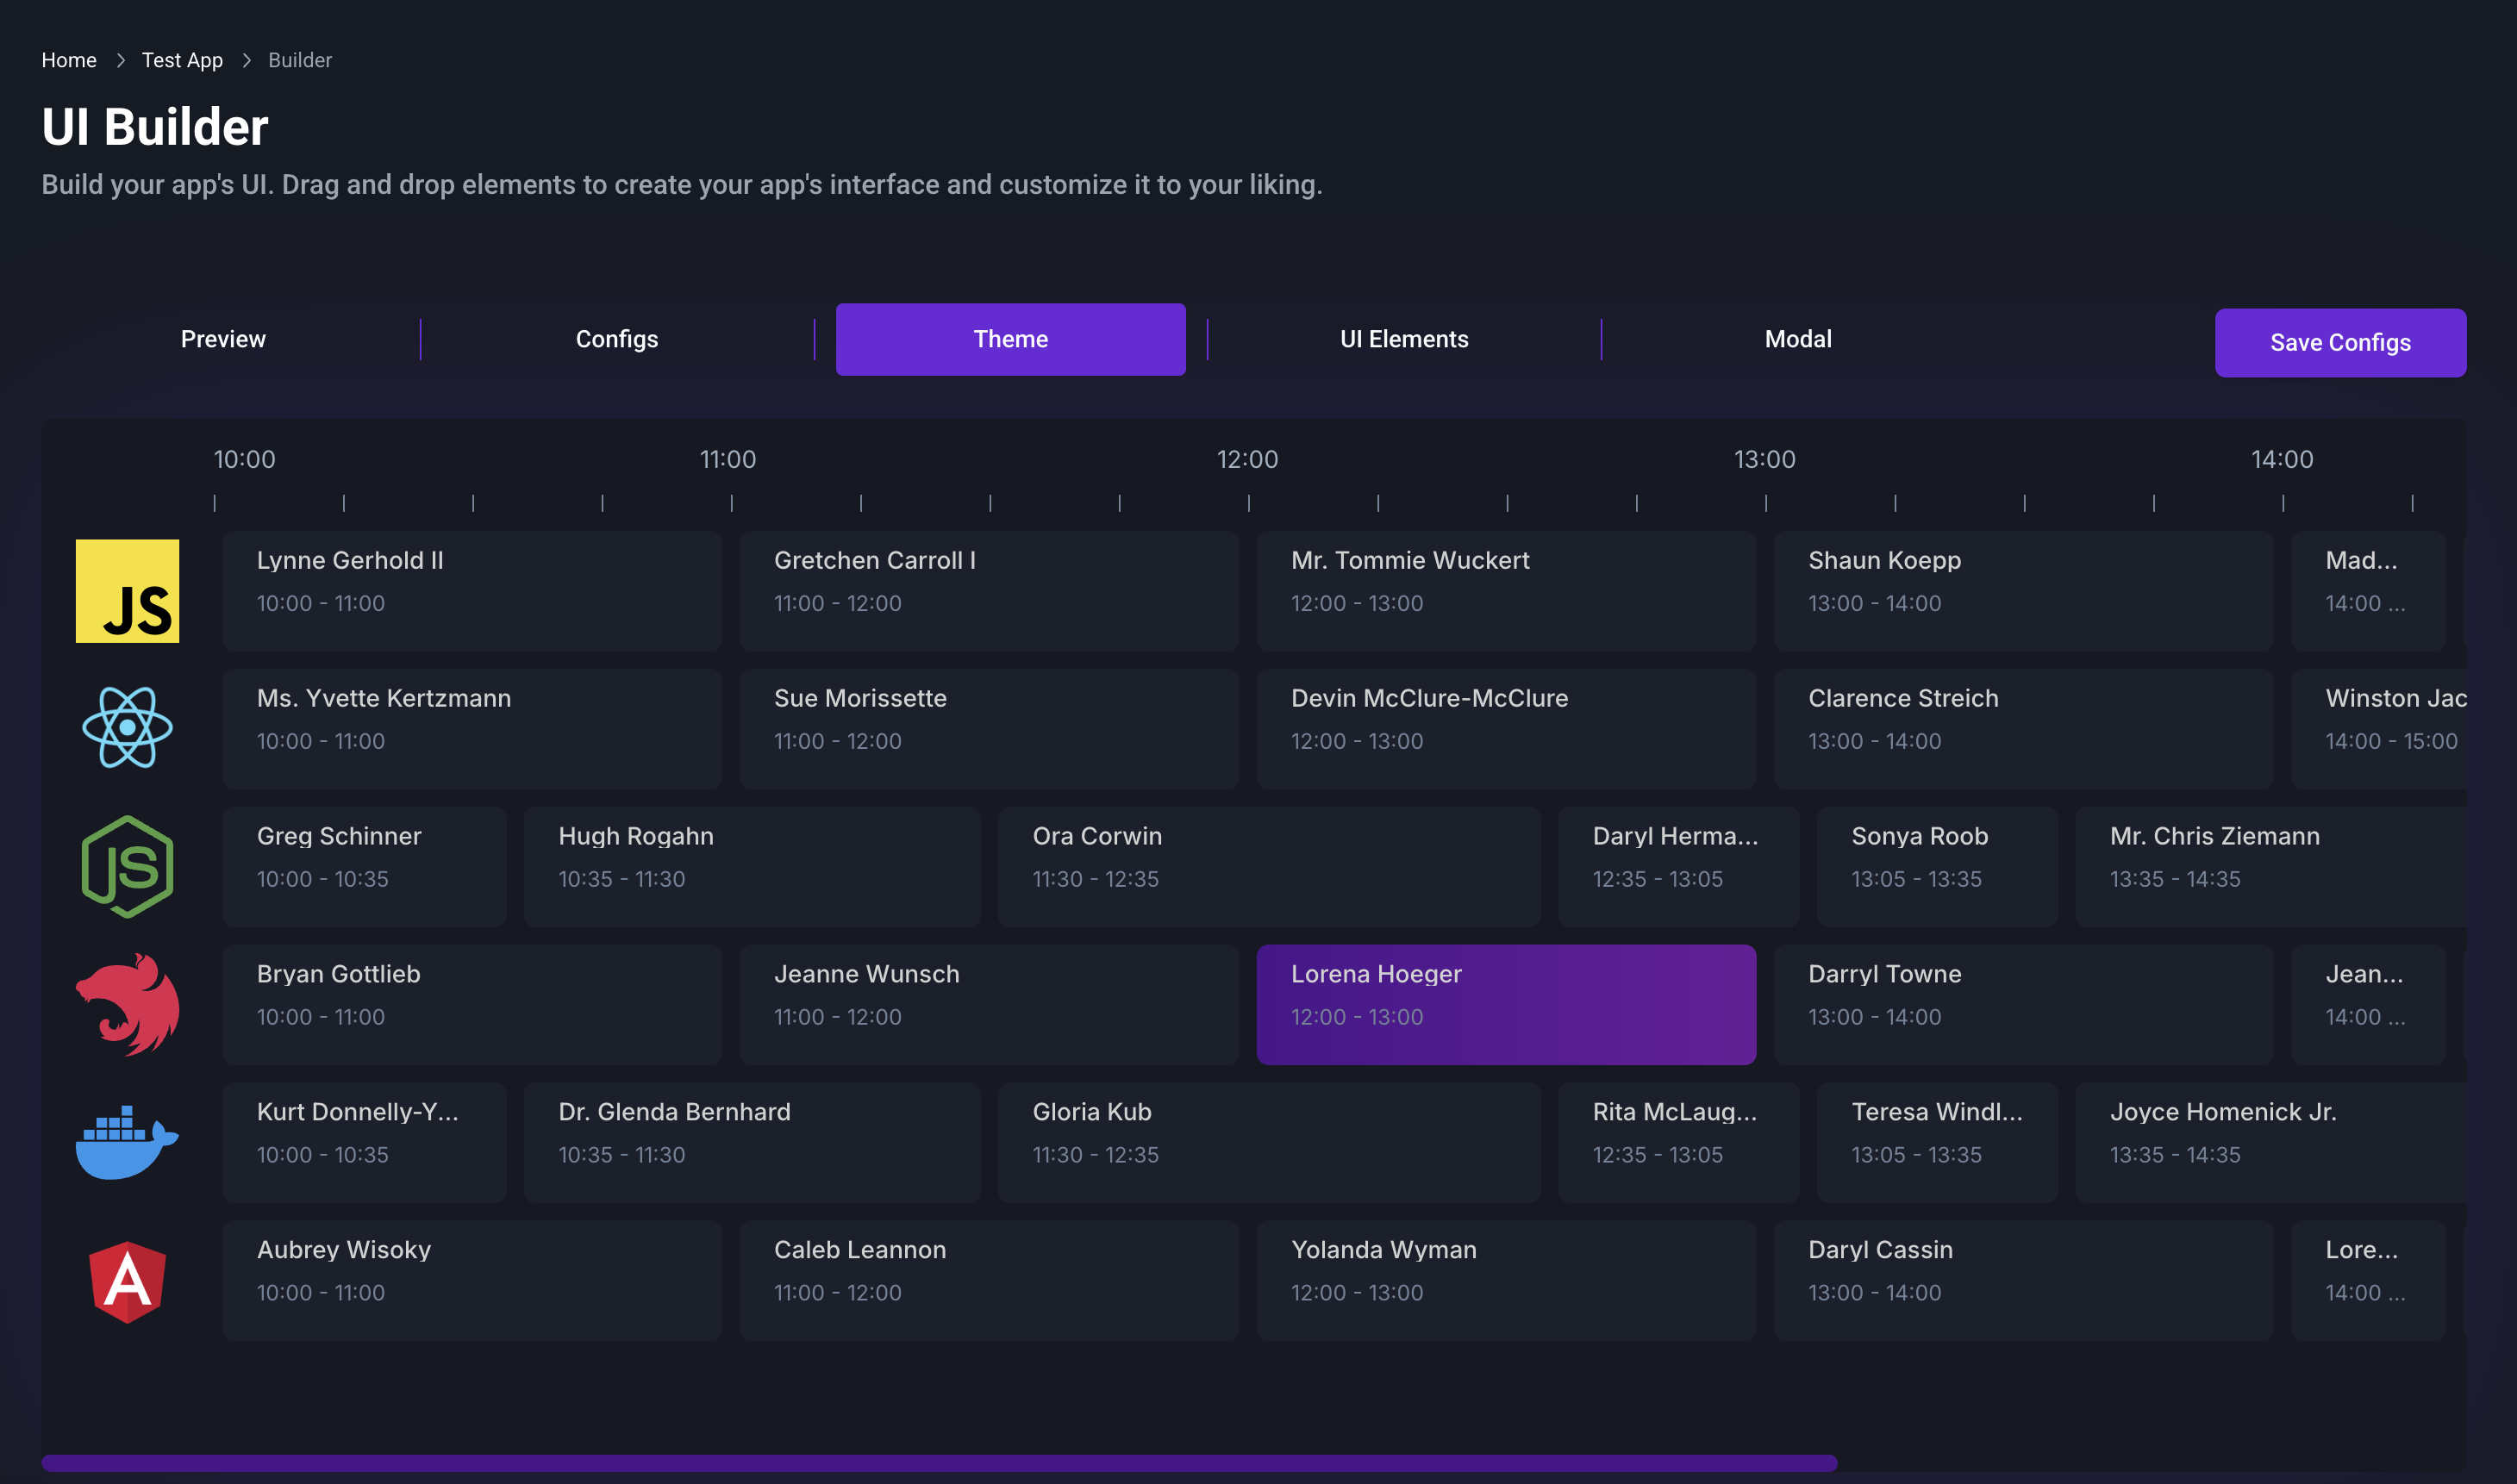
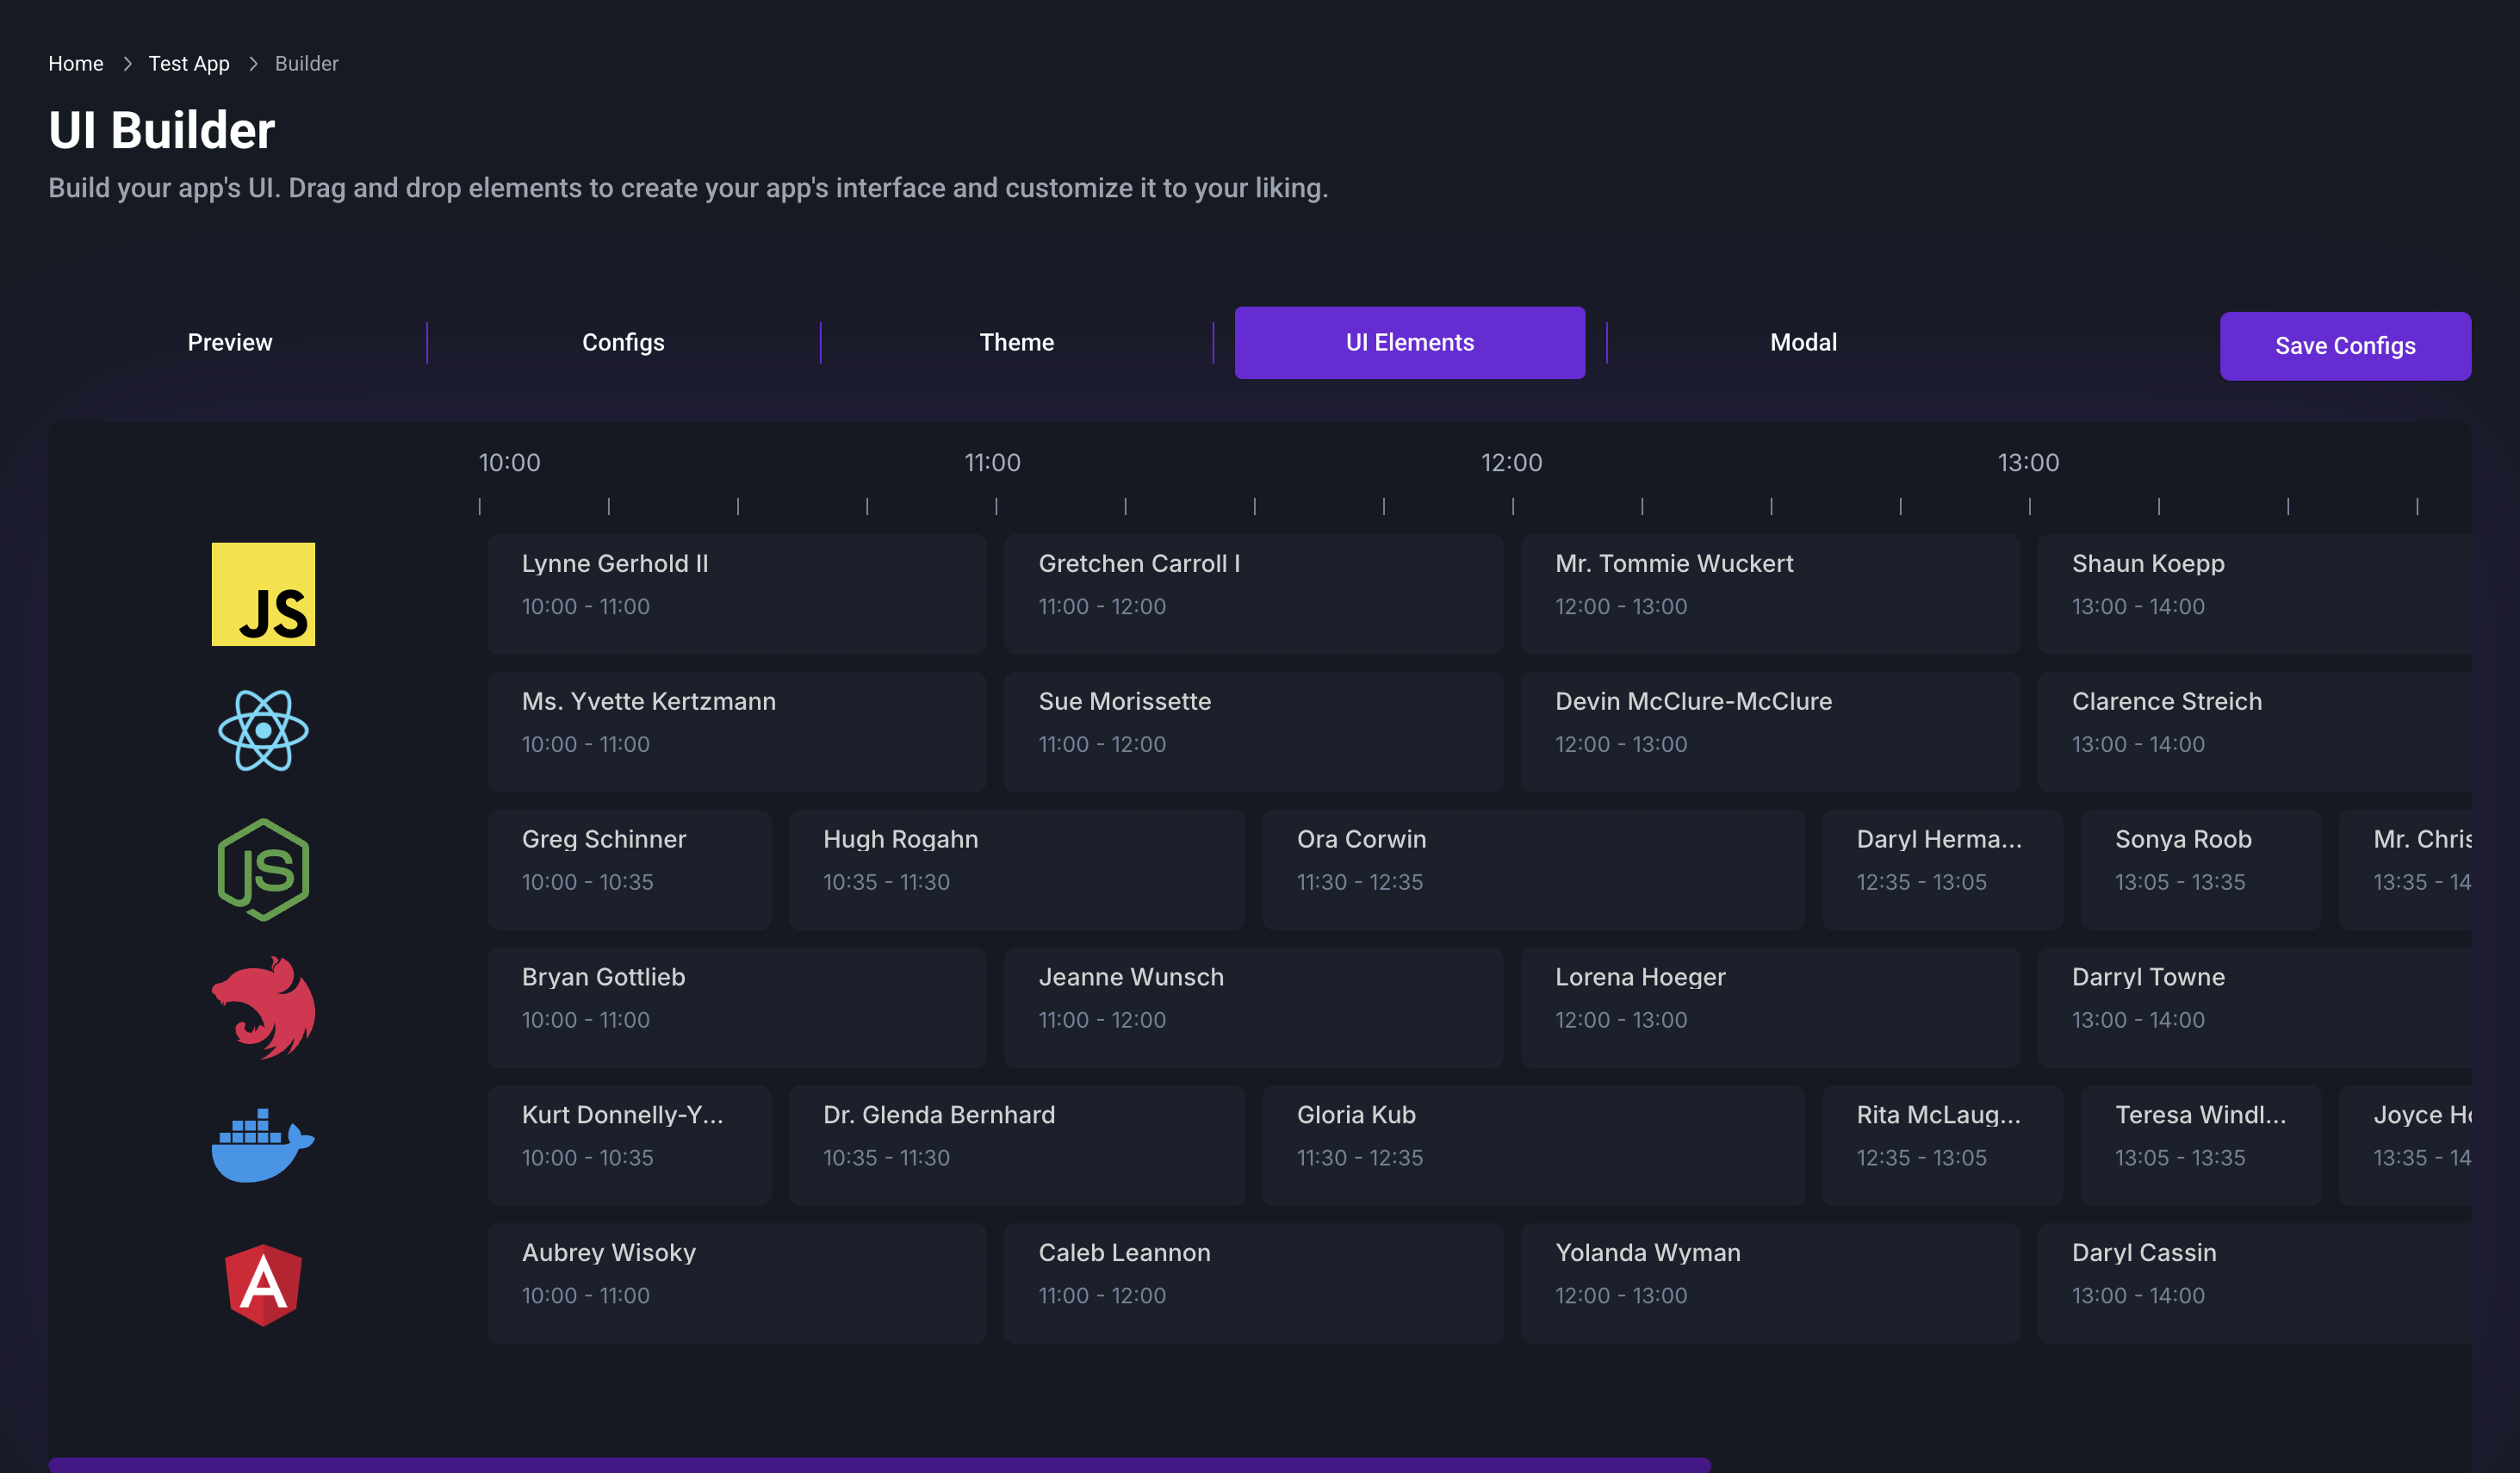
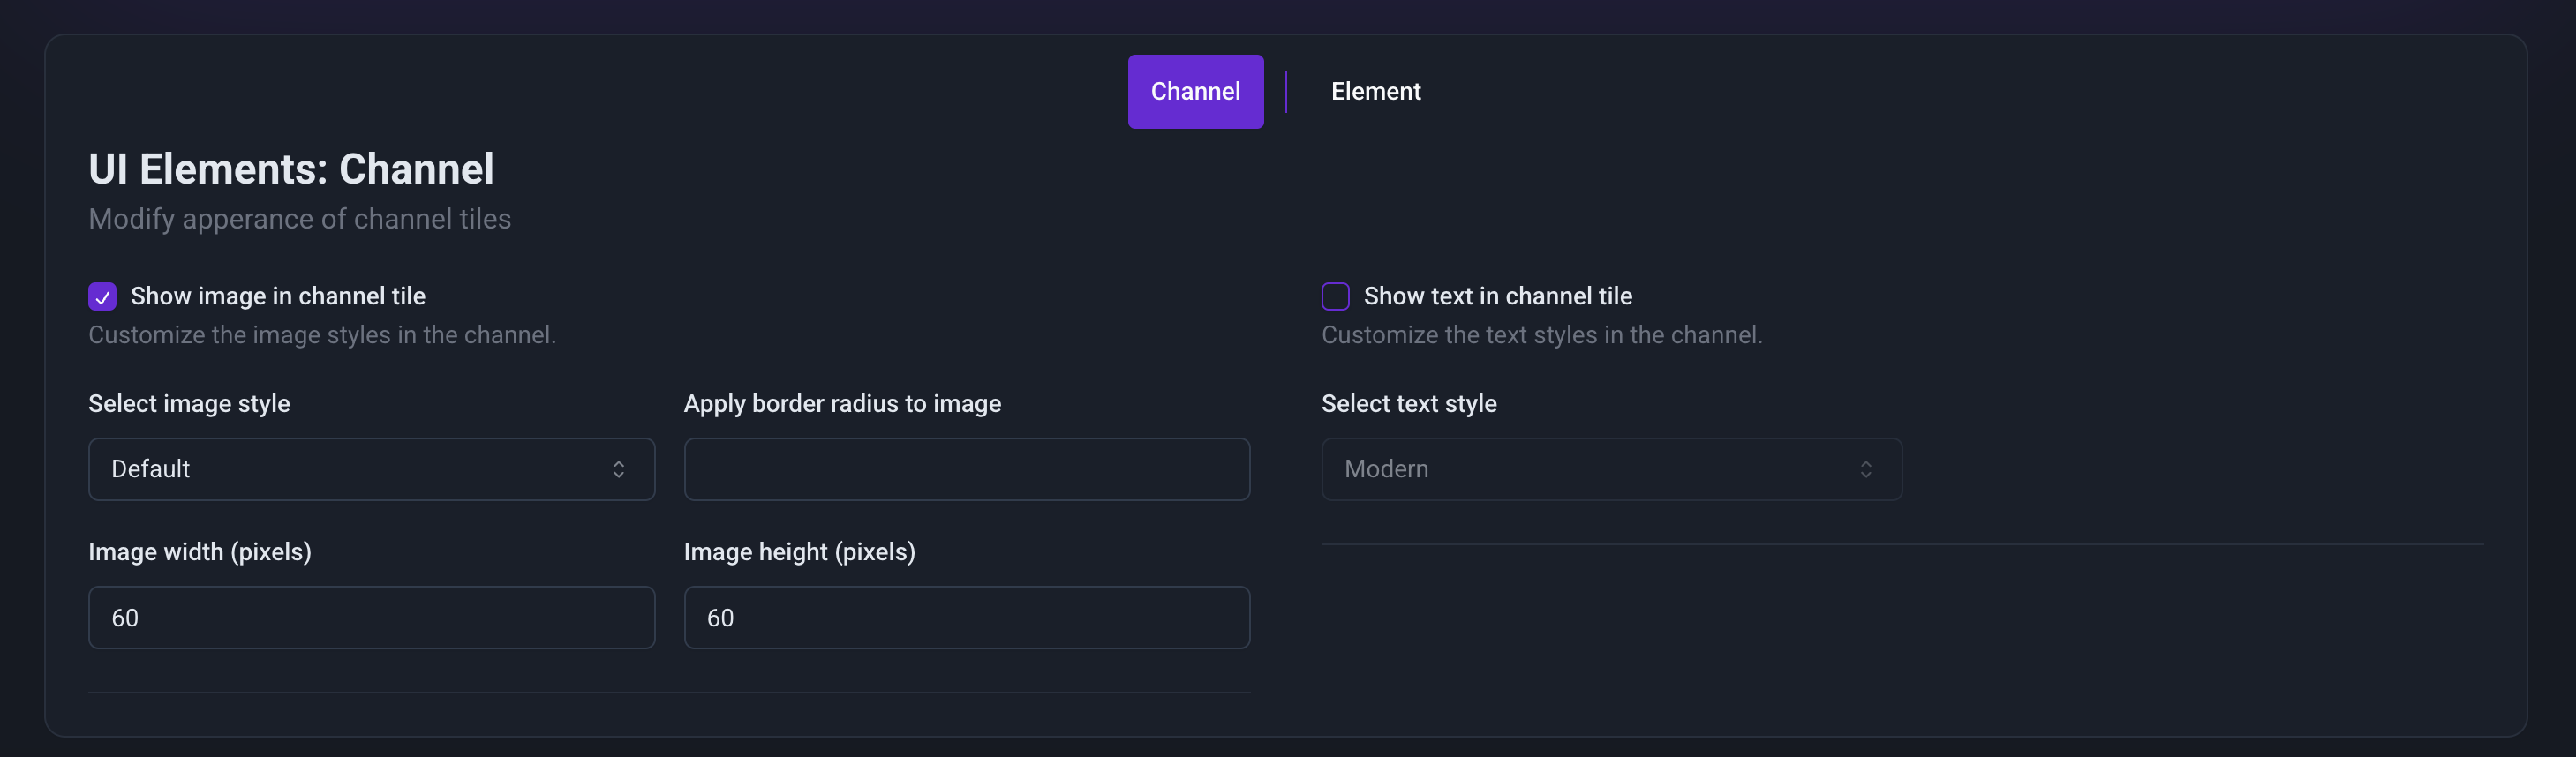
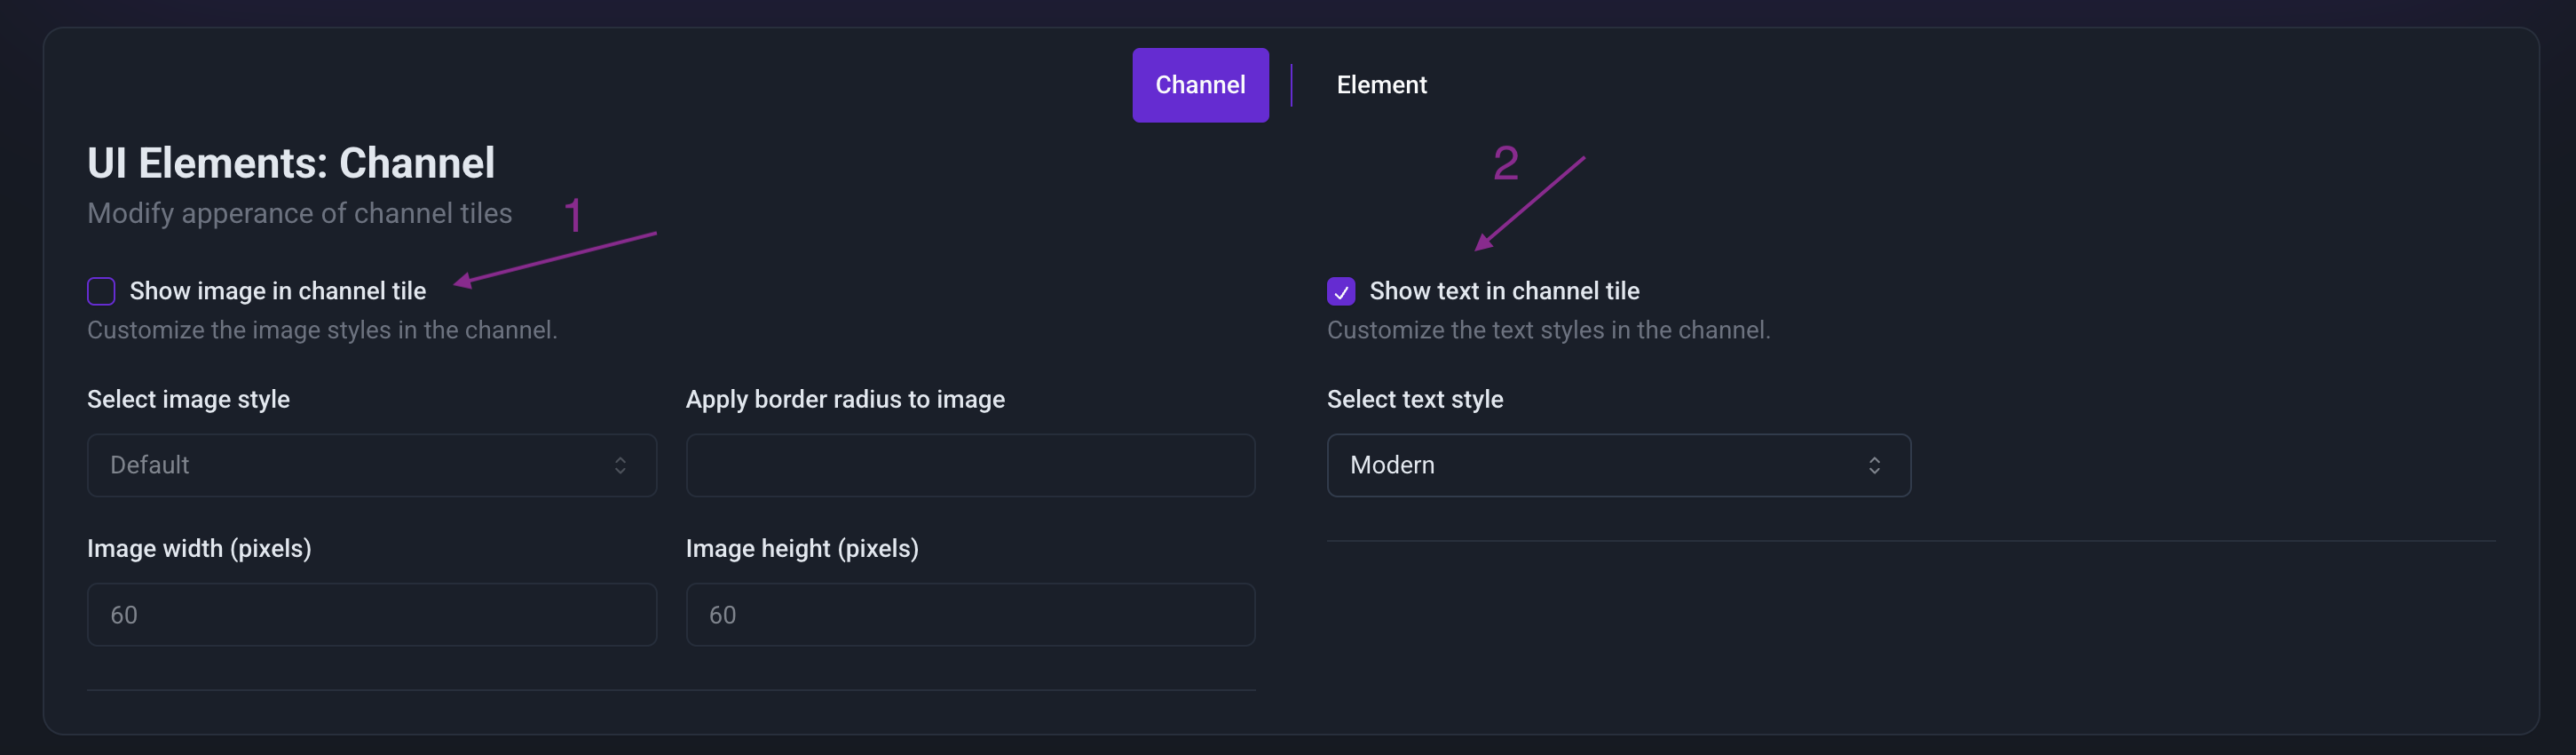
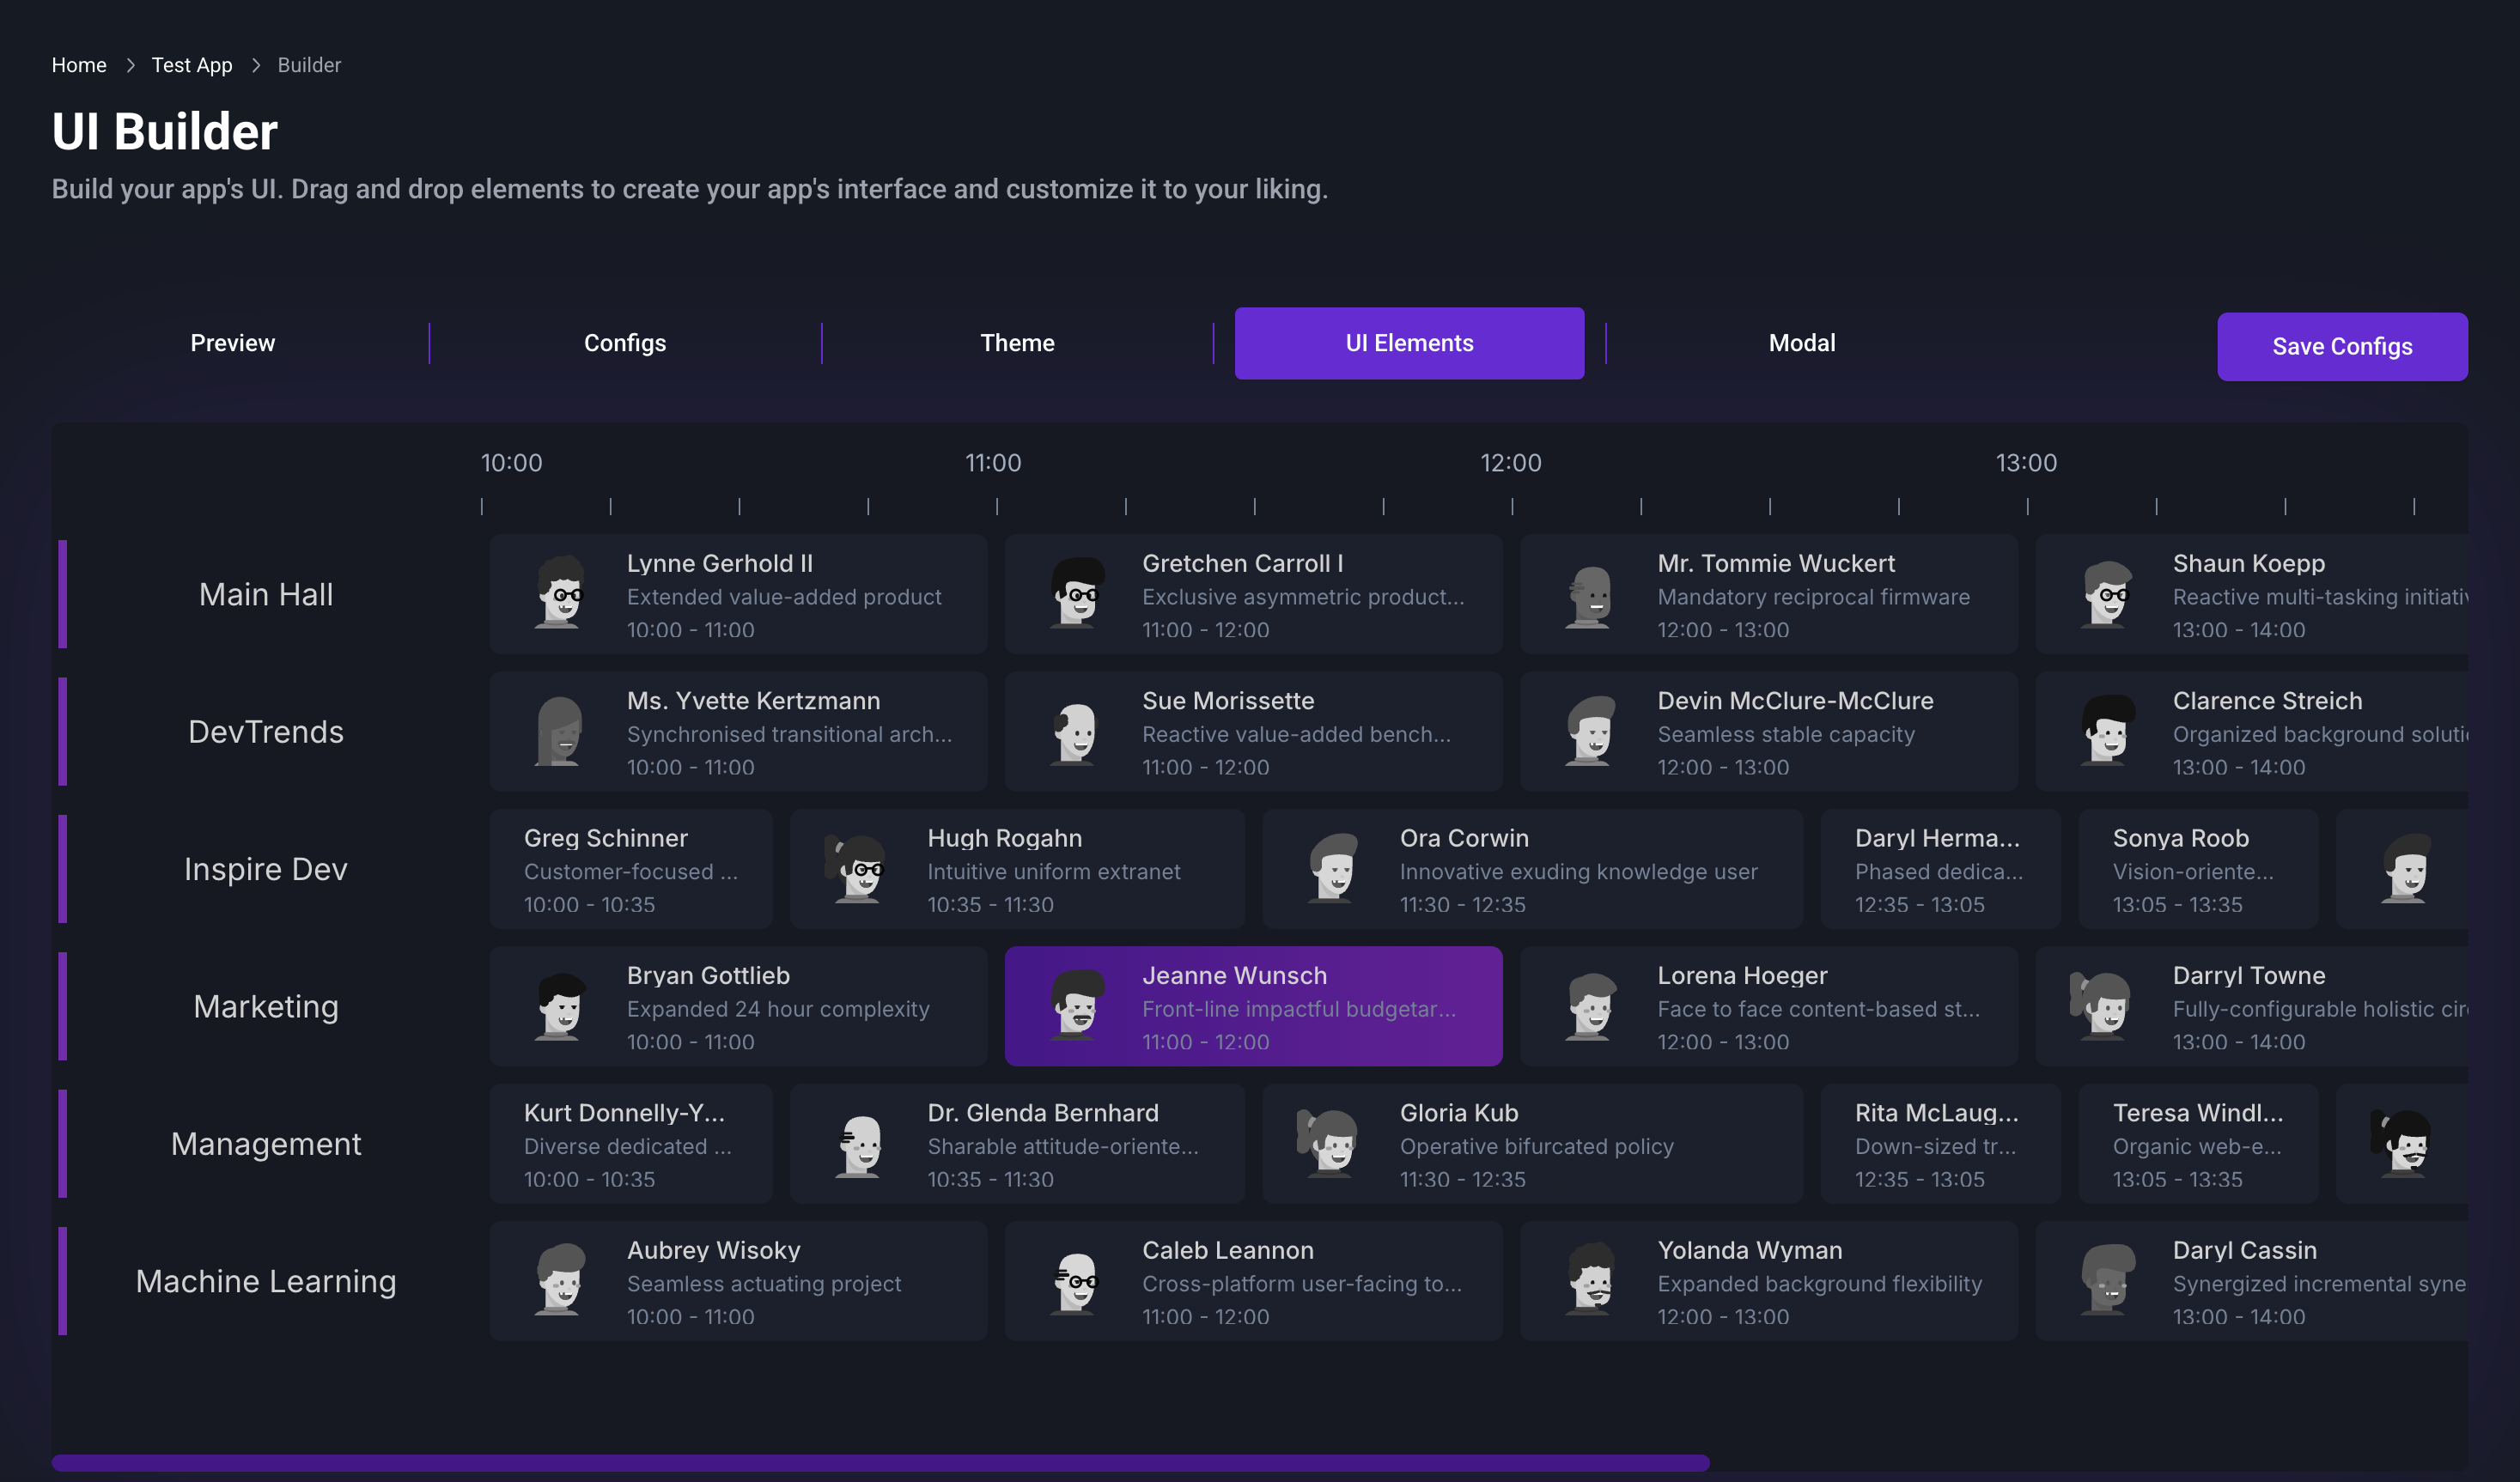
3.2 In the "UI Elements" "Channels" tab, you can customize the look and feel of your application.
- Configure the sidebar
- Drag and drop elements onto the canvas to create your desired layout.
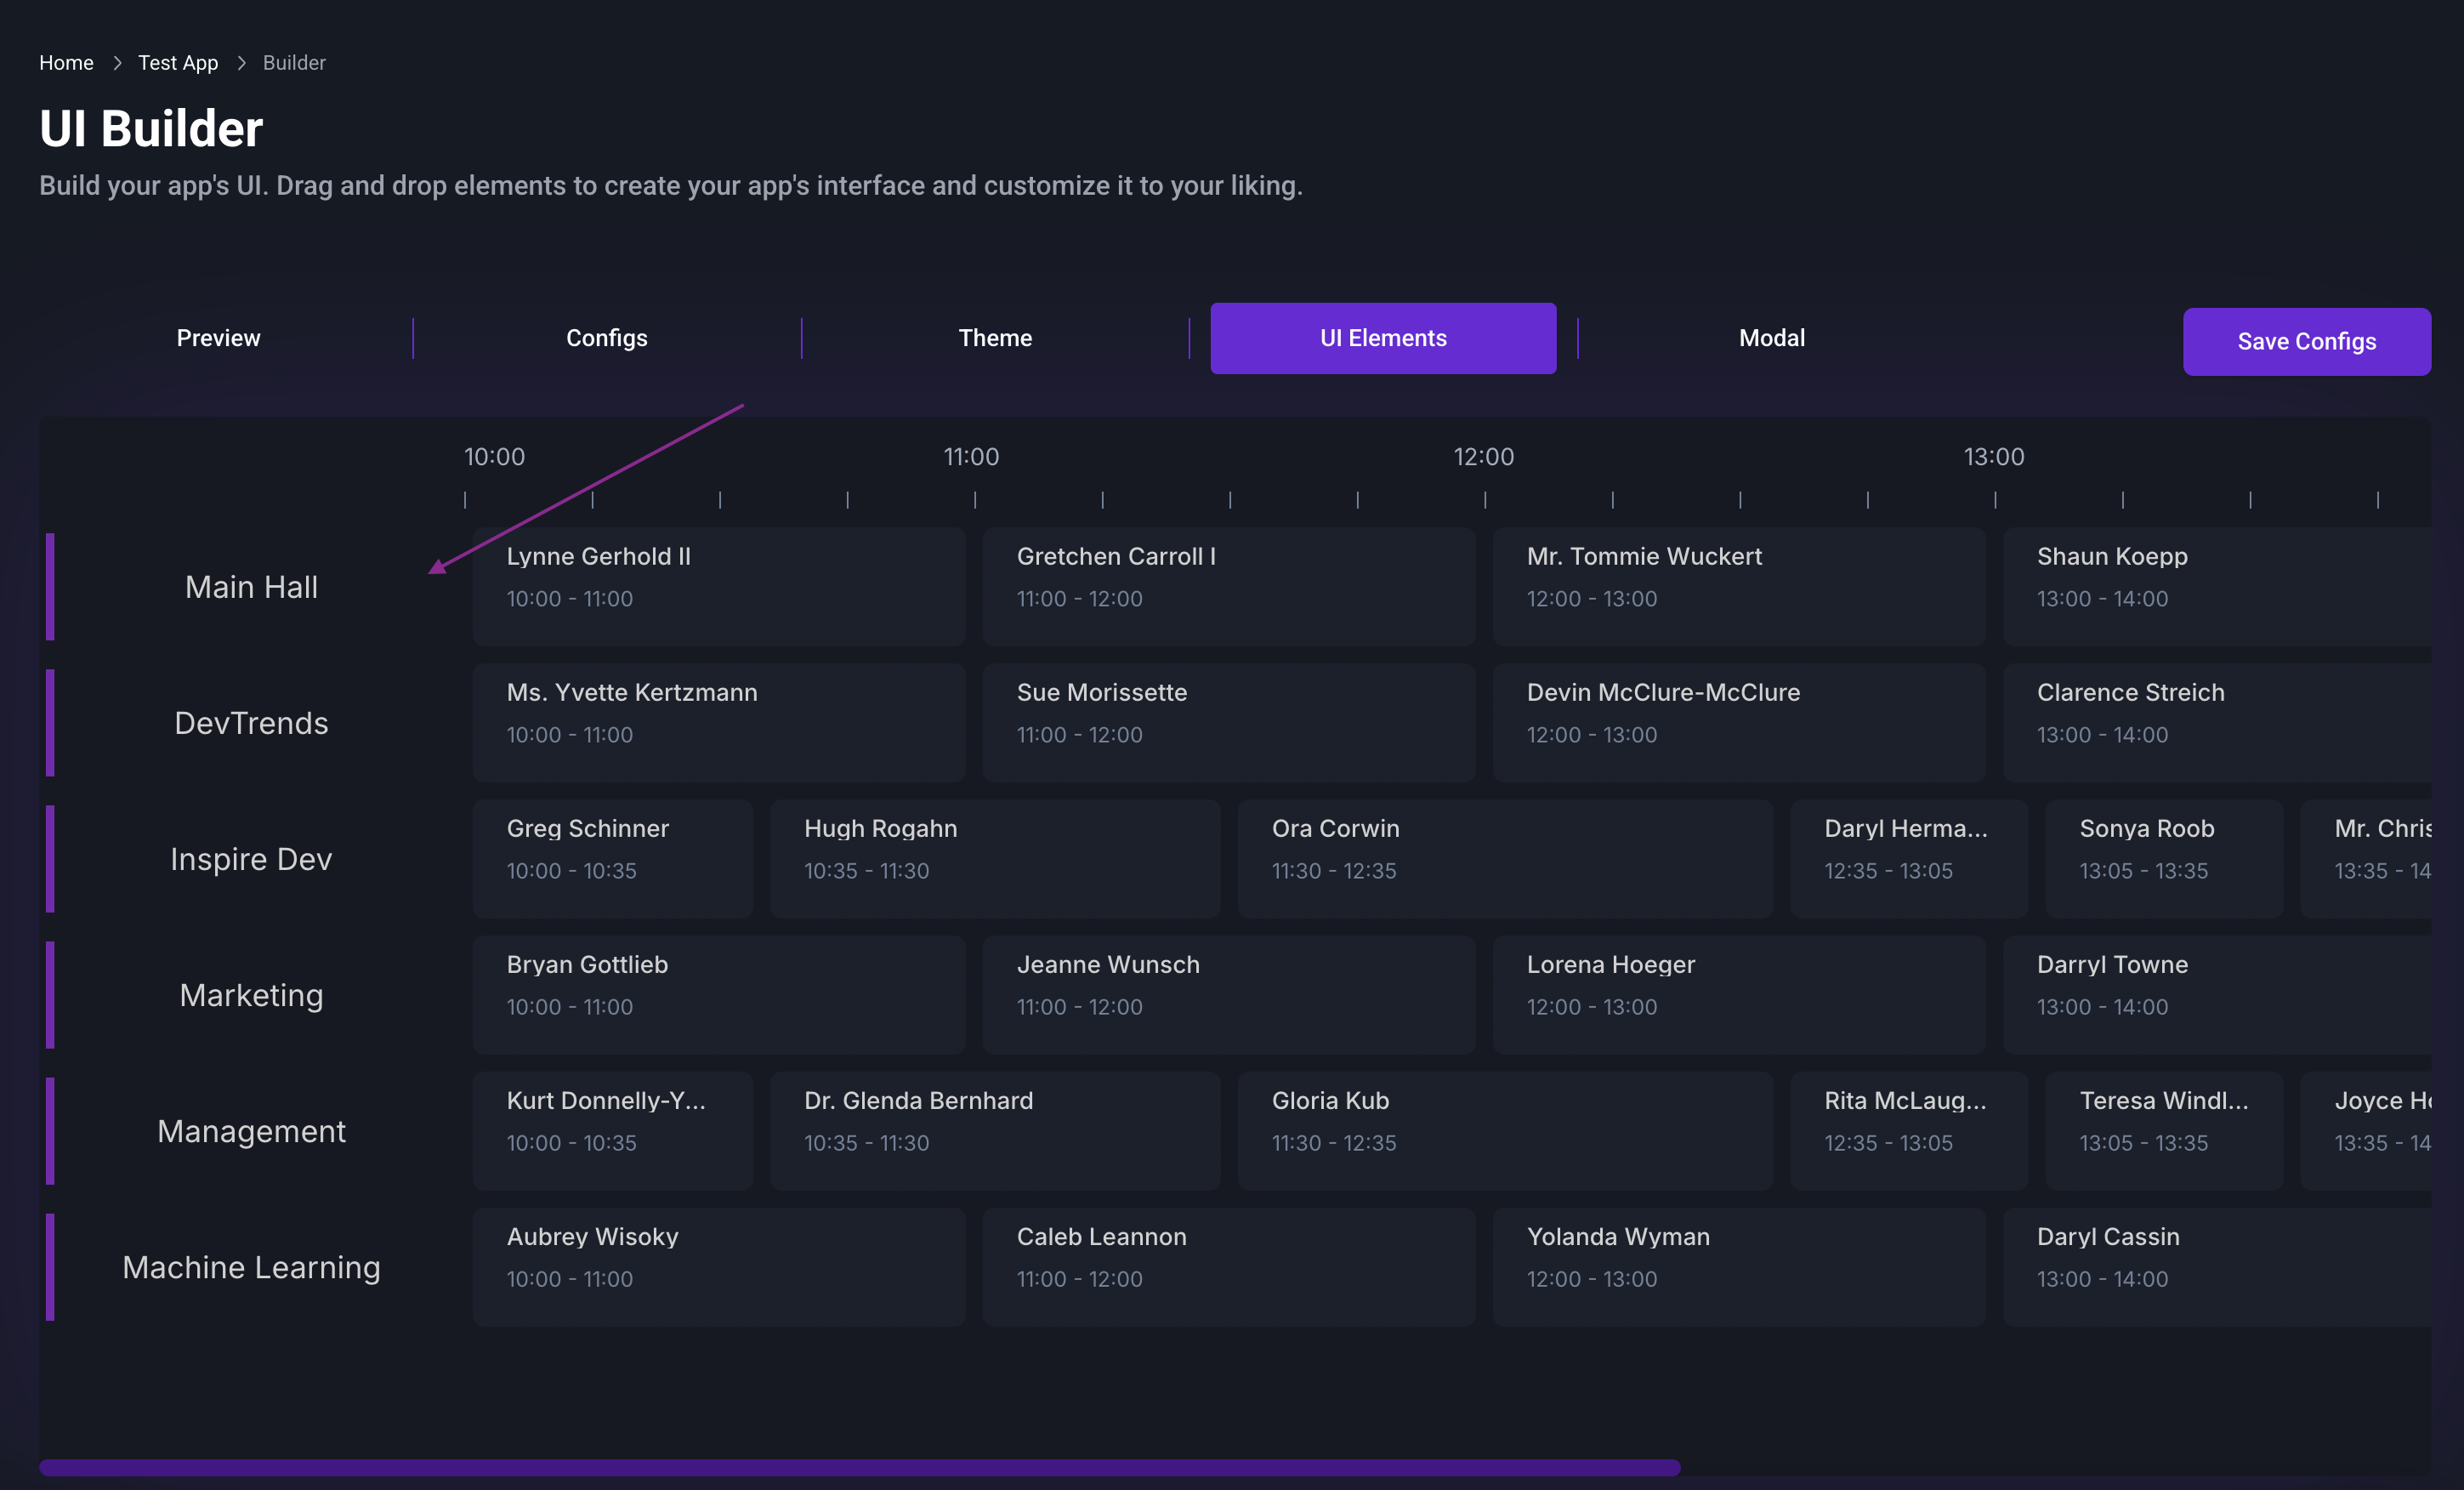
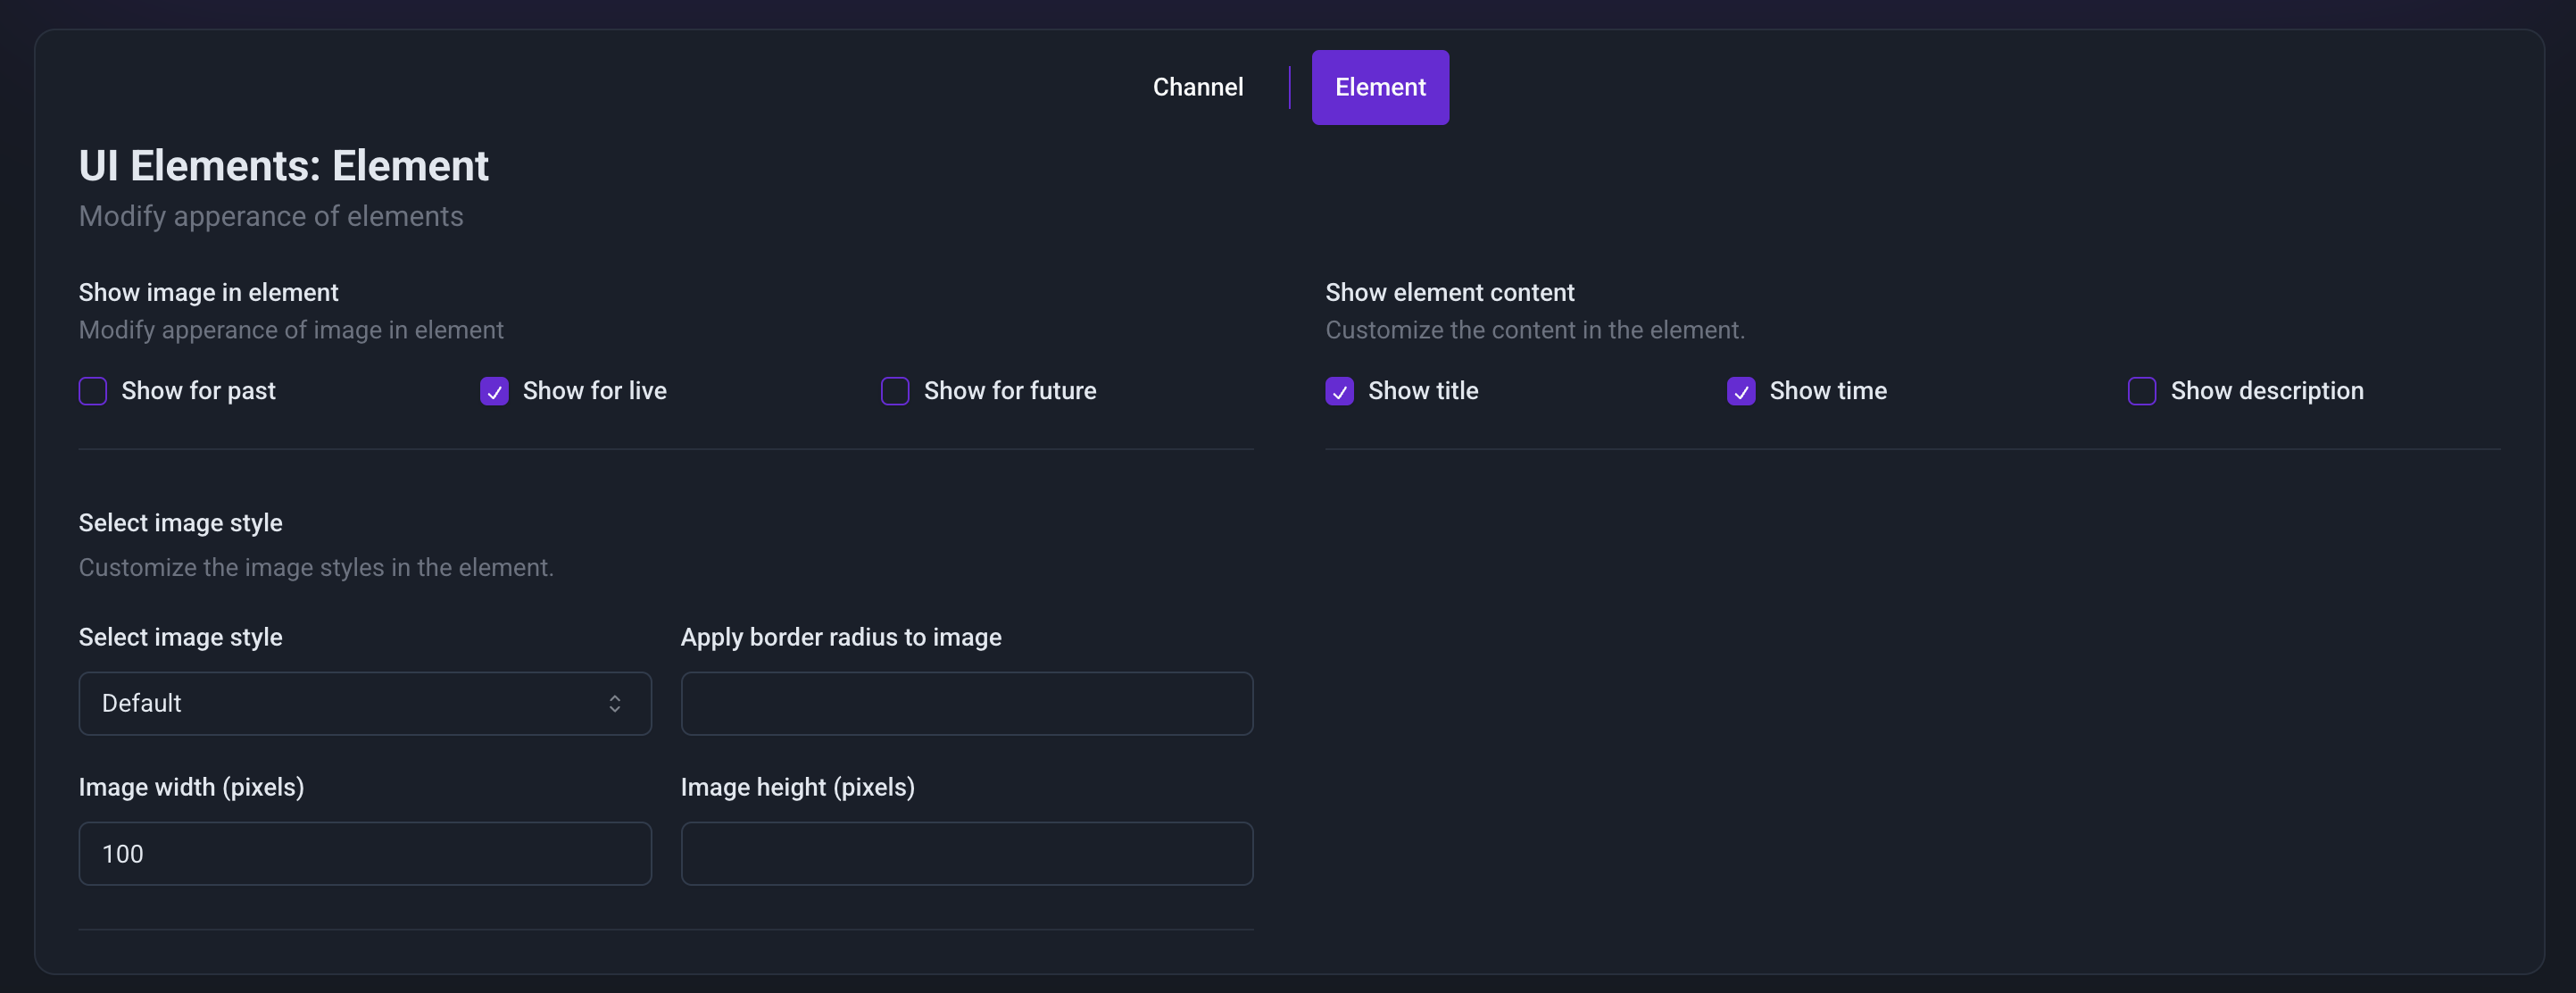
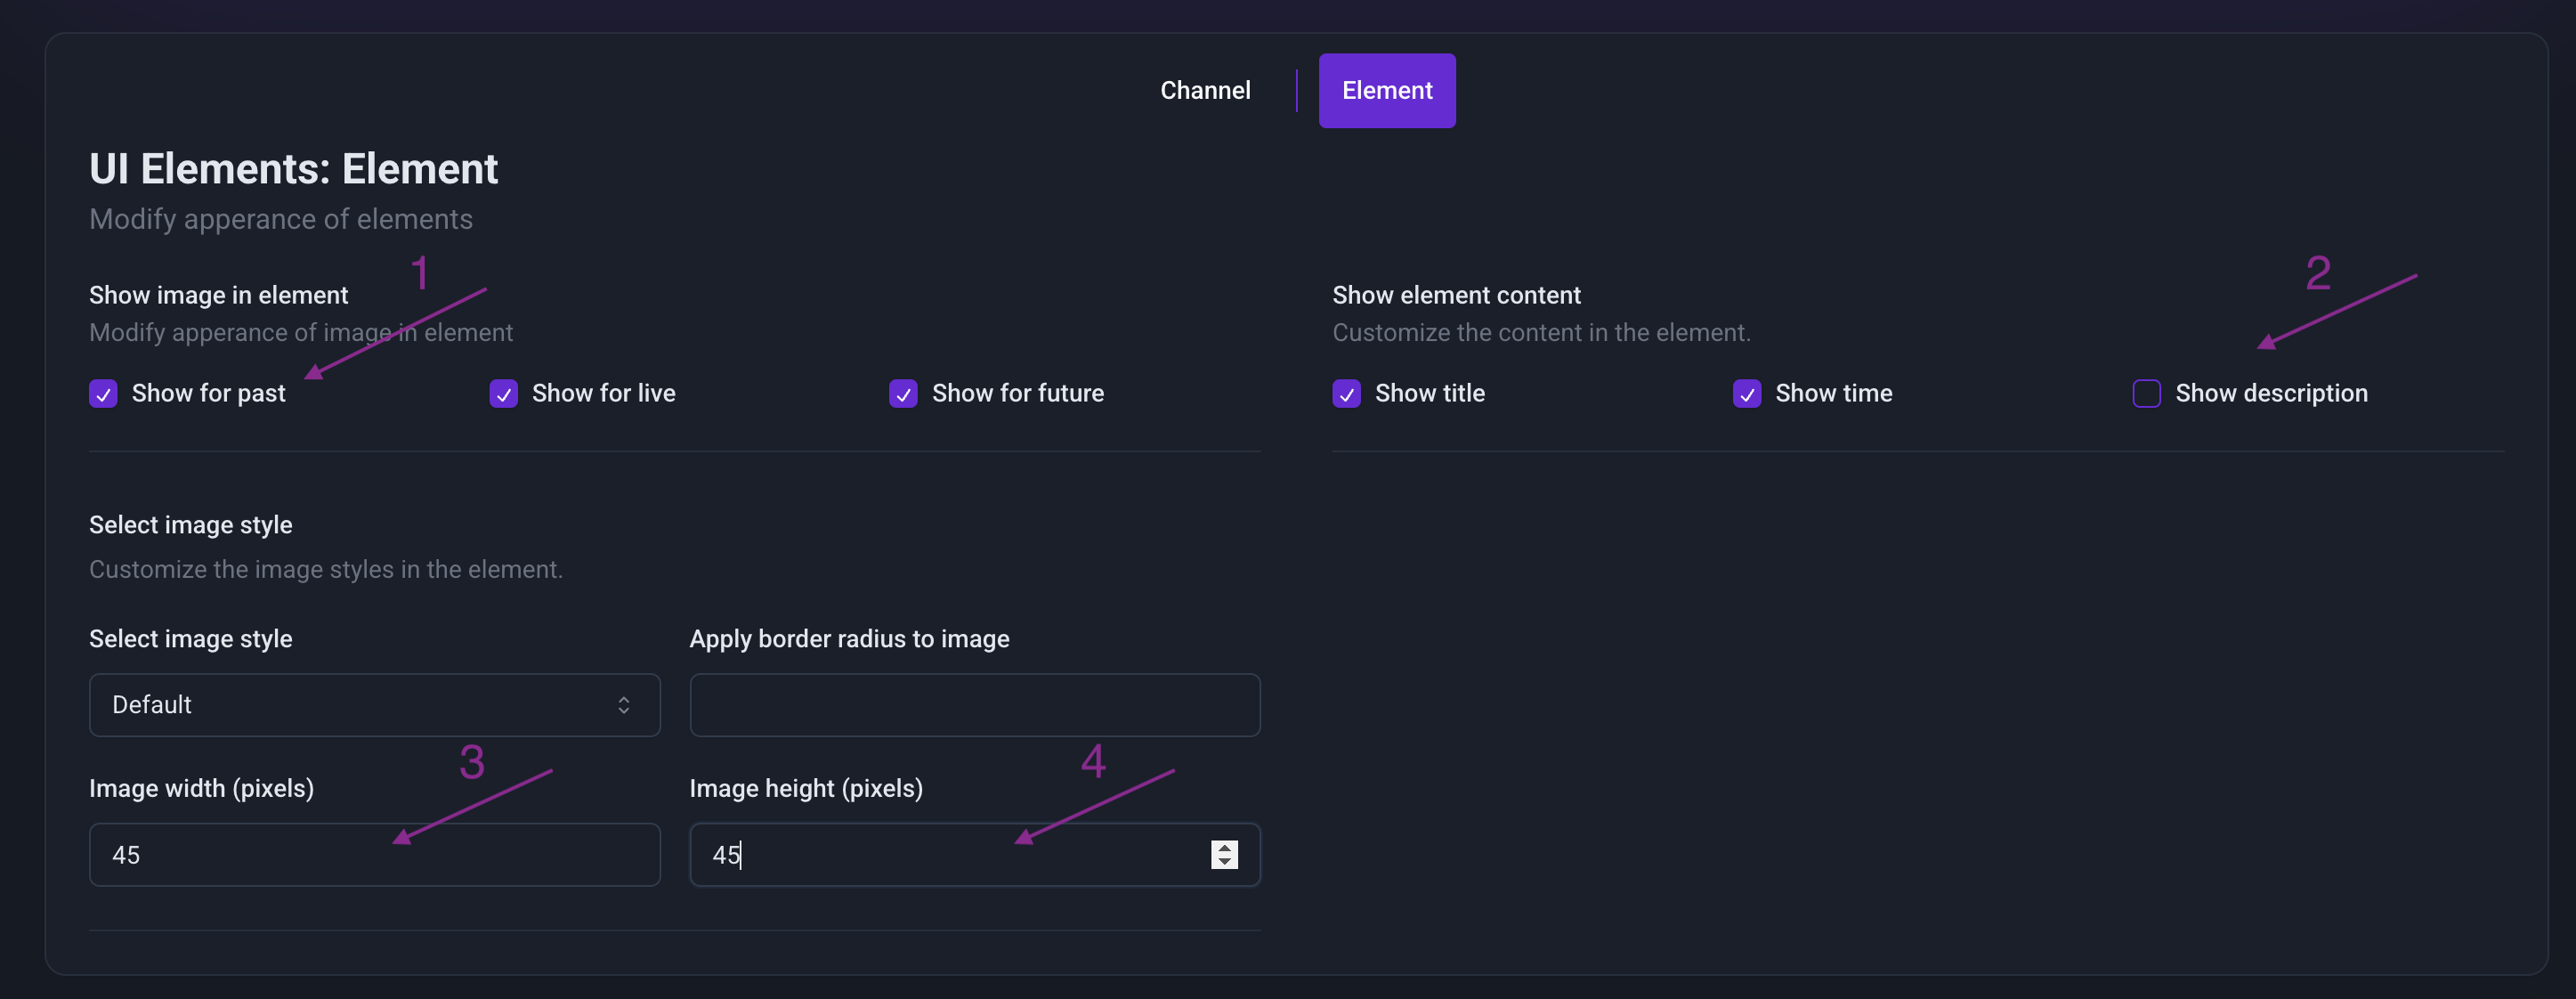
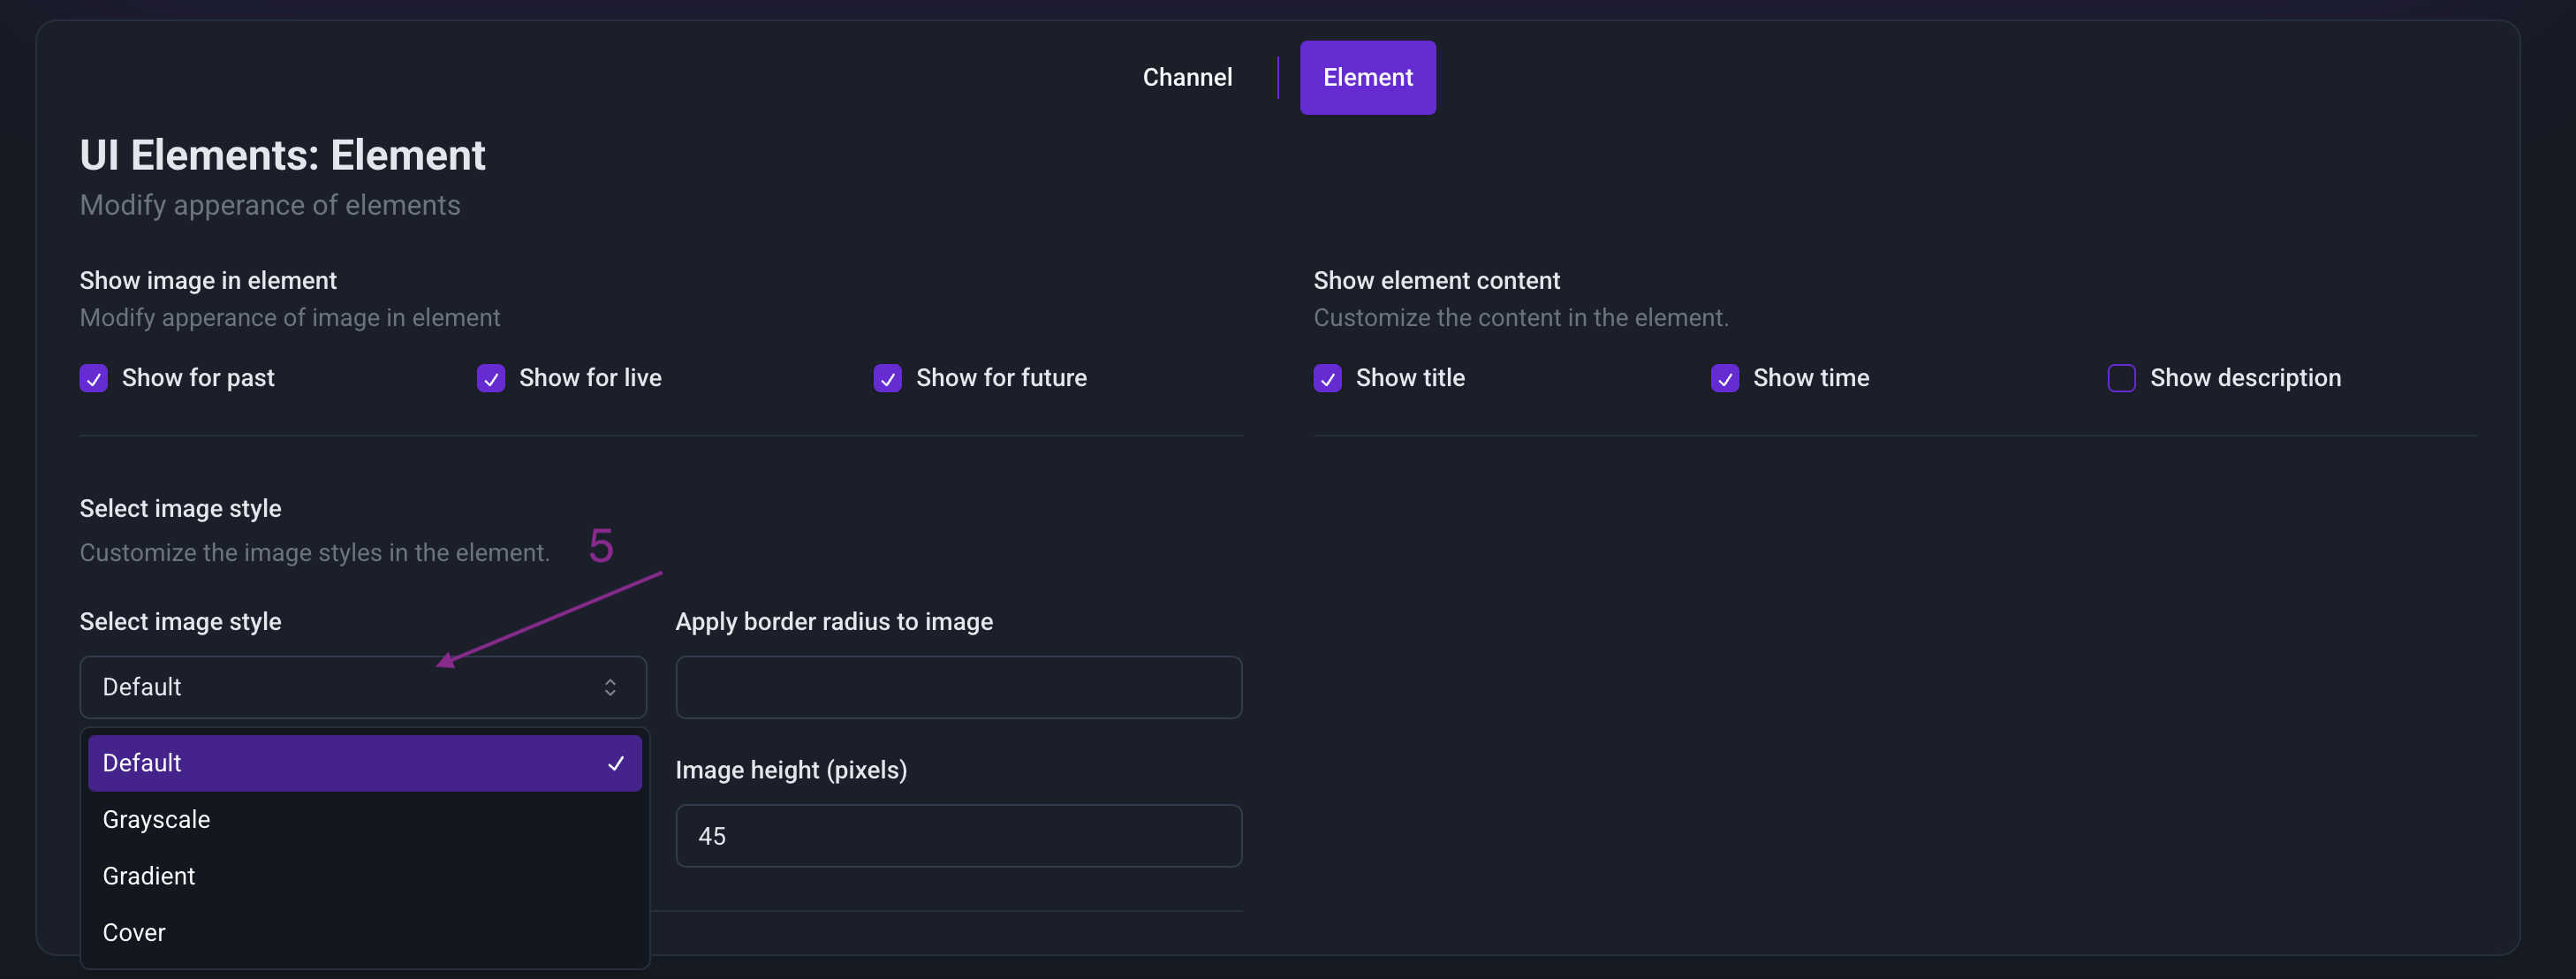
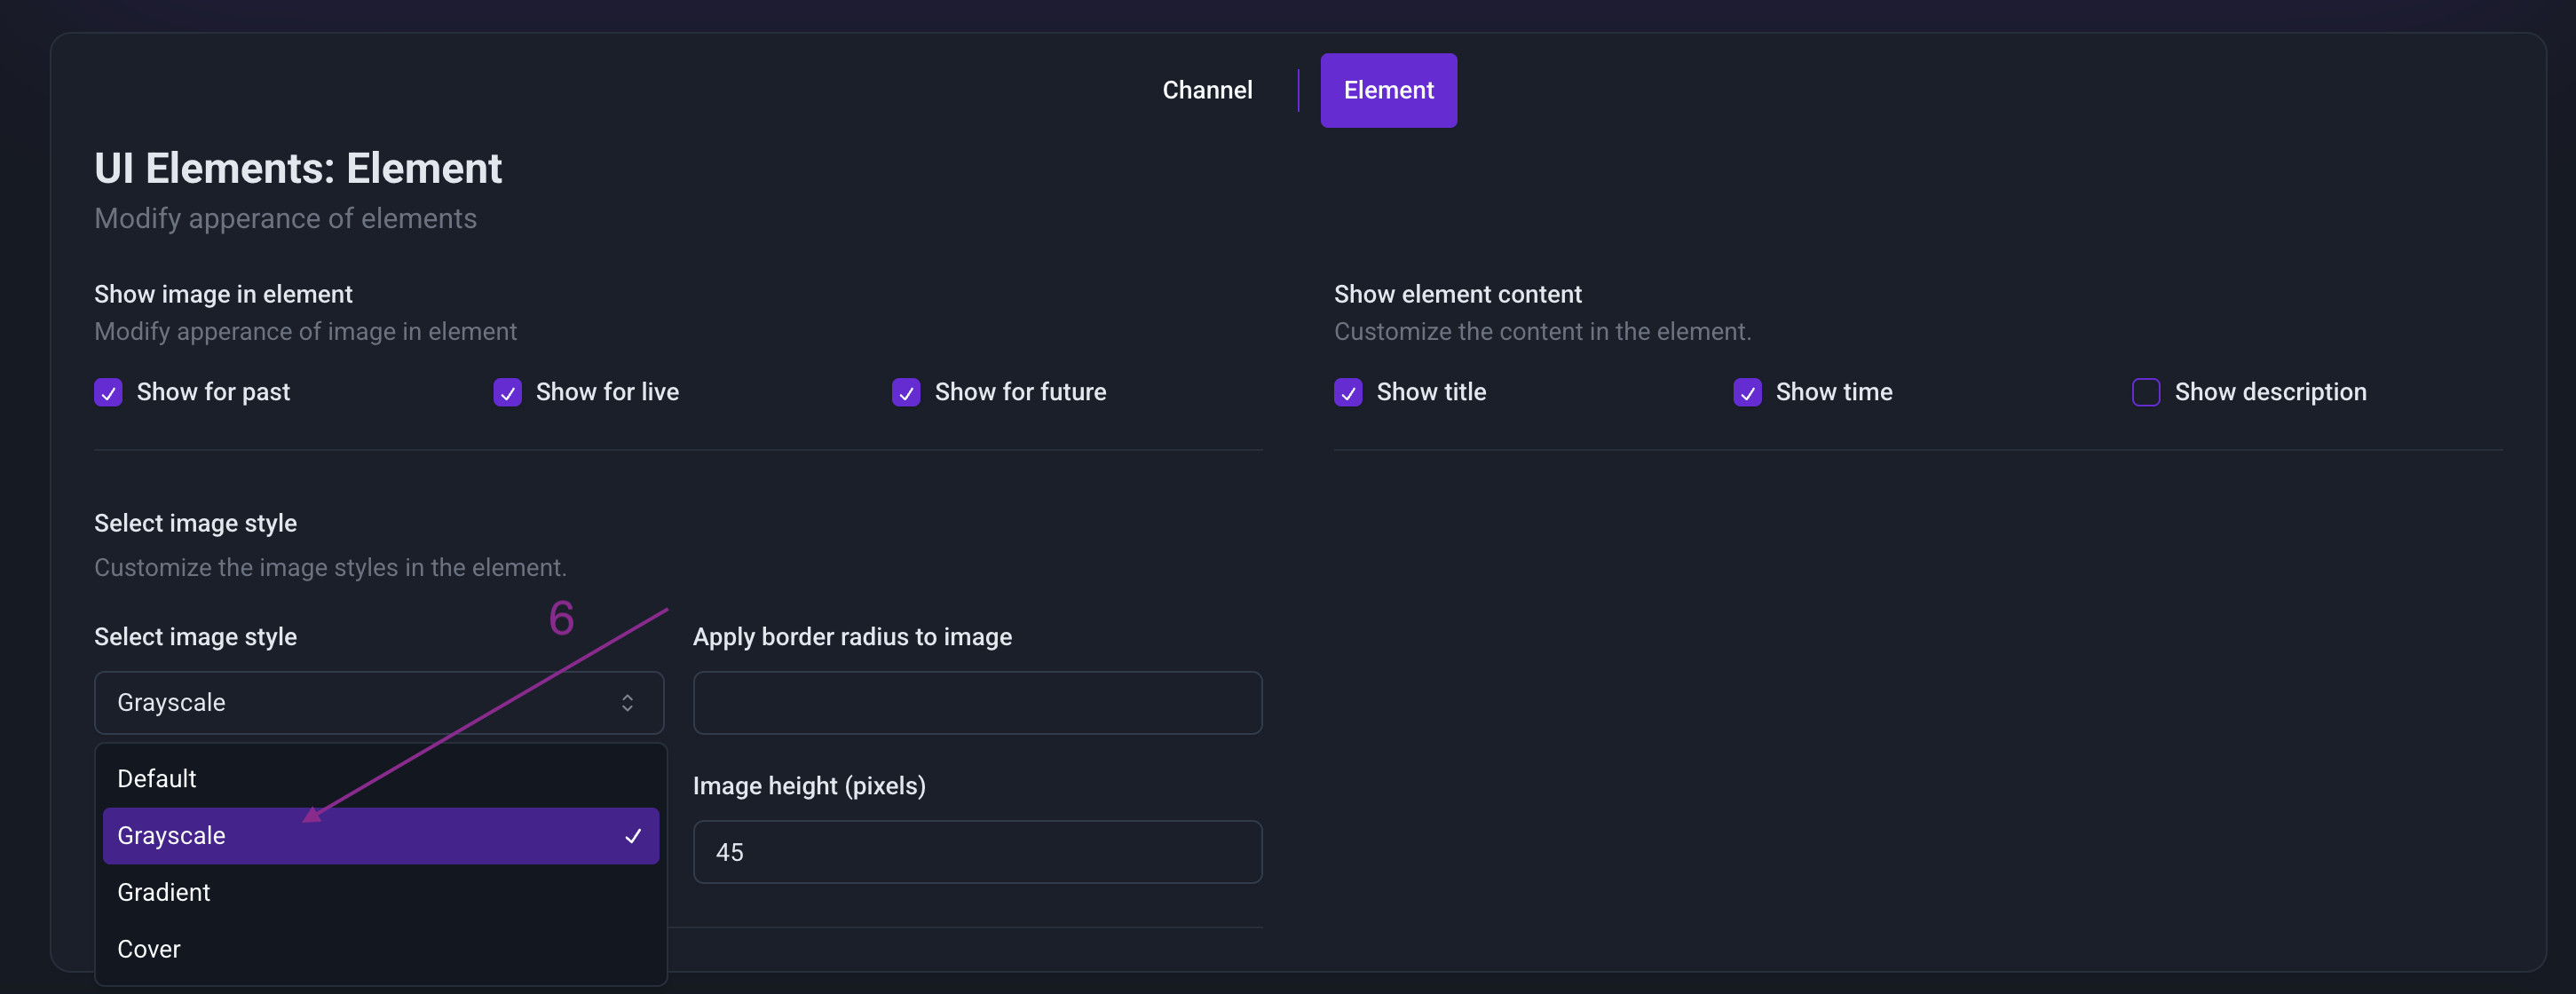
3.3 In the "UI Elements" "Elements" tab, you can customize the look and feel of your application.
- Configure the elements in the main area
- Drag and drop elements onto the canvas to create your desired layout.

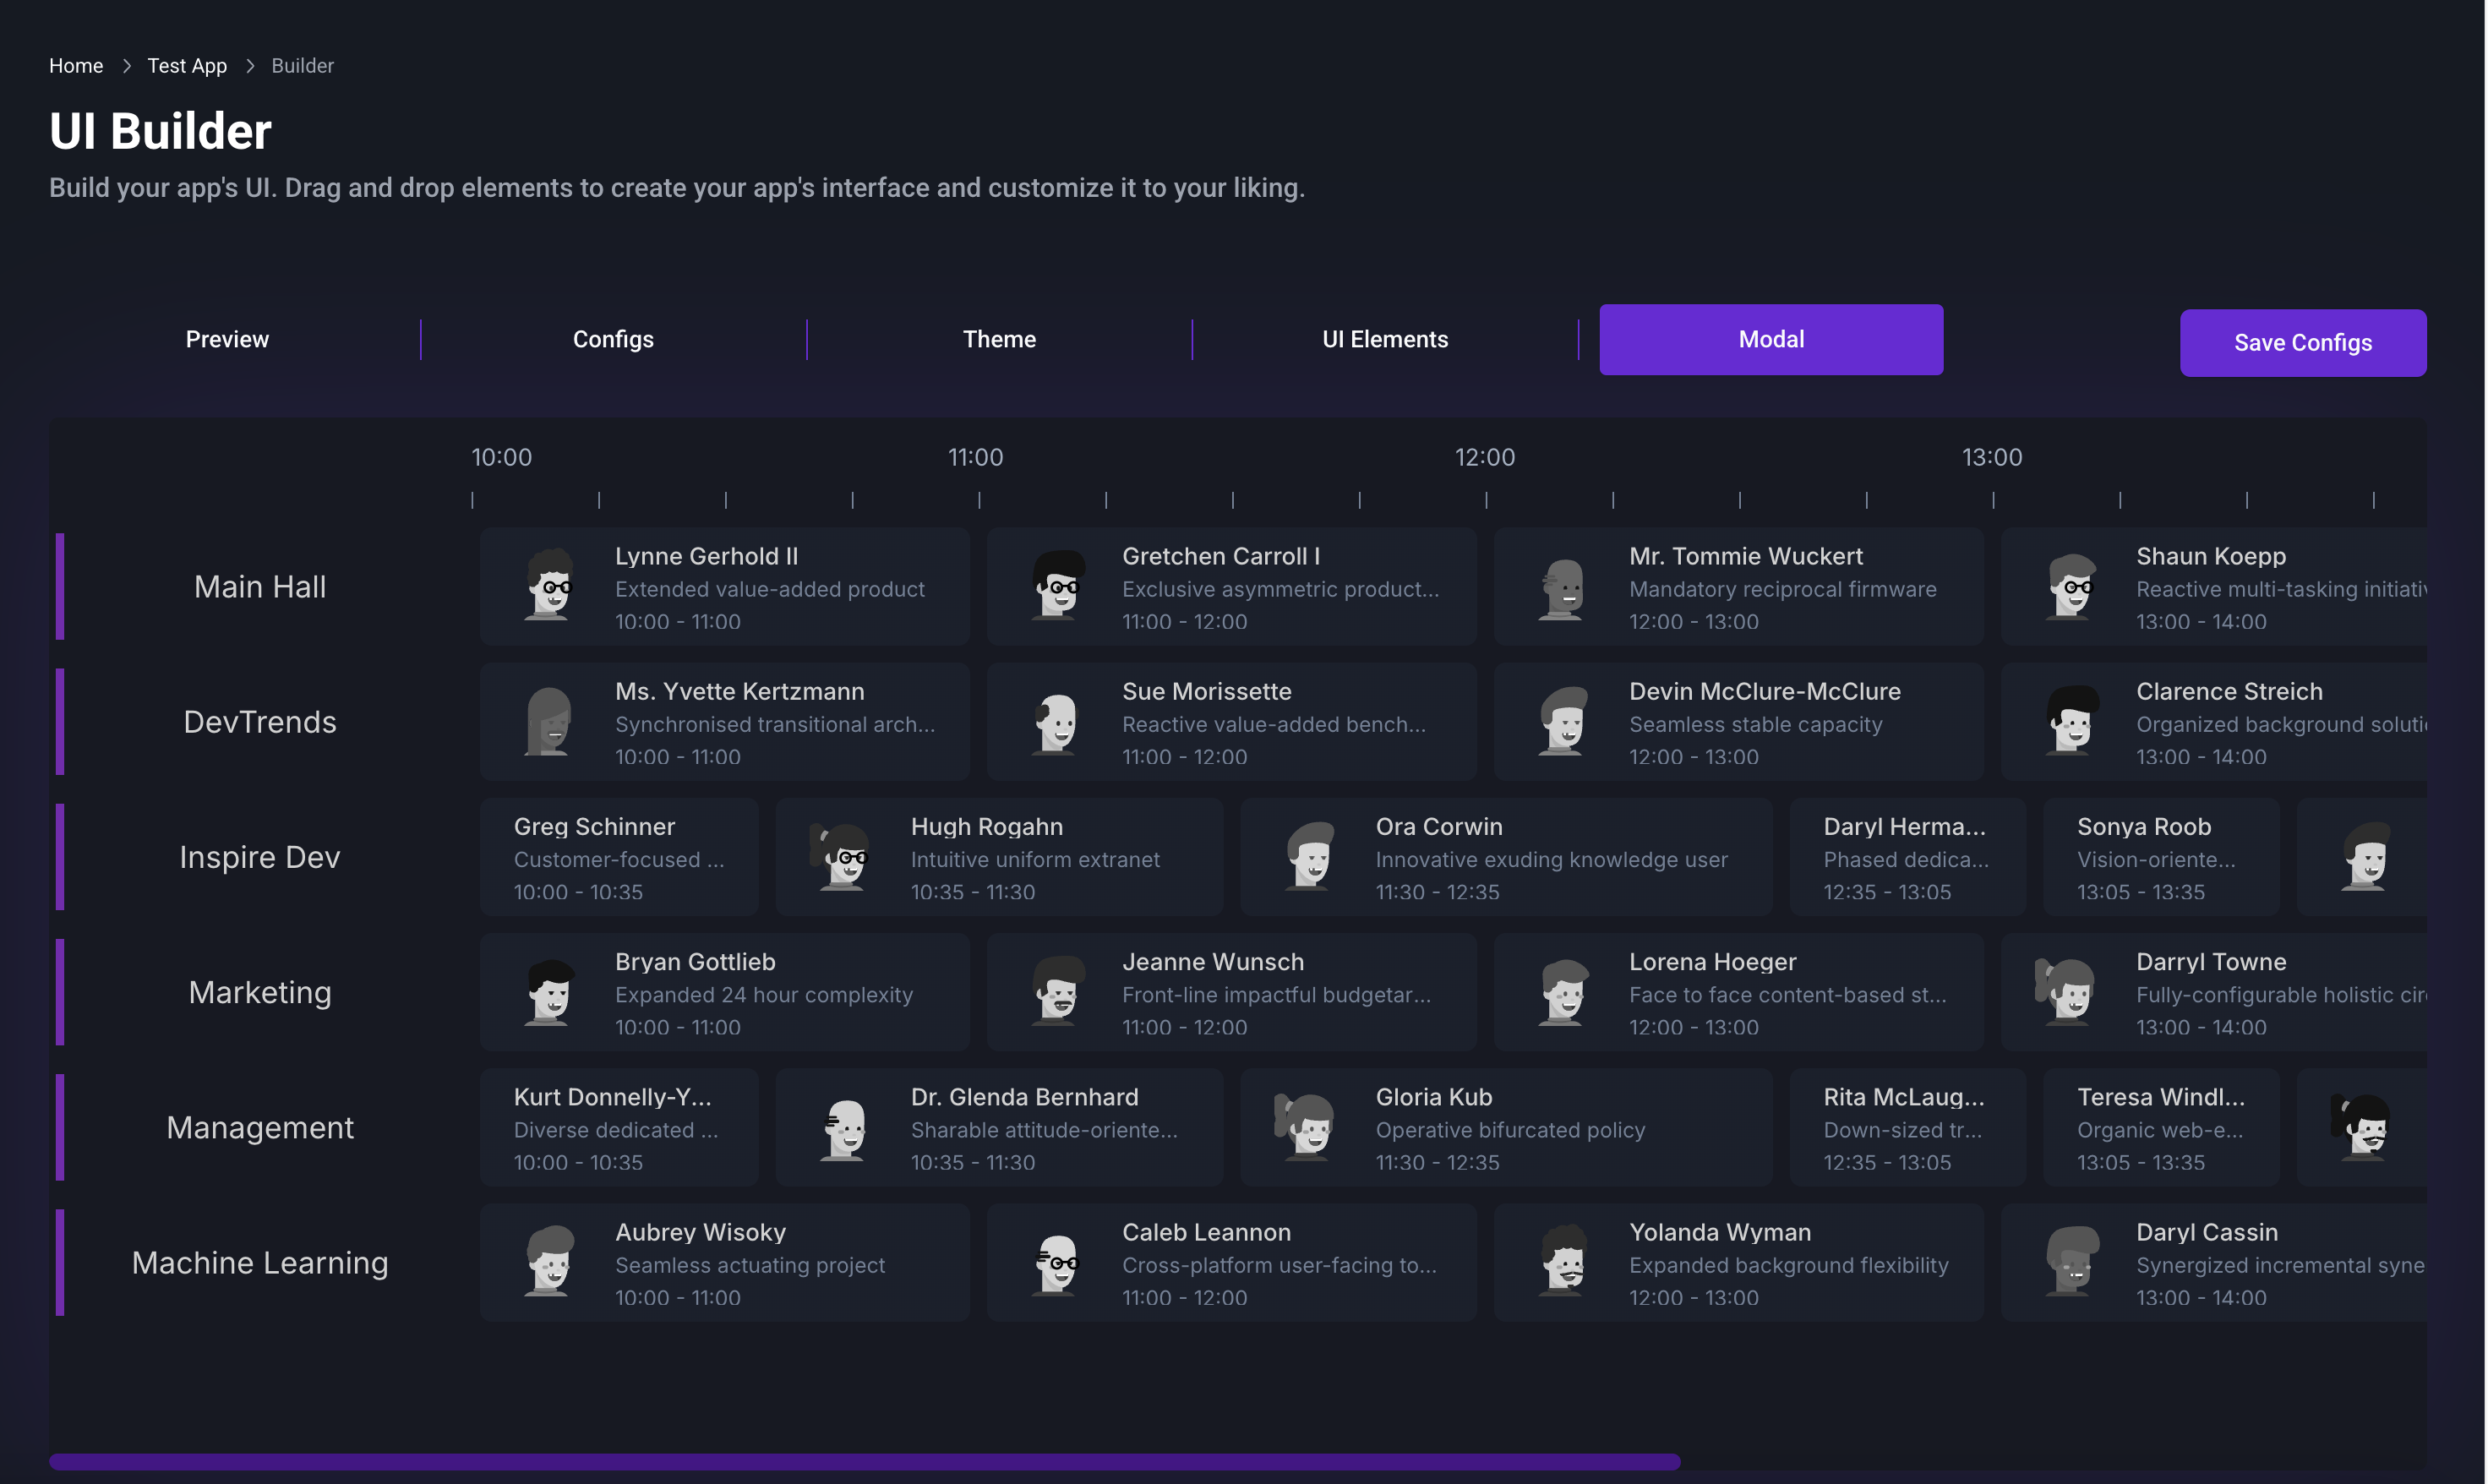
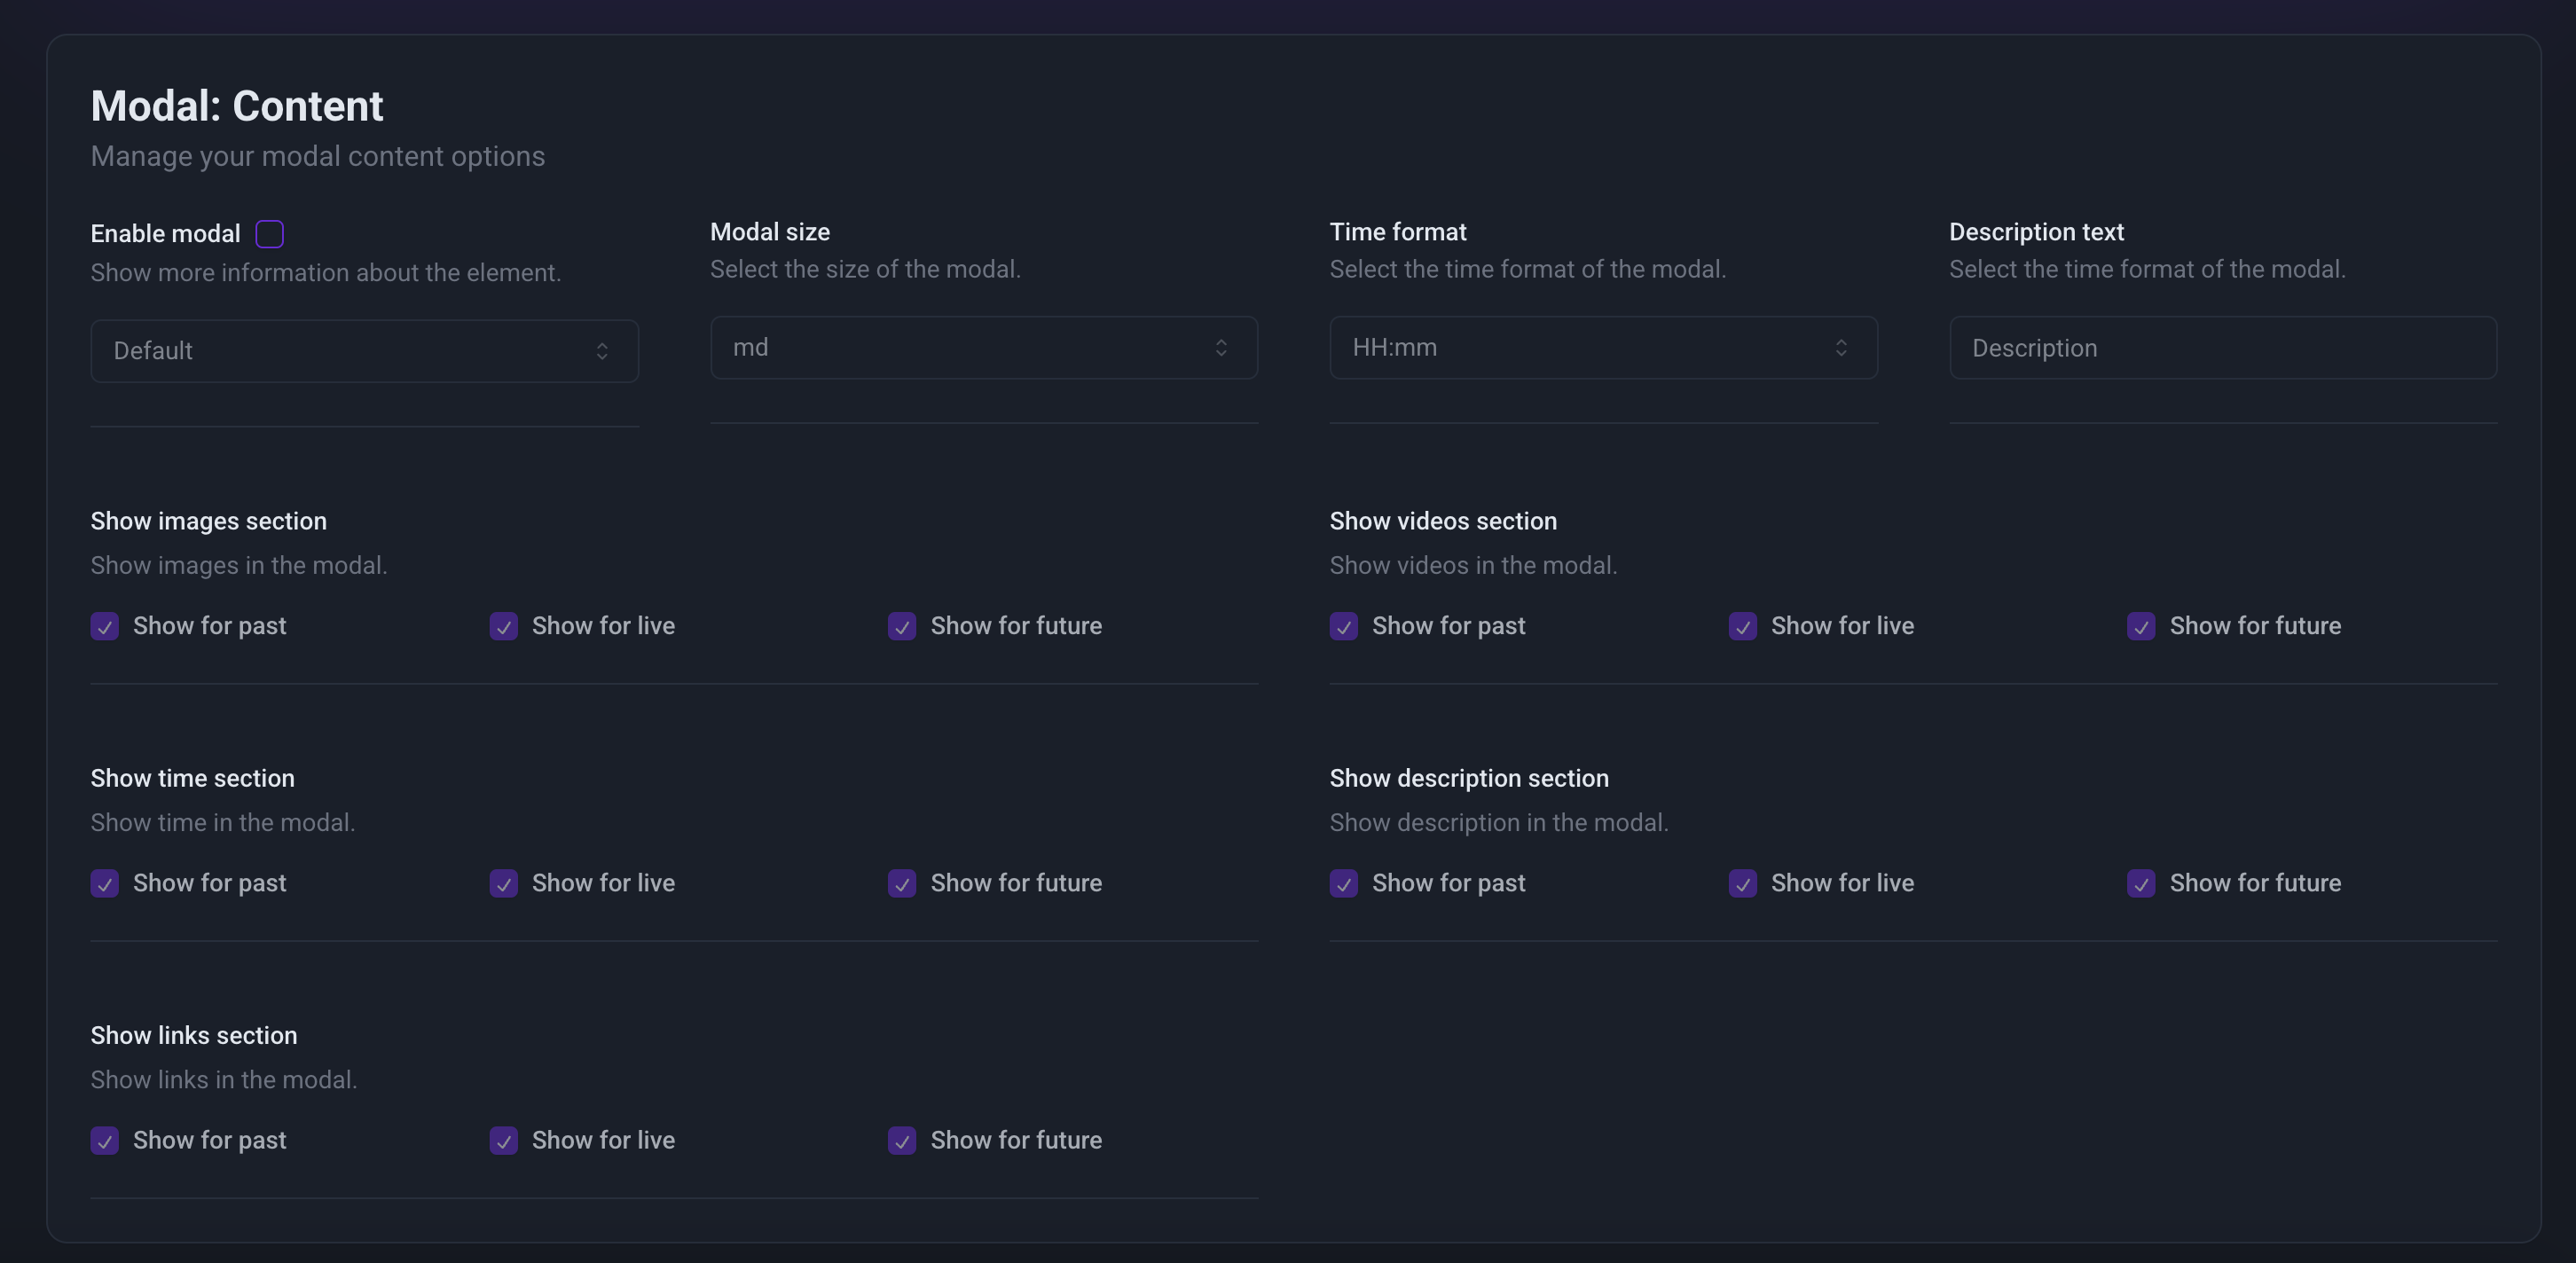
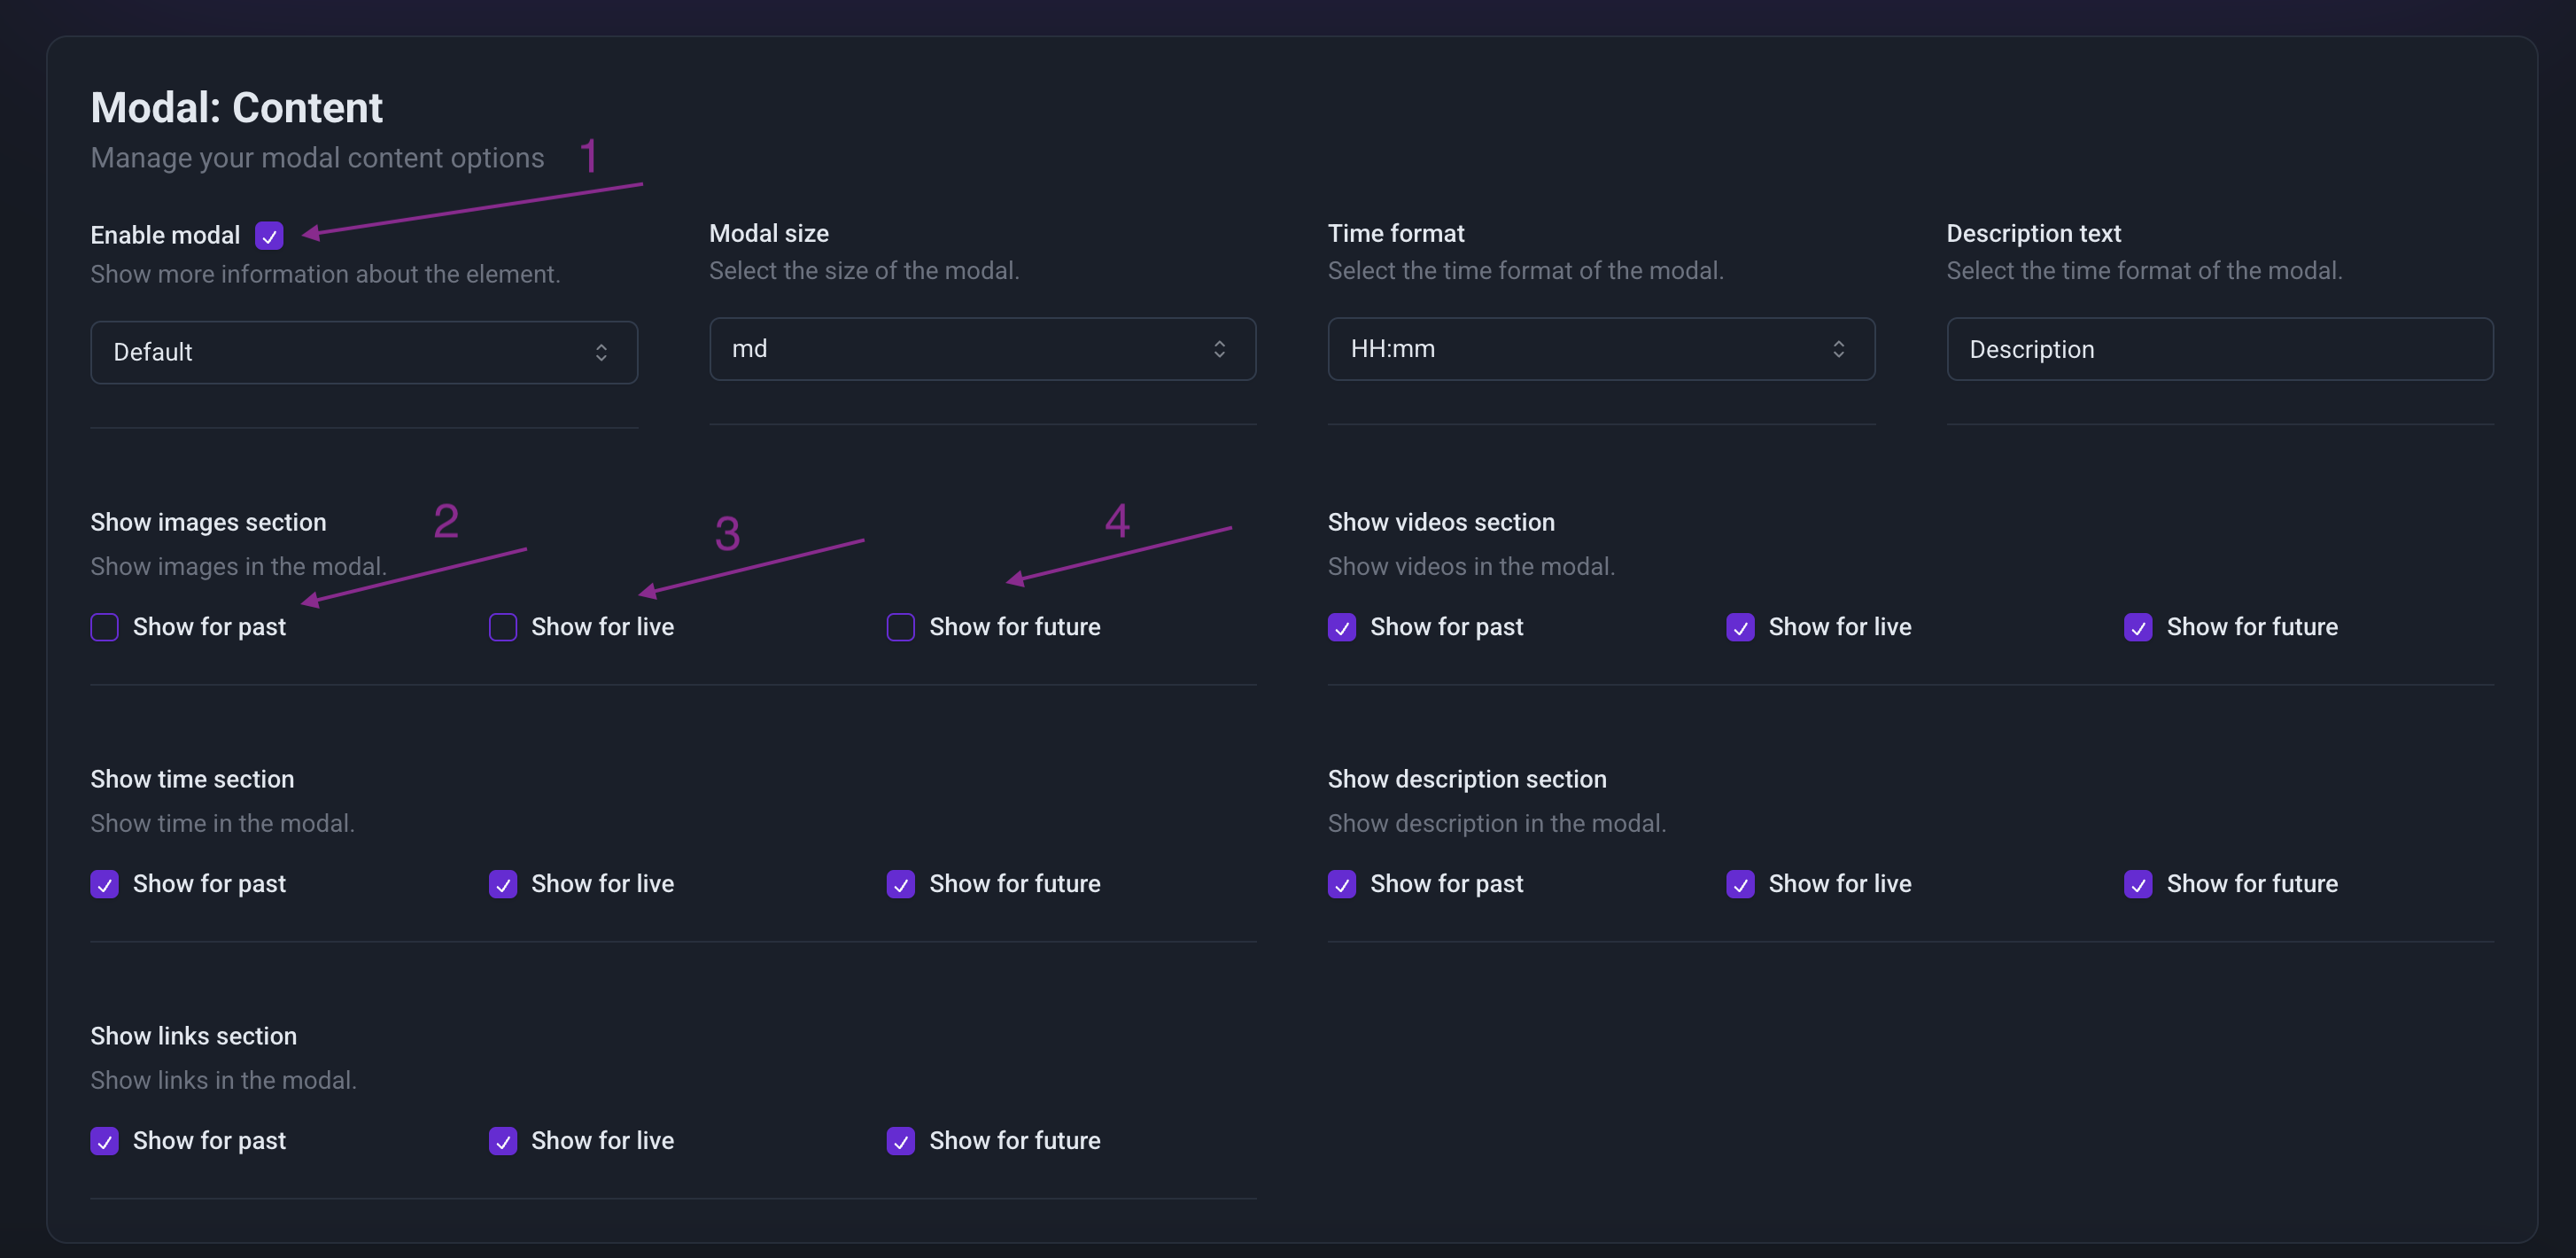
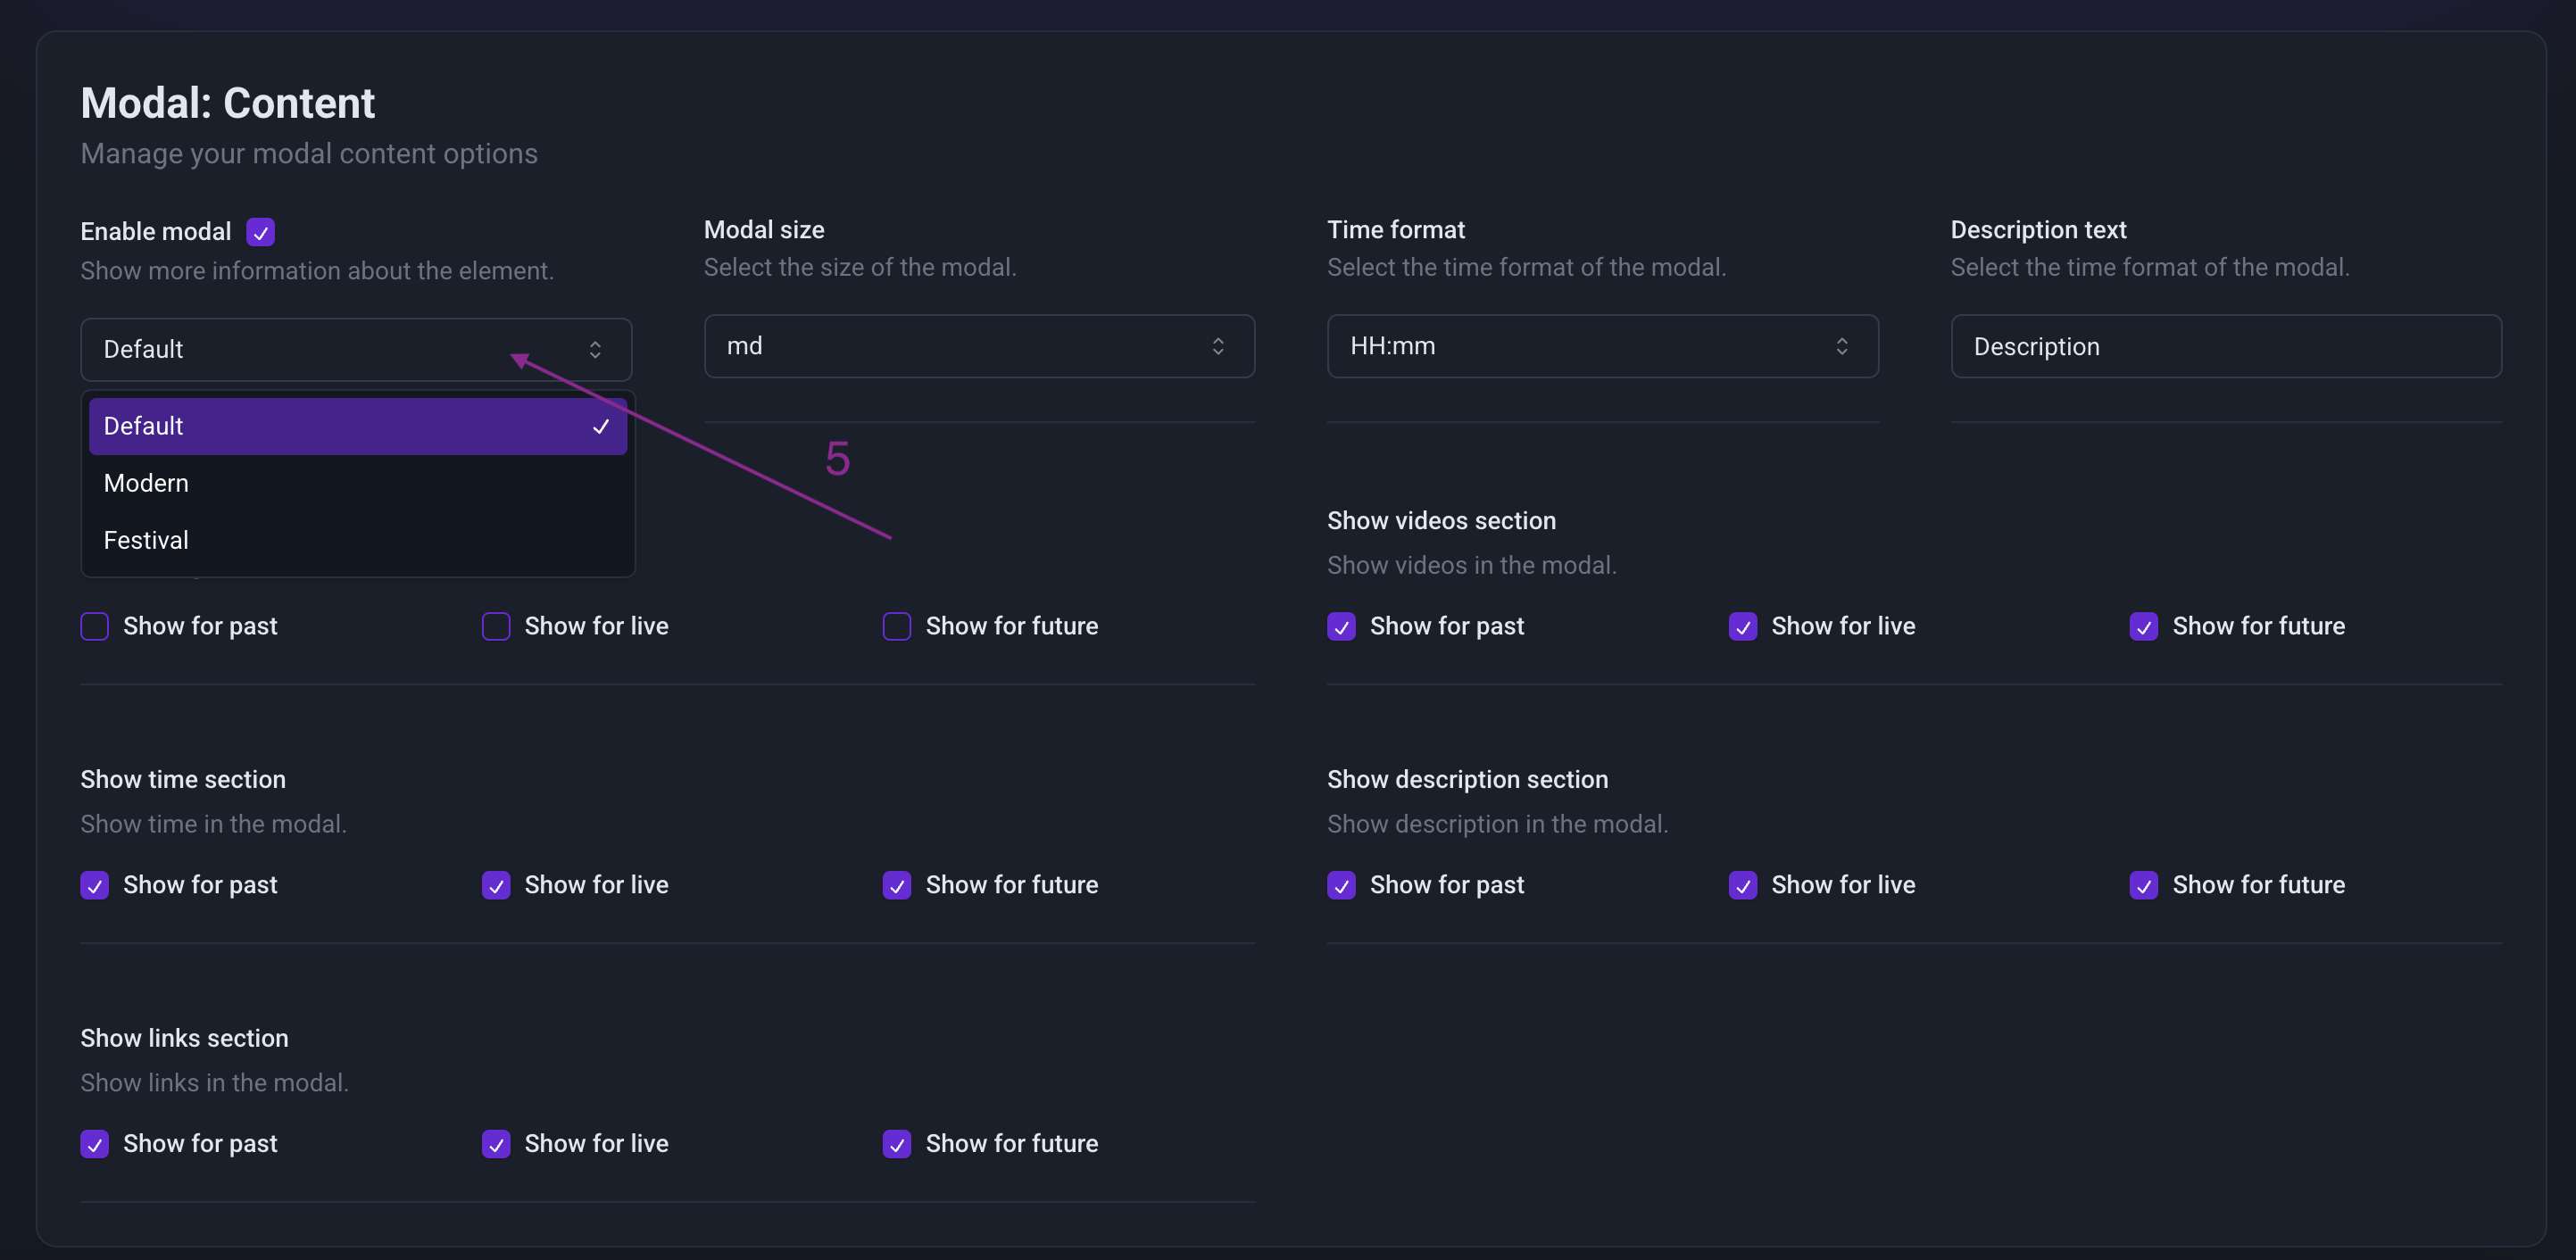
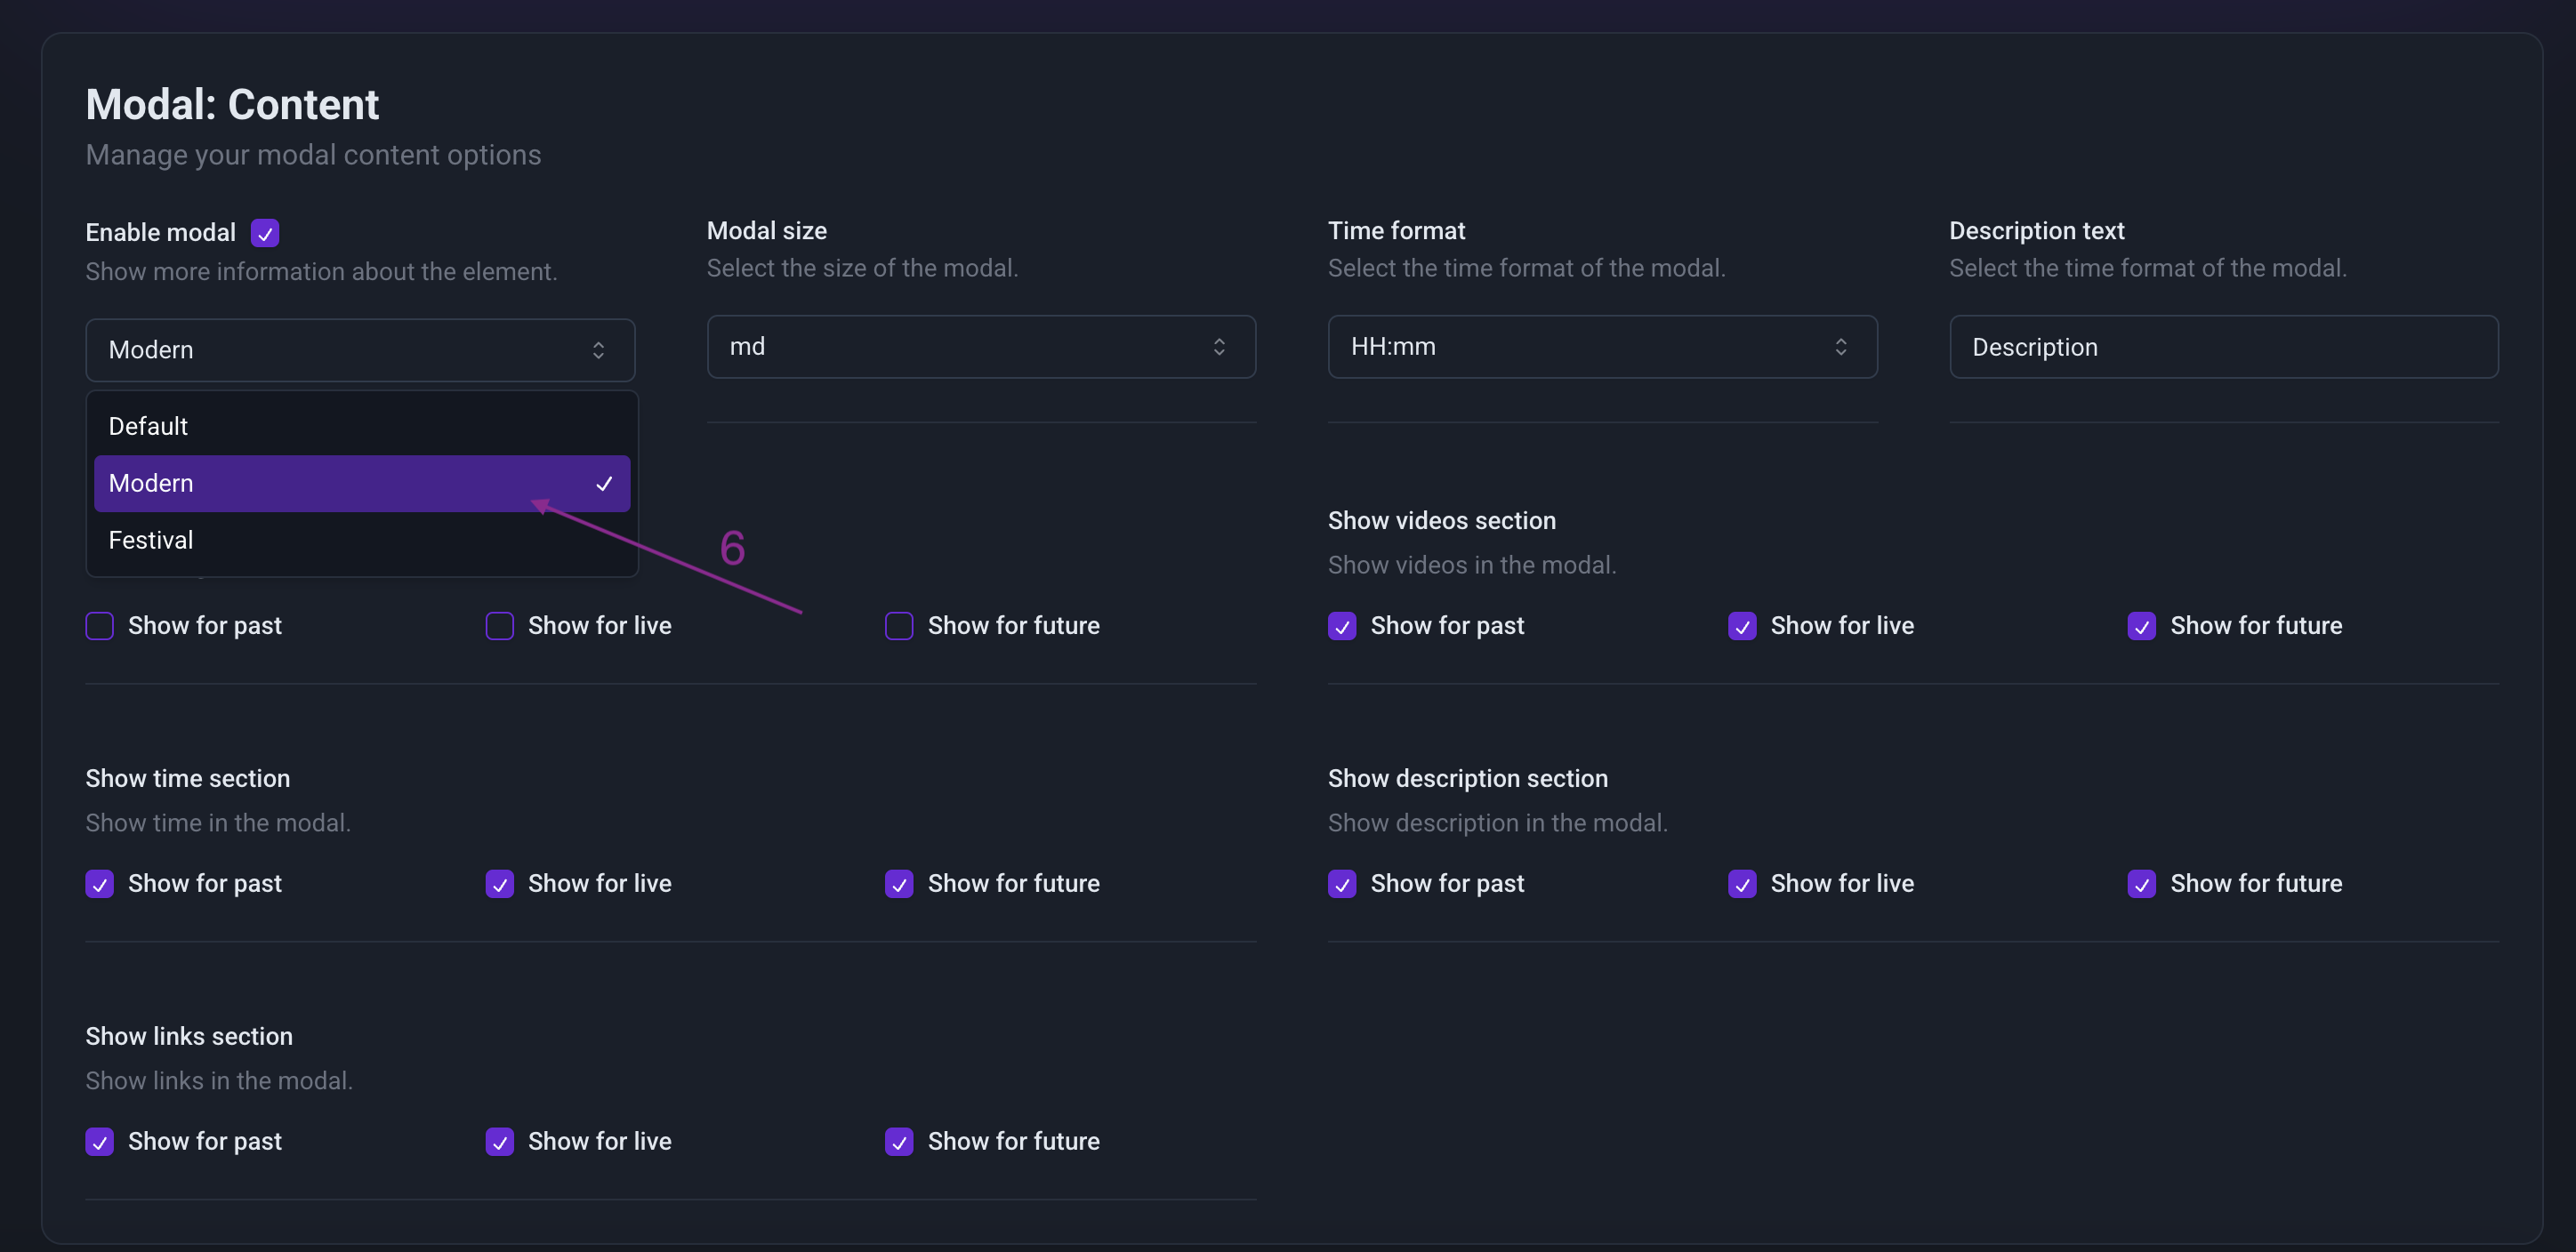
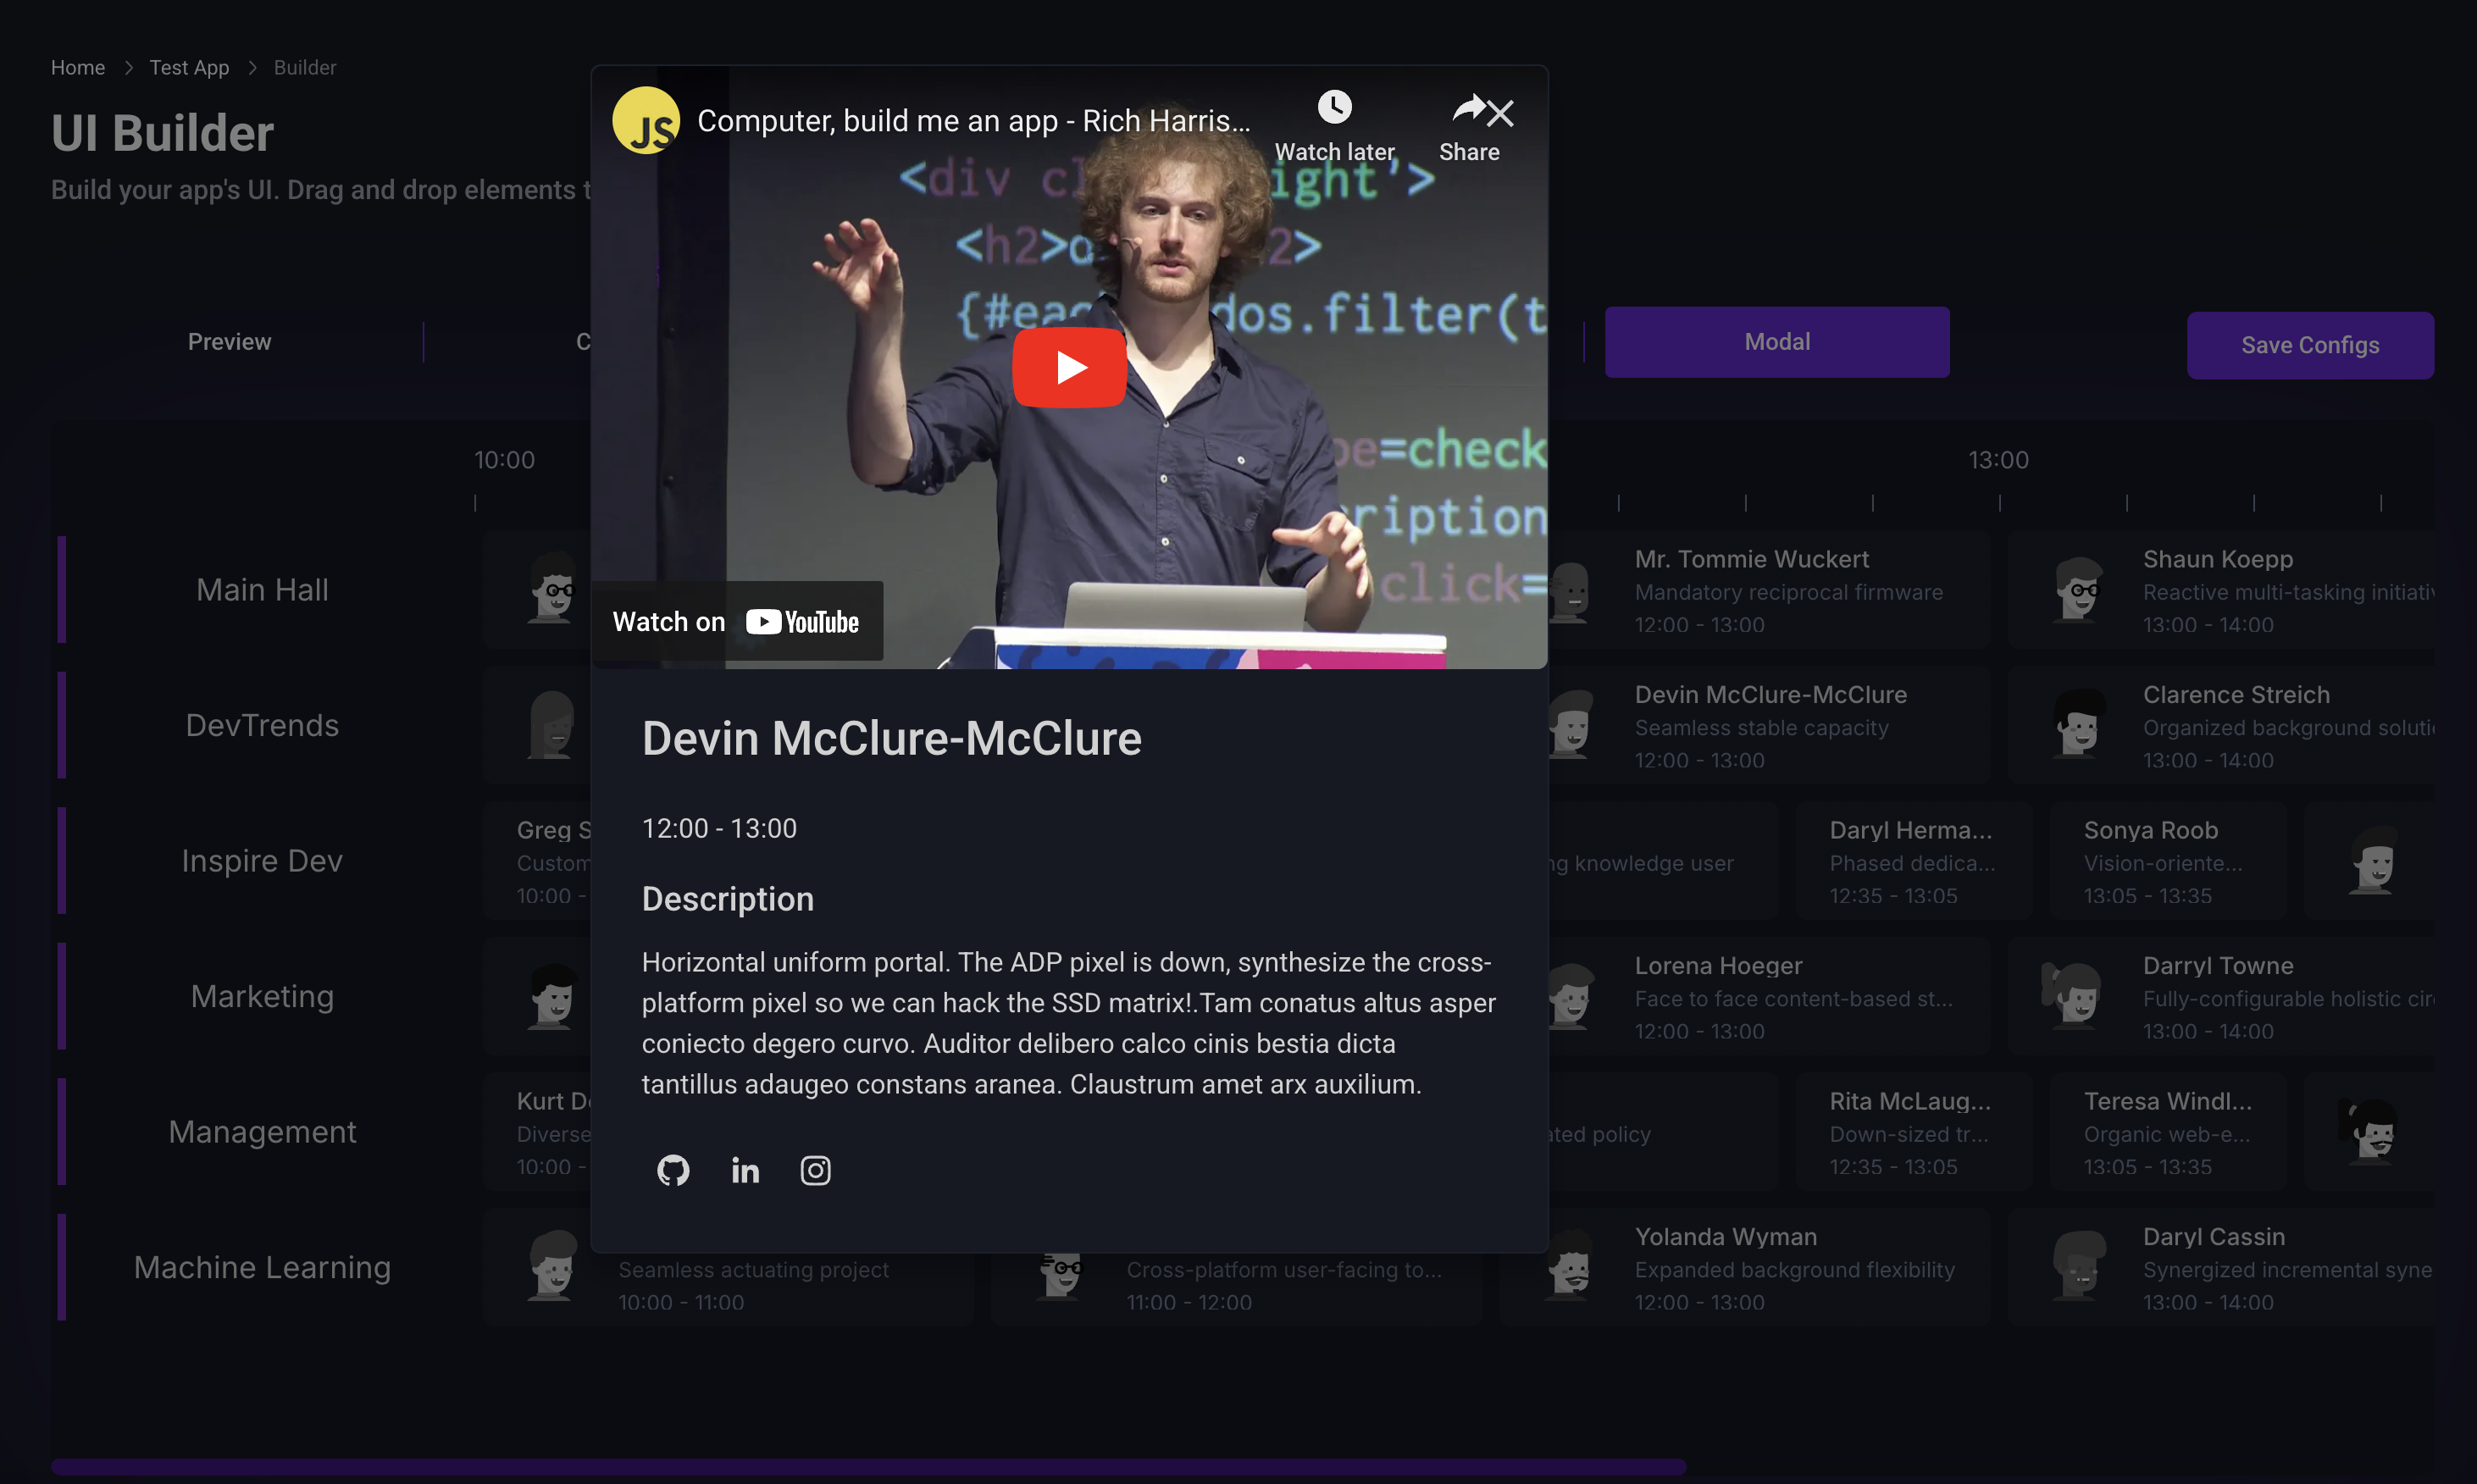
3.4 In the "Modal" tab, you can customize the look and feel of your application.
- Configure the modal window that appears when you click on an element.
- Customize the content of the modal window.
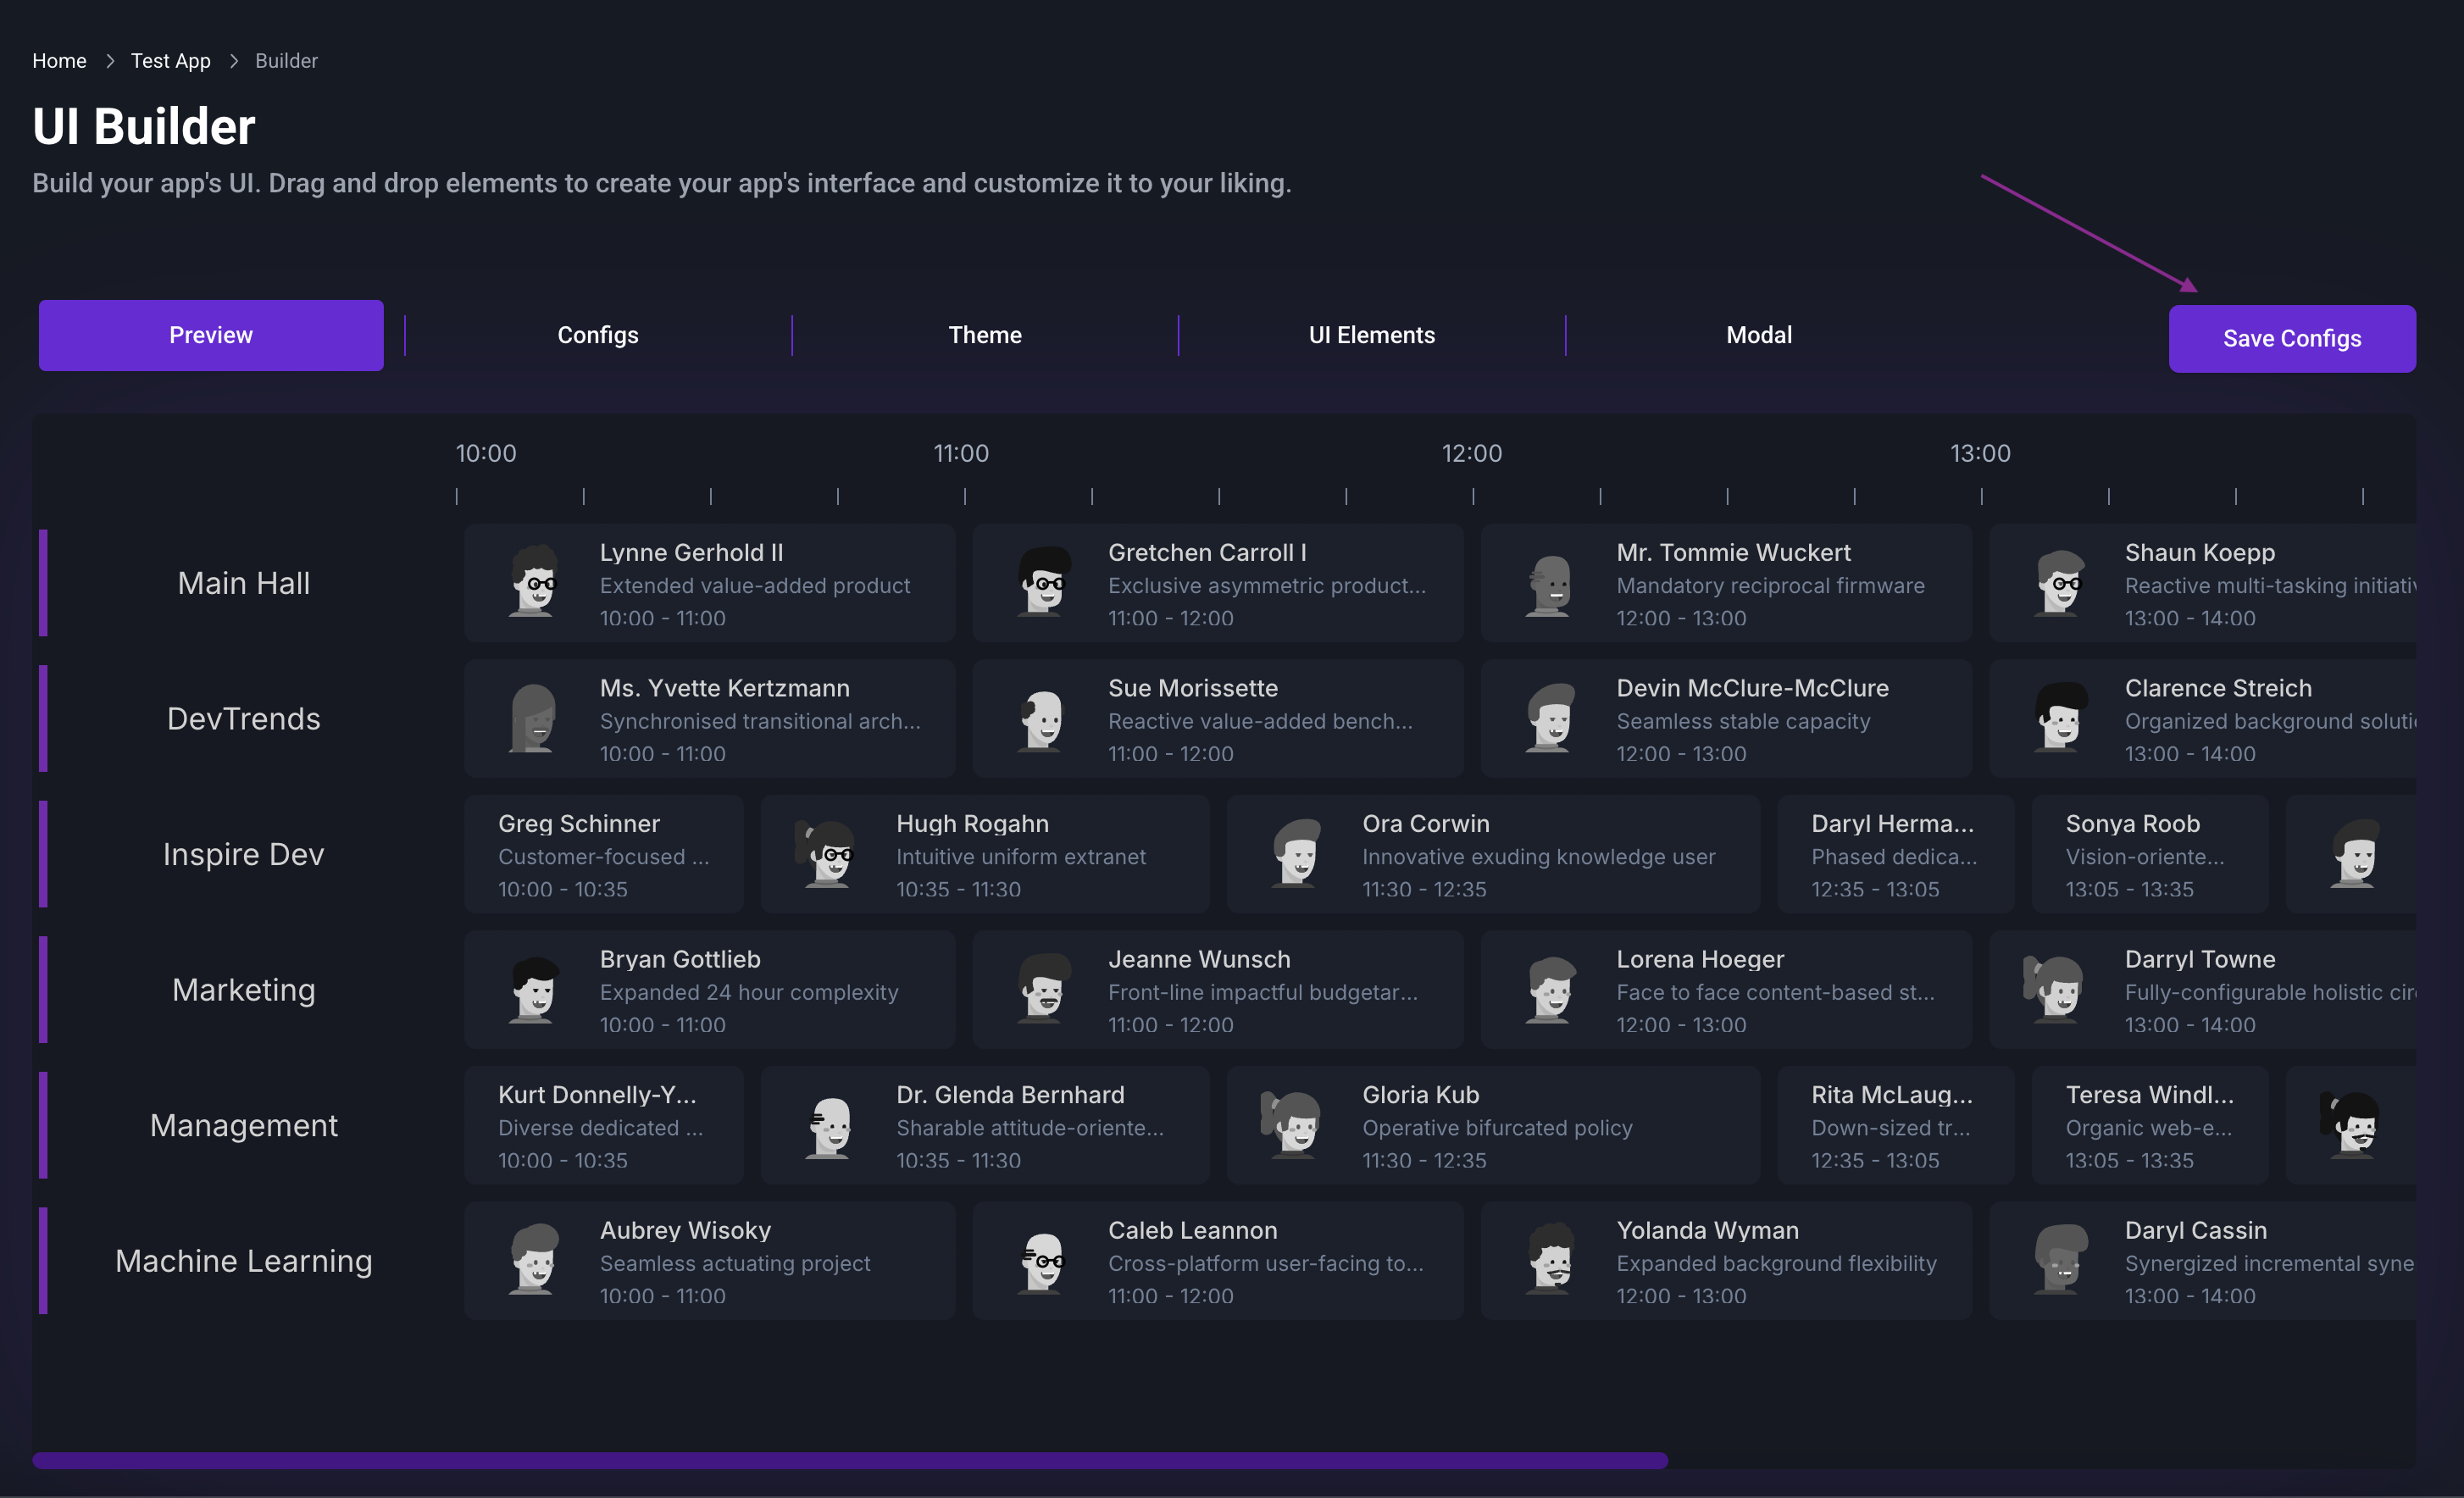
4. Save Your Changes
- After making your configurations and customizations, click the "Save Changes" button to save your settings.
- This ensures your progress is secure and ready for the next steps.
5. Prepare for Deployment
Your application is almost ready! In the next step, you’ll learn how to add your application to your service or website.