Airtable
Follow this step-by-step guide to embed your application into your Framer project:
Step 1: Integration with Airtable
Click Copy Base Button to add Template Base to your Airtable
-> Copy Template Base Button to your Airtable
First, ensure that your application is properly set up with Airtable as the data source. Follow the instructions in the Airtable Integration Guide to connect your Airtable base to your Planby Now application.
Step 2: Open Your Airtable
- Open the Airtable and create Channels table
Add the following columns:
- id (Single line text)
- title (Single line text)
- logo (Long text)
- main_channel (Boolean)
- parent_channel (Single line text)
- display_order (Number)
- Open the Airtable and create Events table
Add the following columns:
- id (Single line text)
- title (Single line text)
- description (Long text)
- short_description (Long text)
- since (Long text or Date)
- till (Long text or Date)
- image (Long text)
- images (Long text)
- videos (Long text)
- social_1 (Long text)
- social_2 (Long text)
- social_3 (Long text)
- social_4 (Long text)
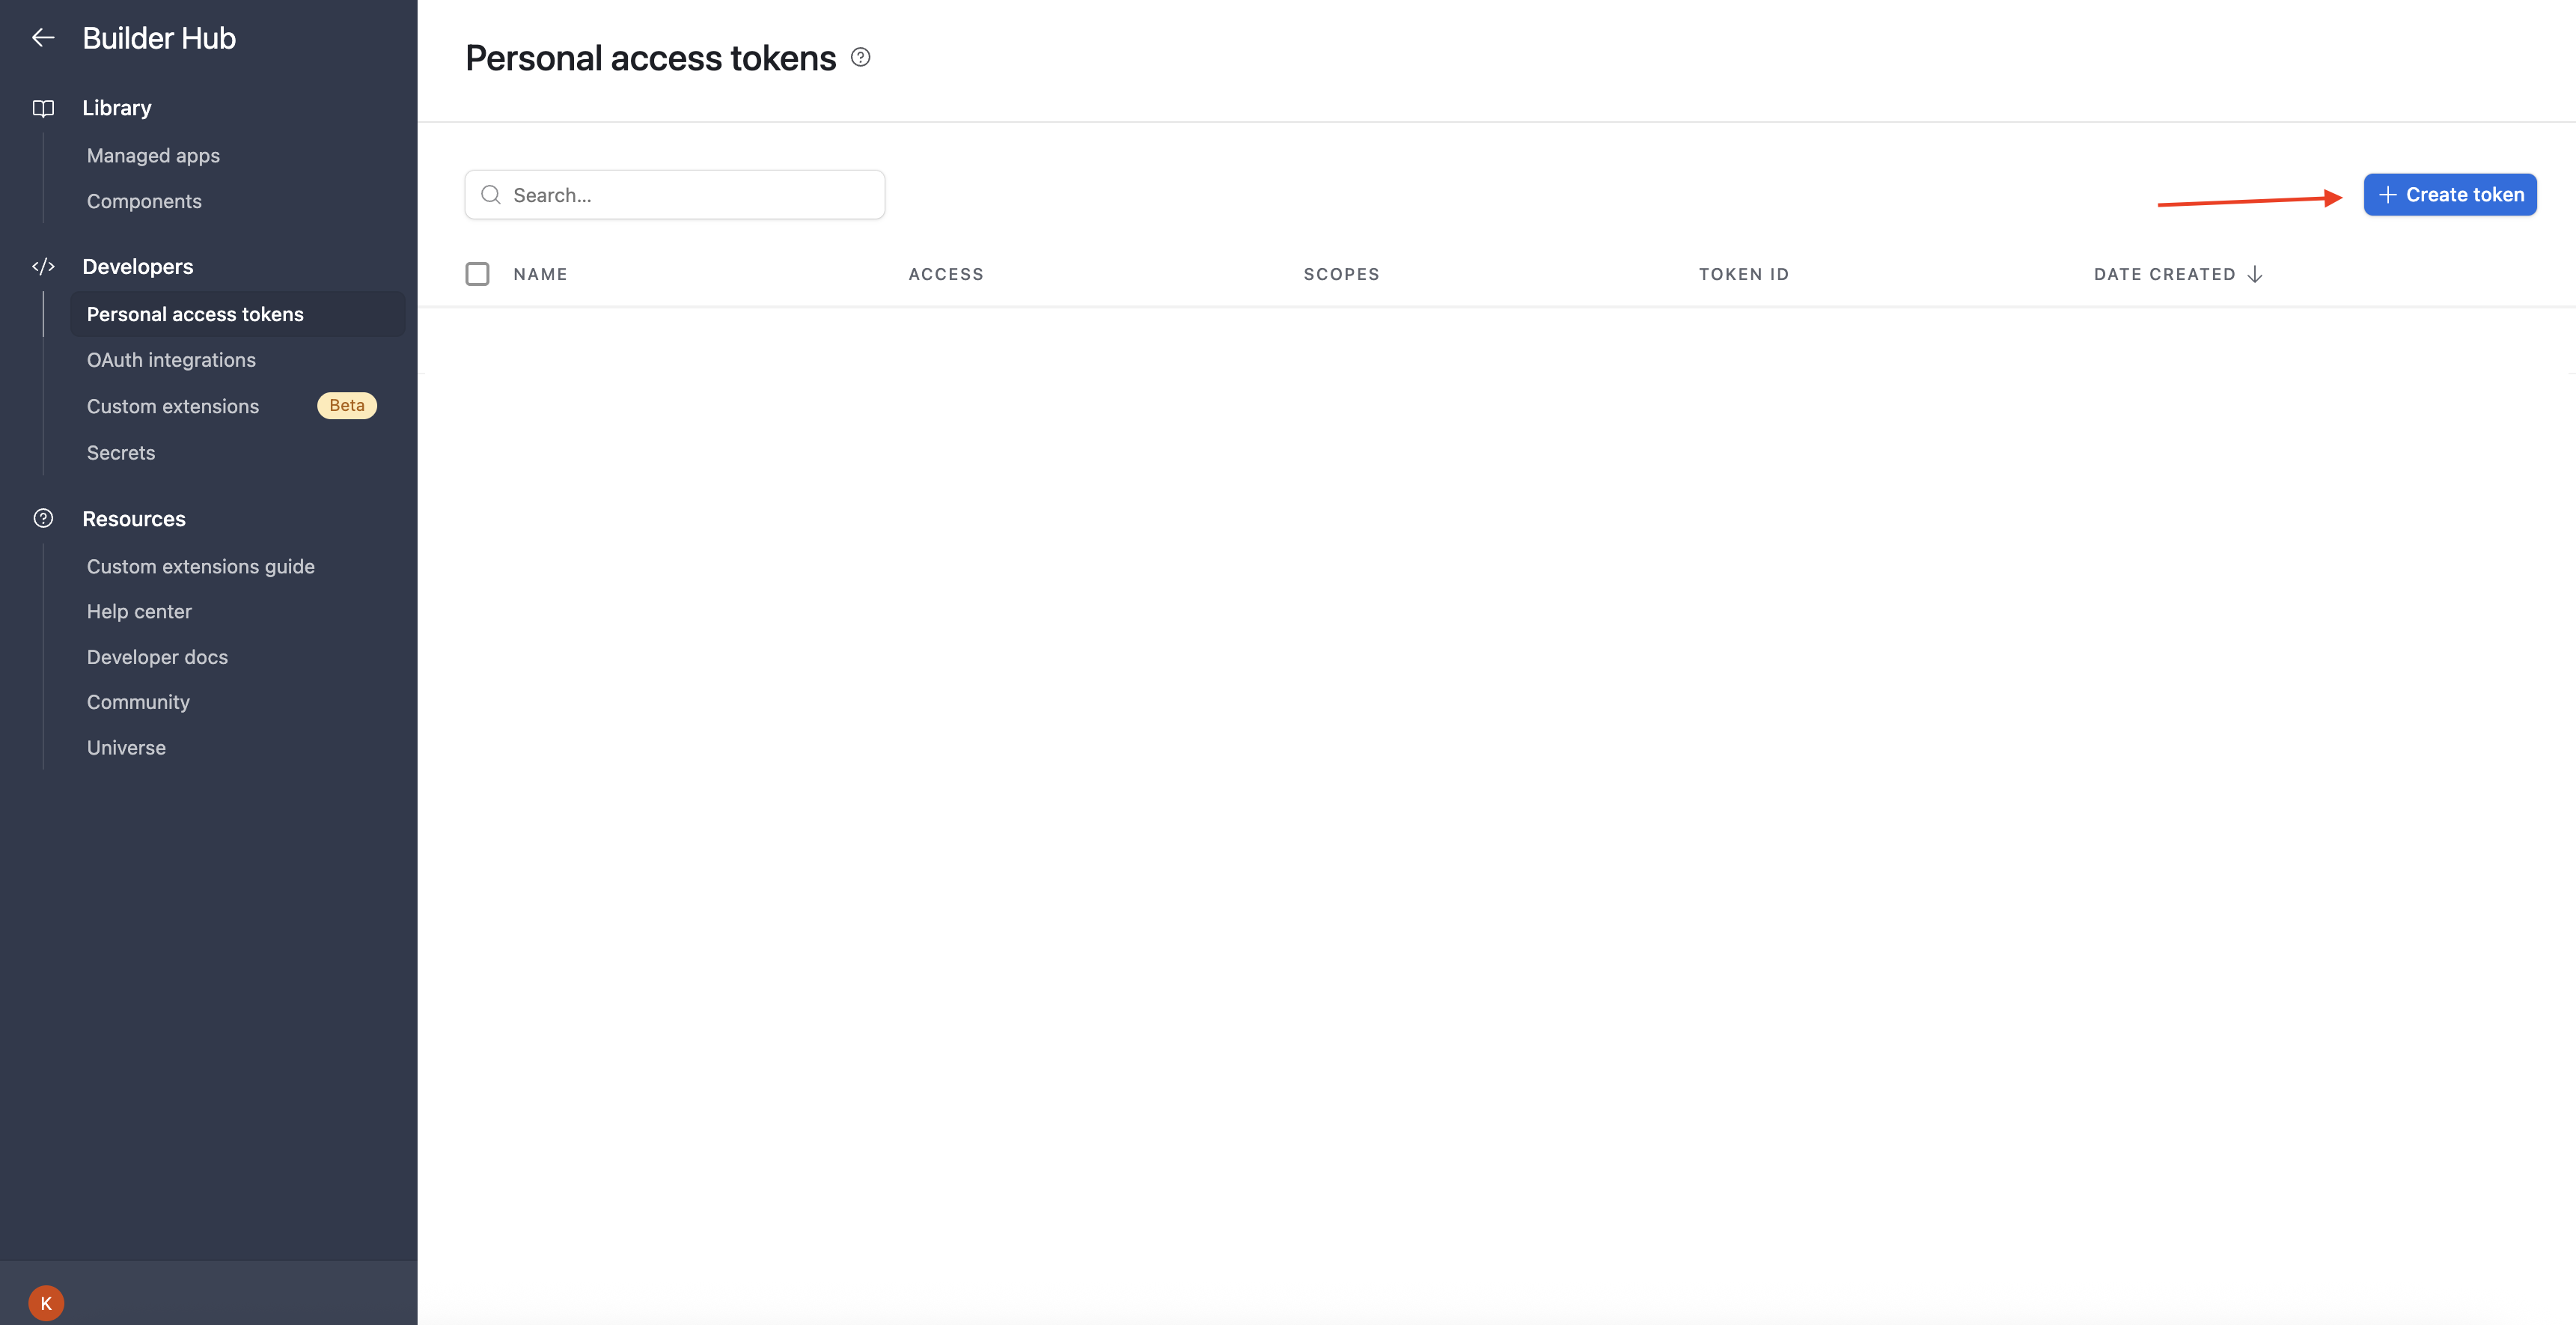
Step 3: Generate Token
Go to the Airtable developer hub panel and generate a token. Use this link: https://airtable.com/create/apikey
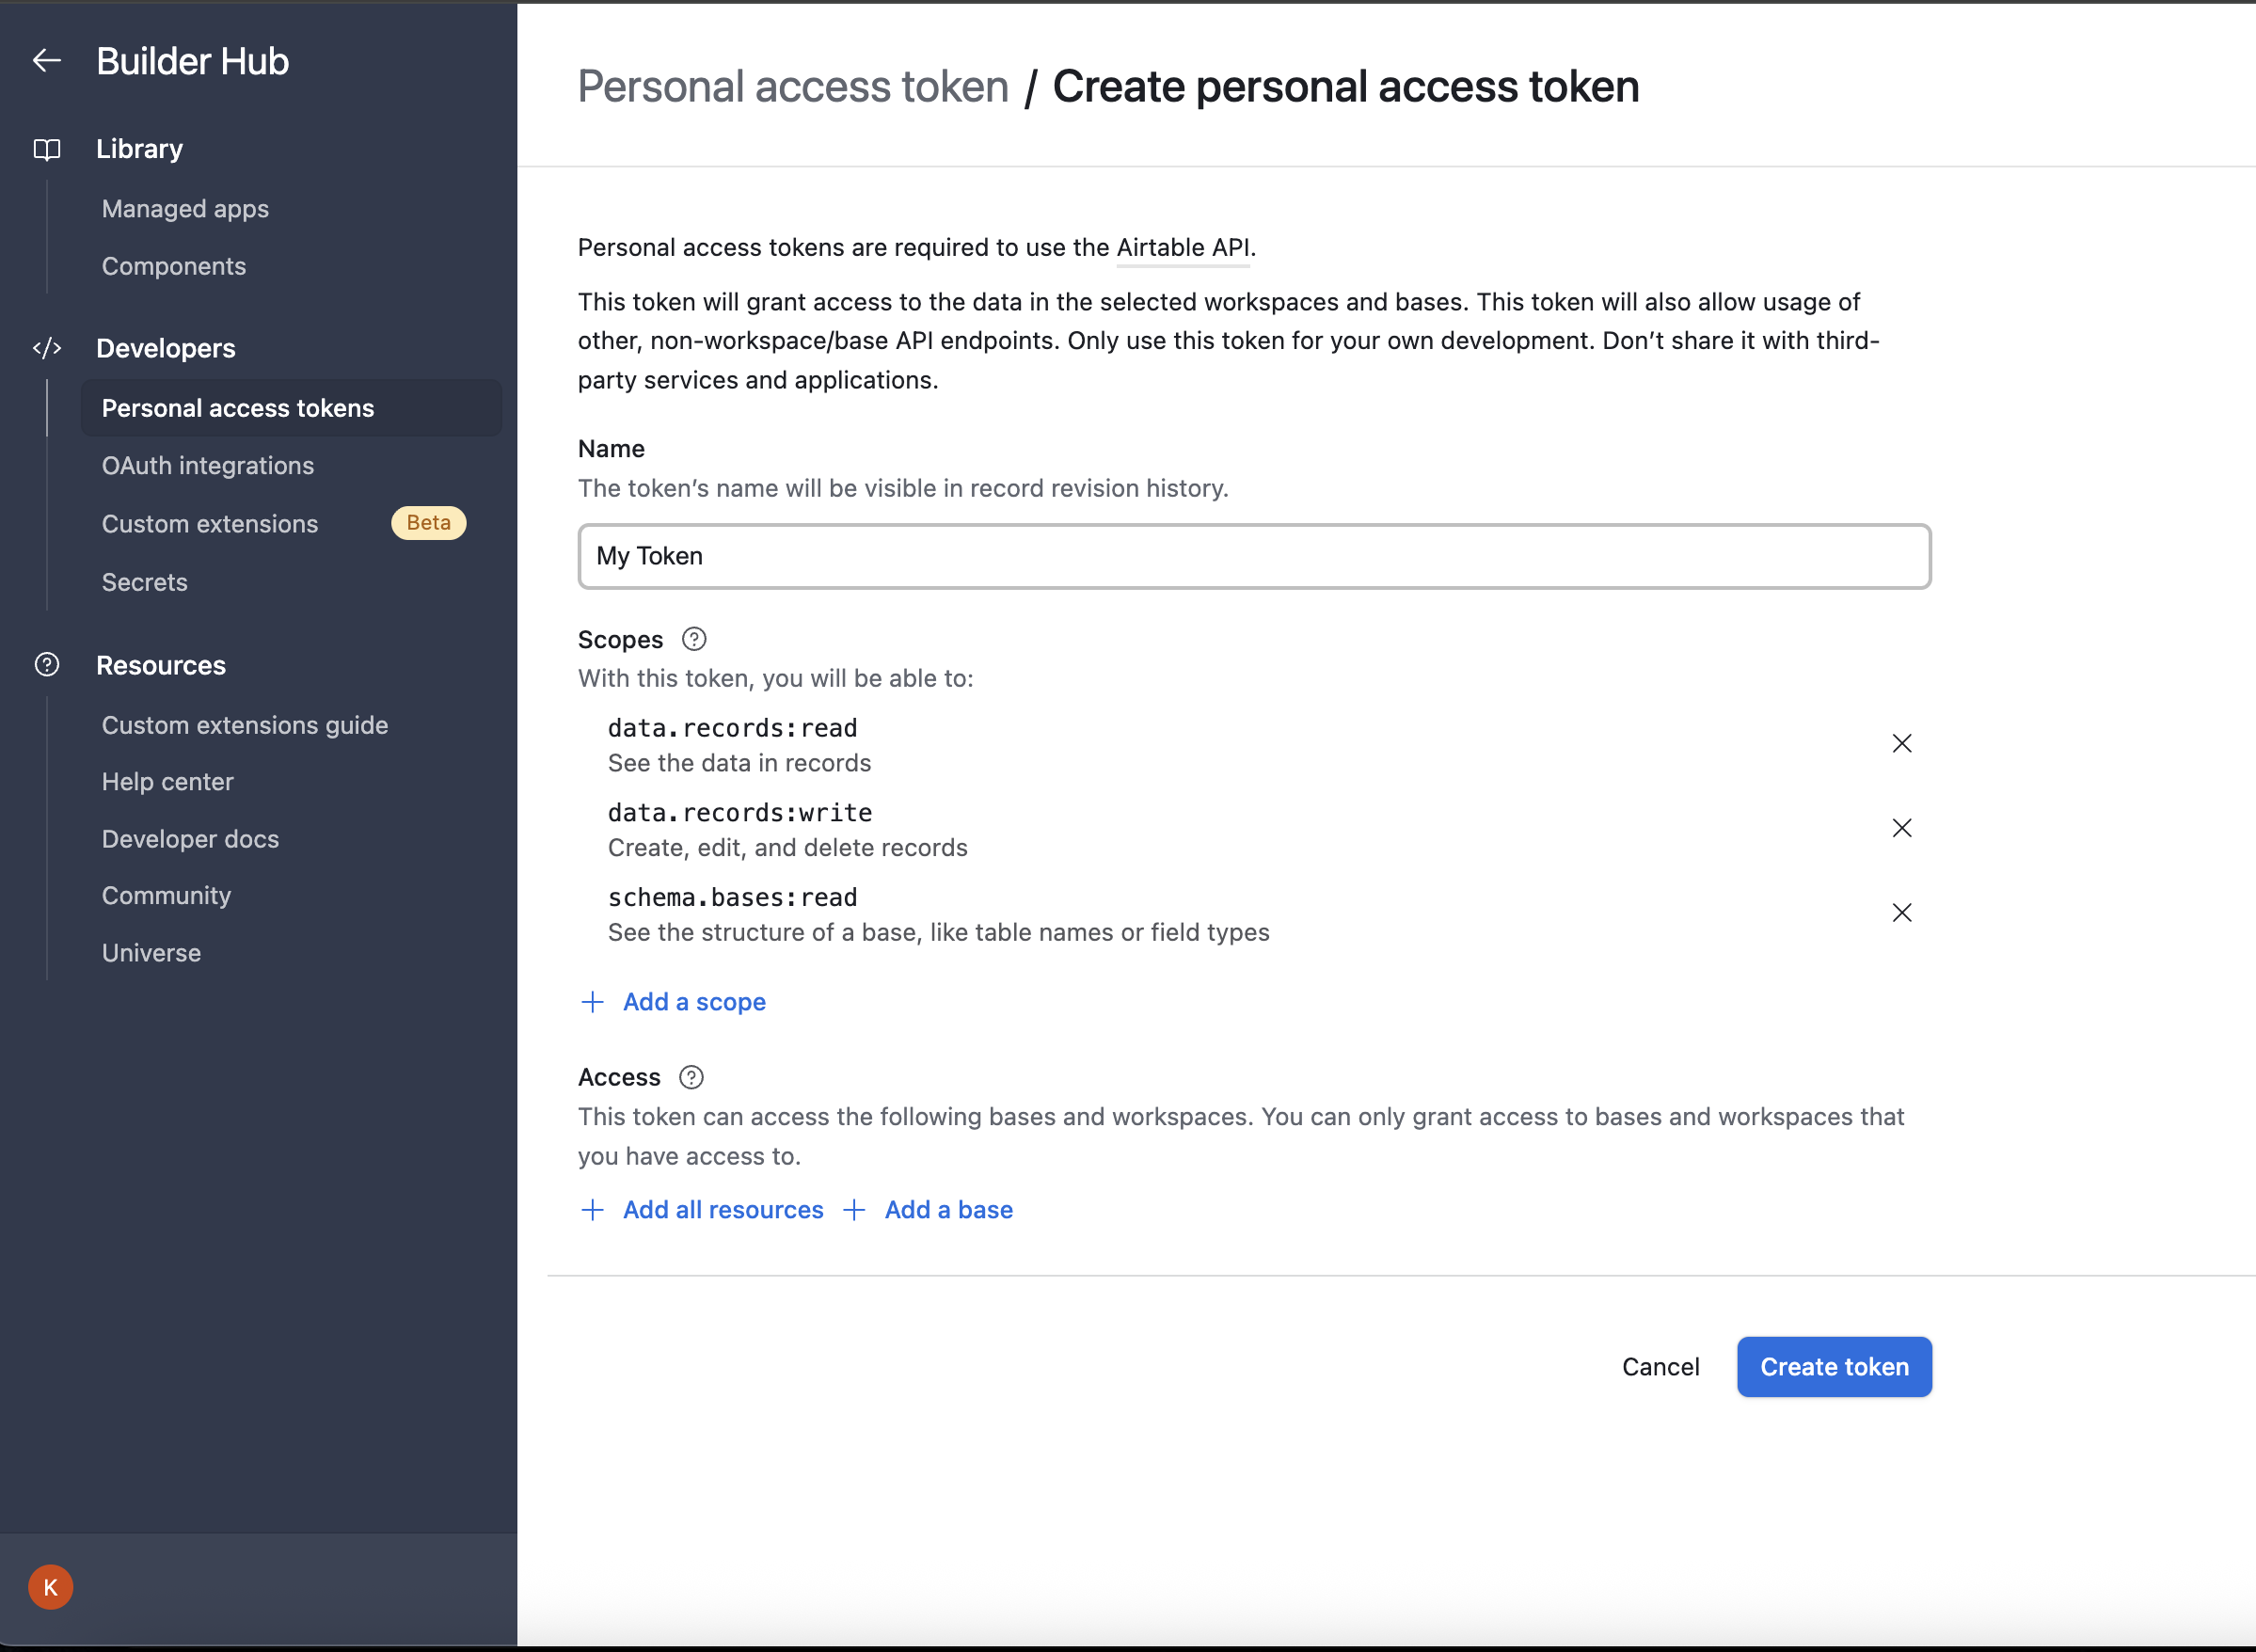
Select the Airtable permission read and write.
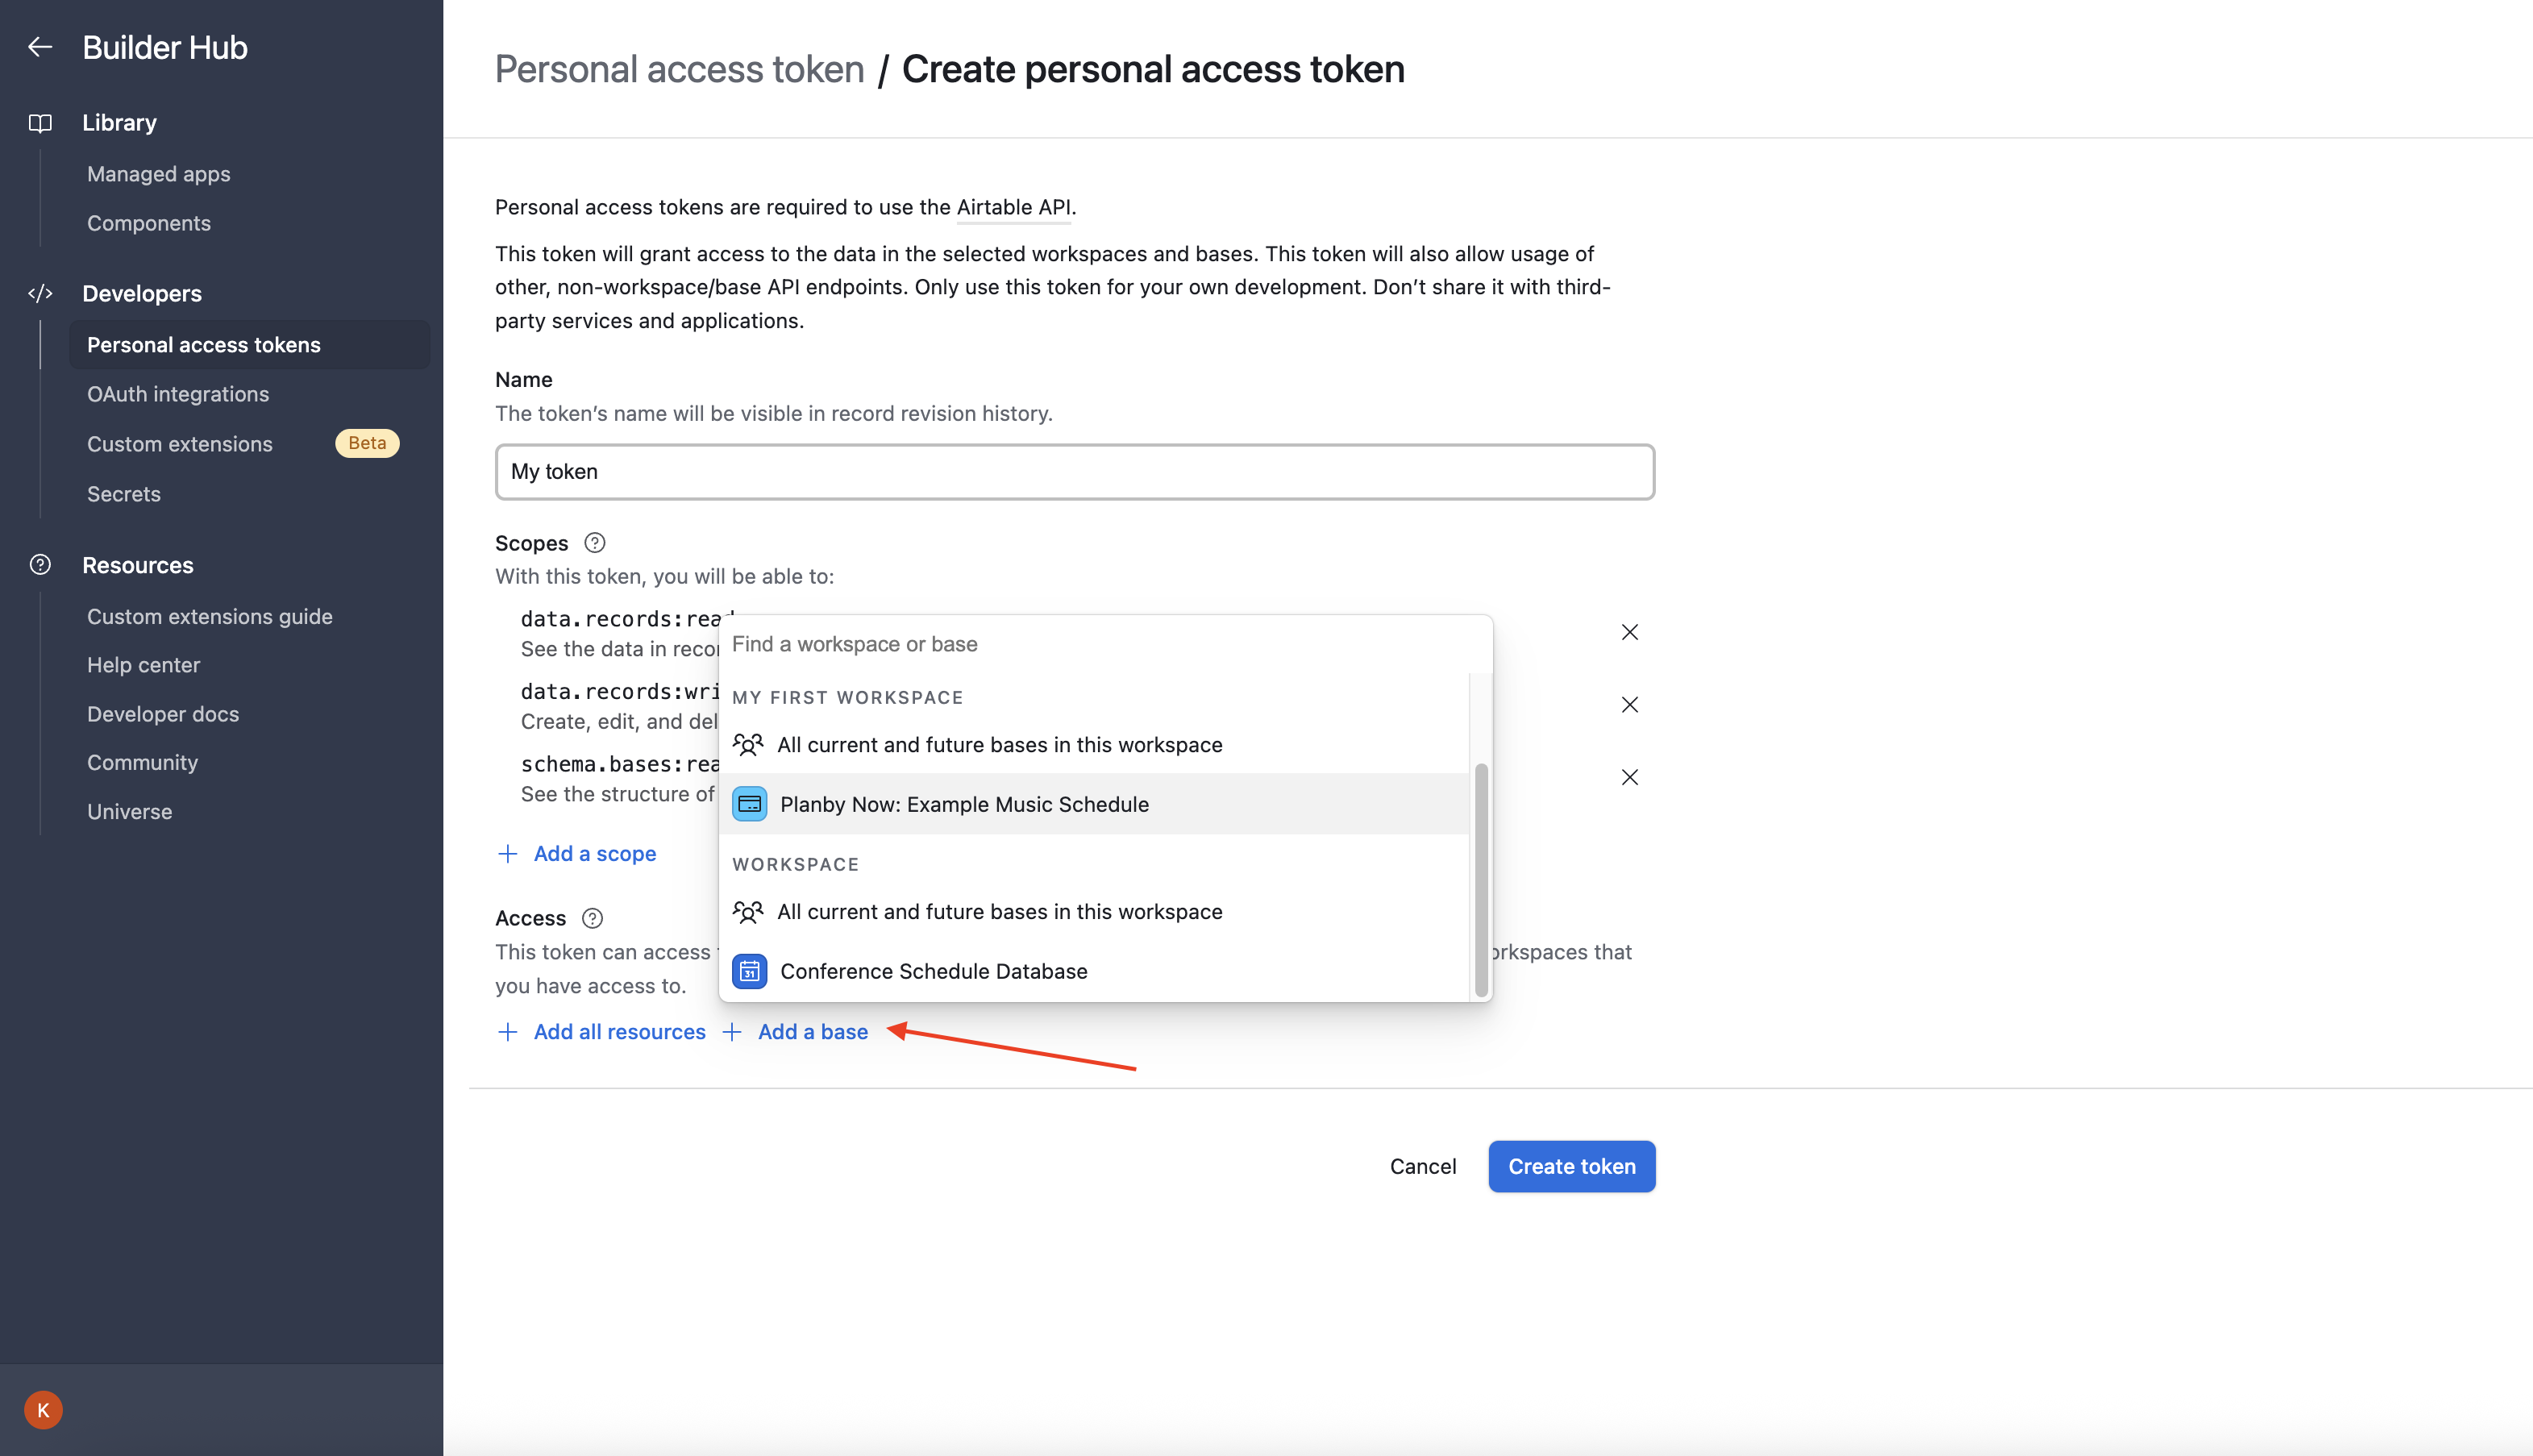
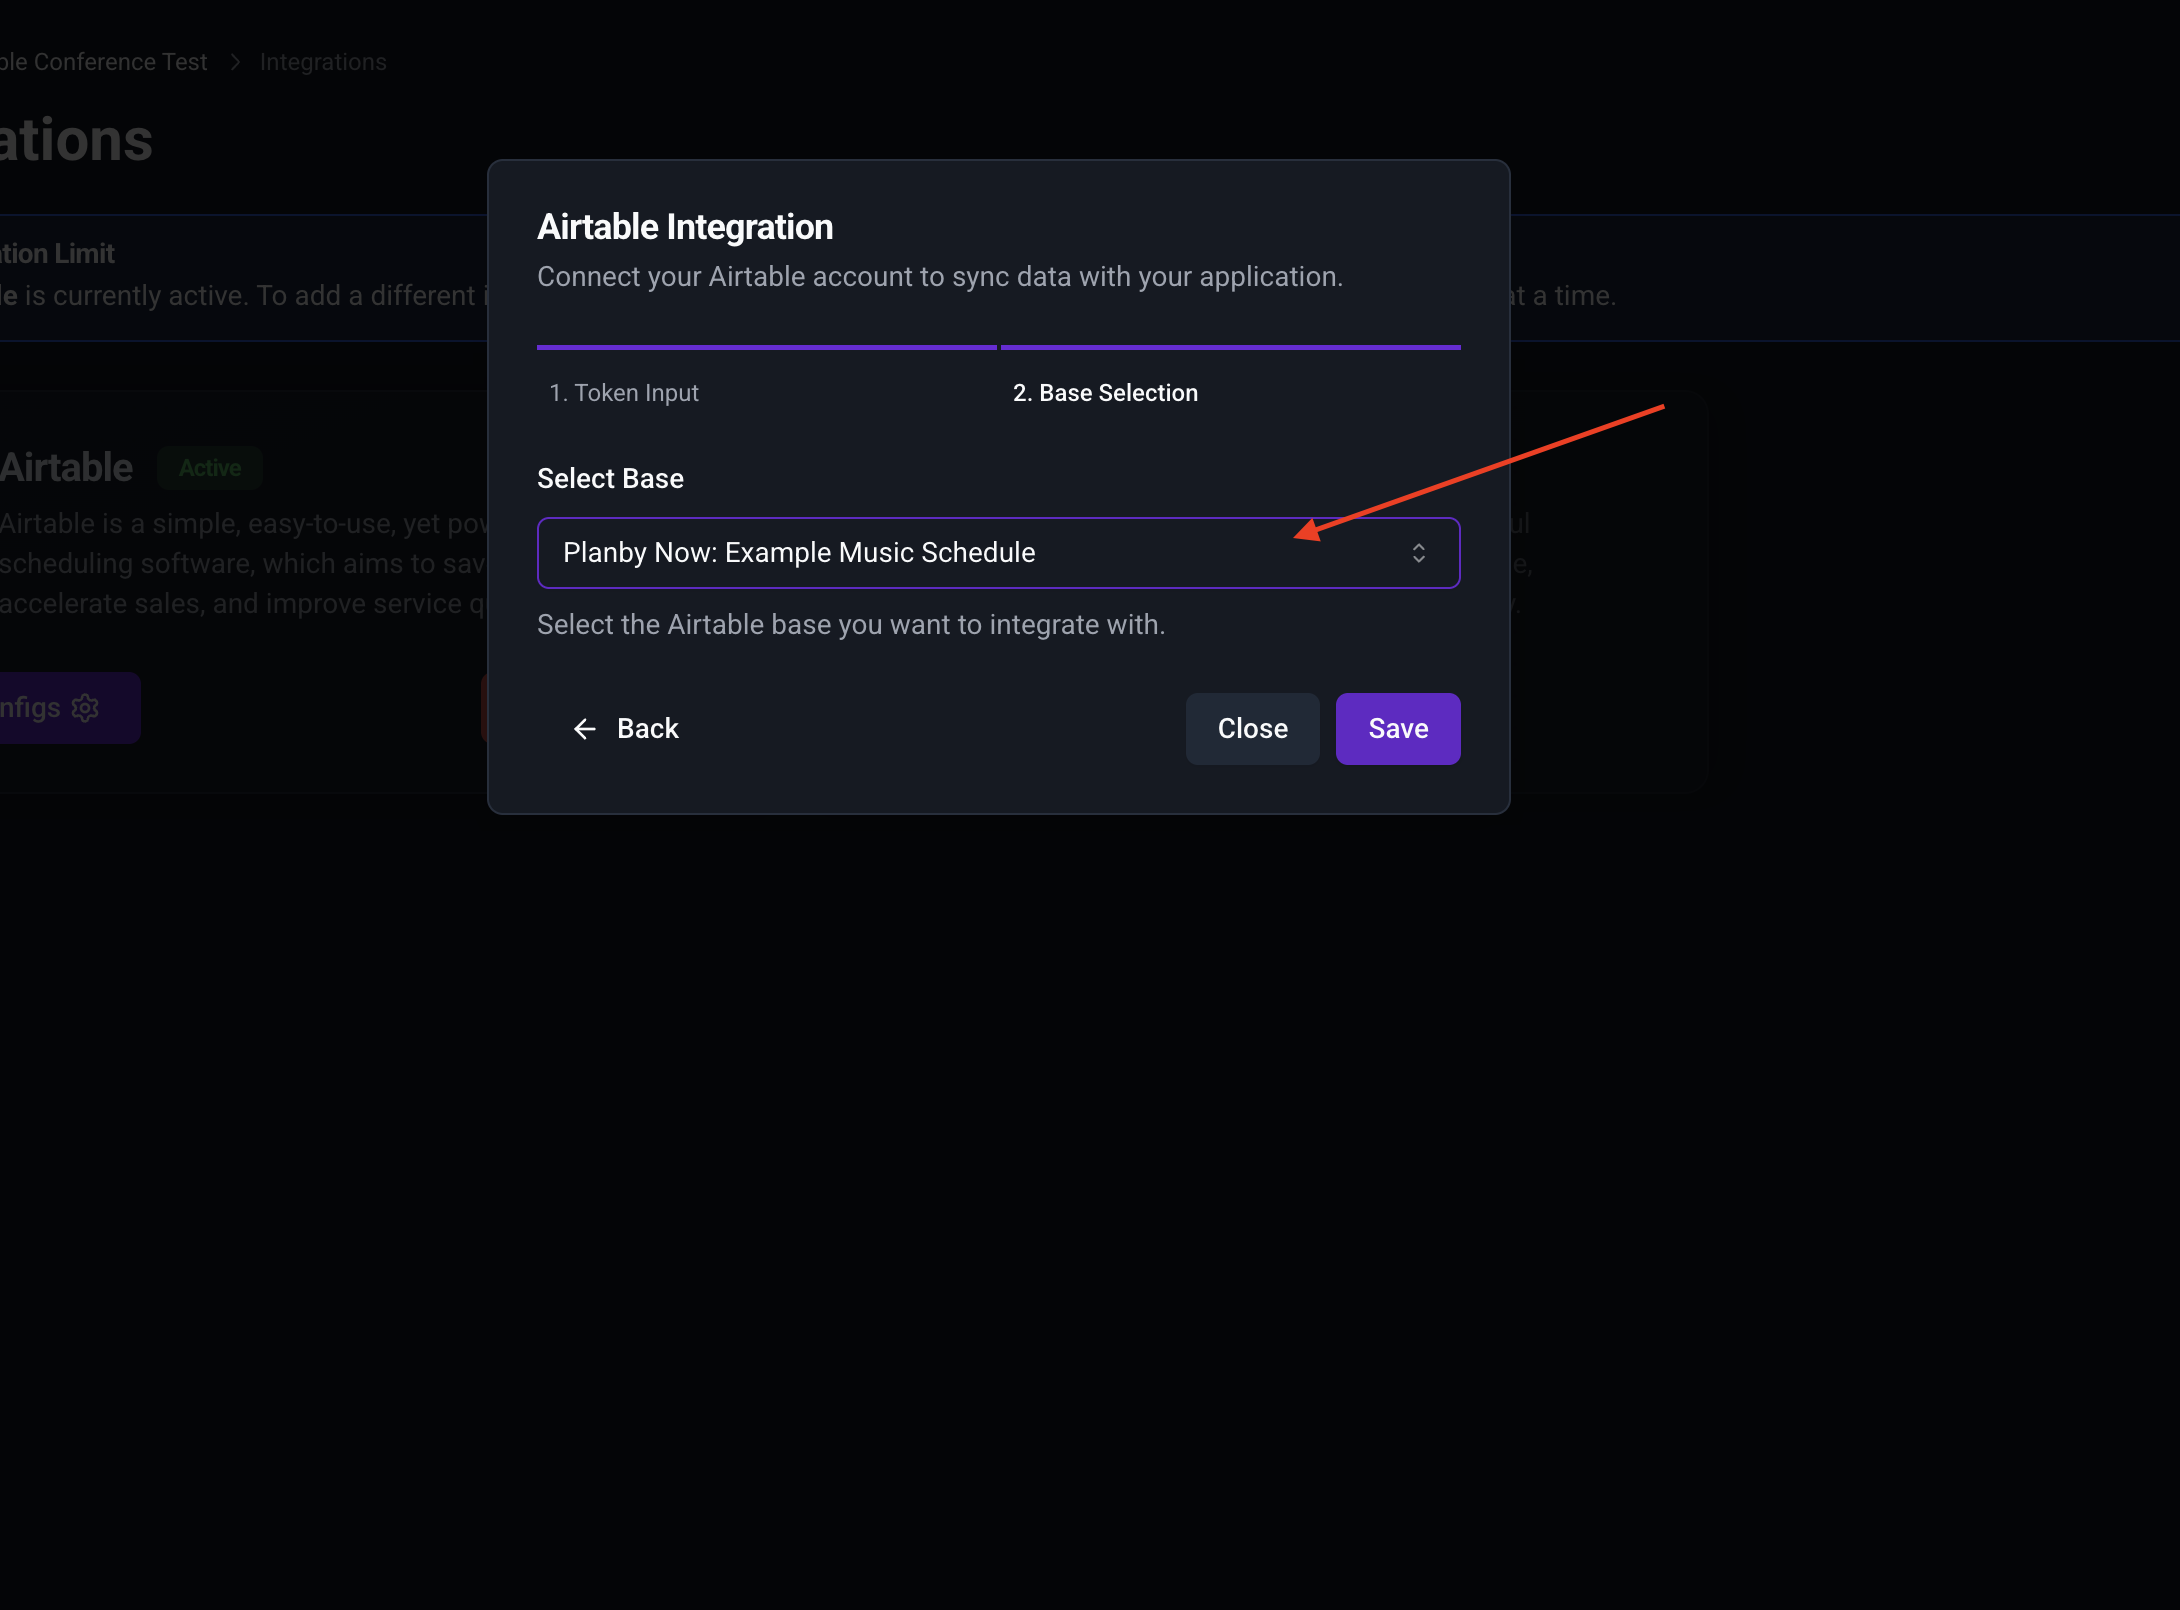
Select the Airtable base project.
Copy the token and paste it into the Planby Now token field.

That's It! 🚀
You’ve successfully embedded your application into your Framer project. The entire process takes just a few minutes and seamlessly integrates your app into your website.