Wordpress
Follow this step-by-step guide to embed your application into your Framer project:
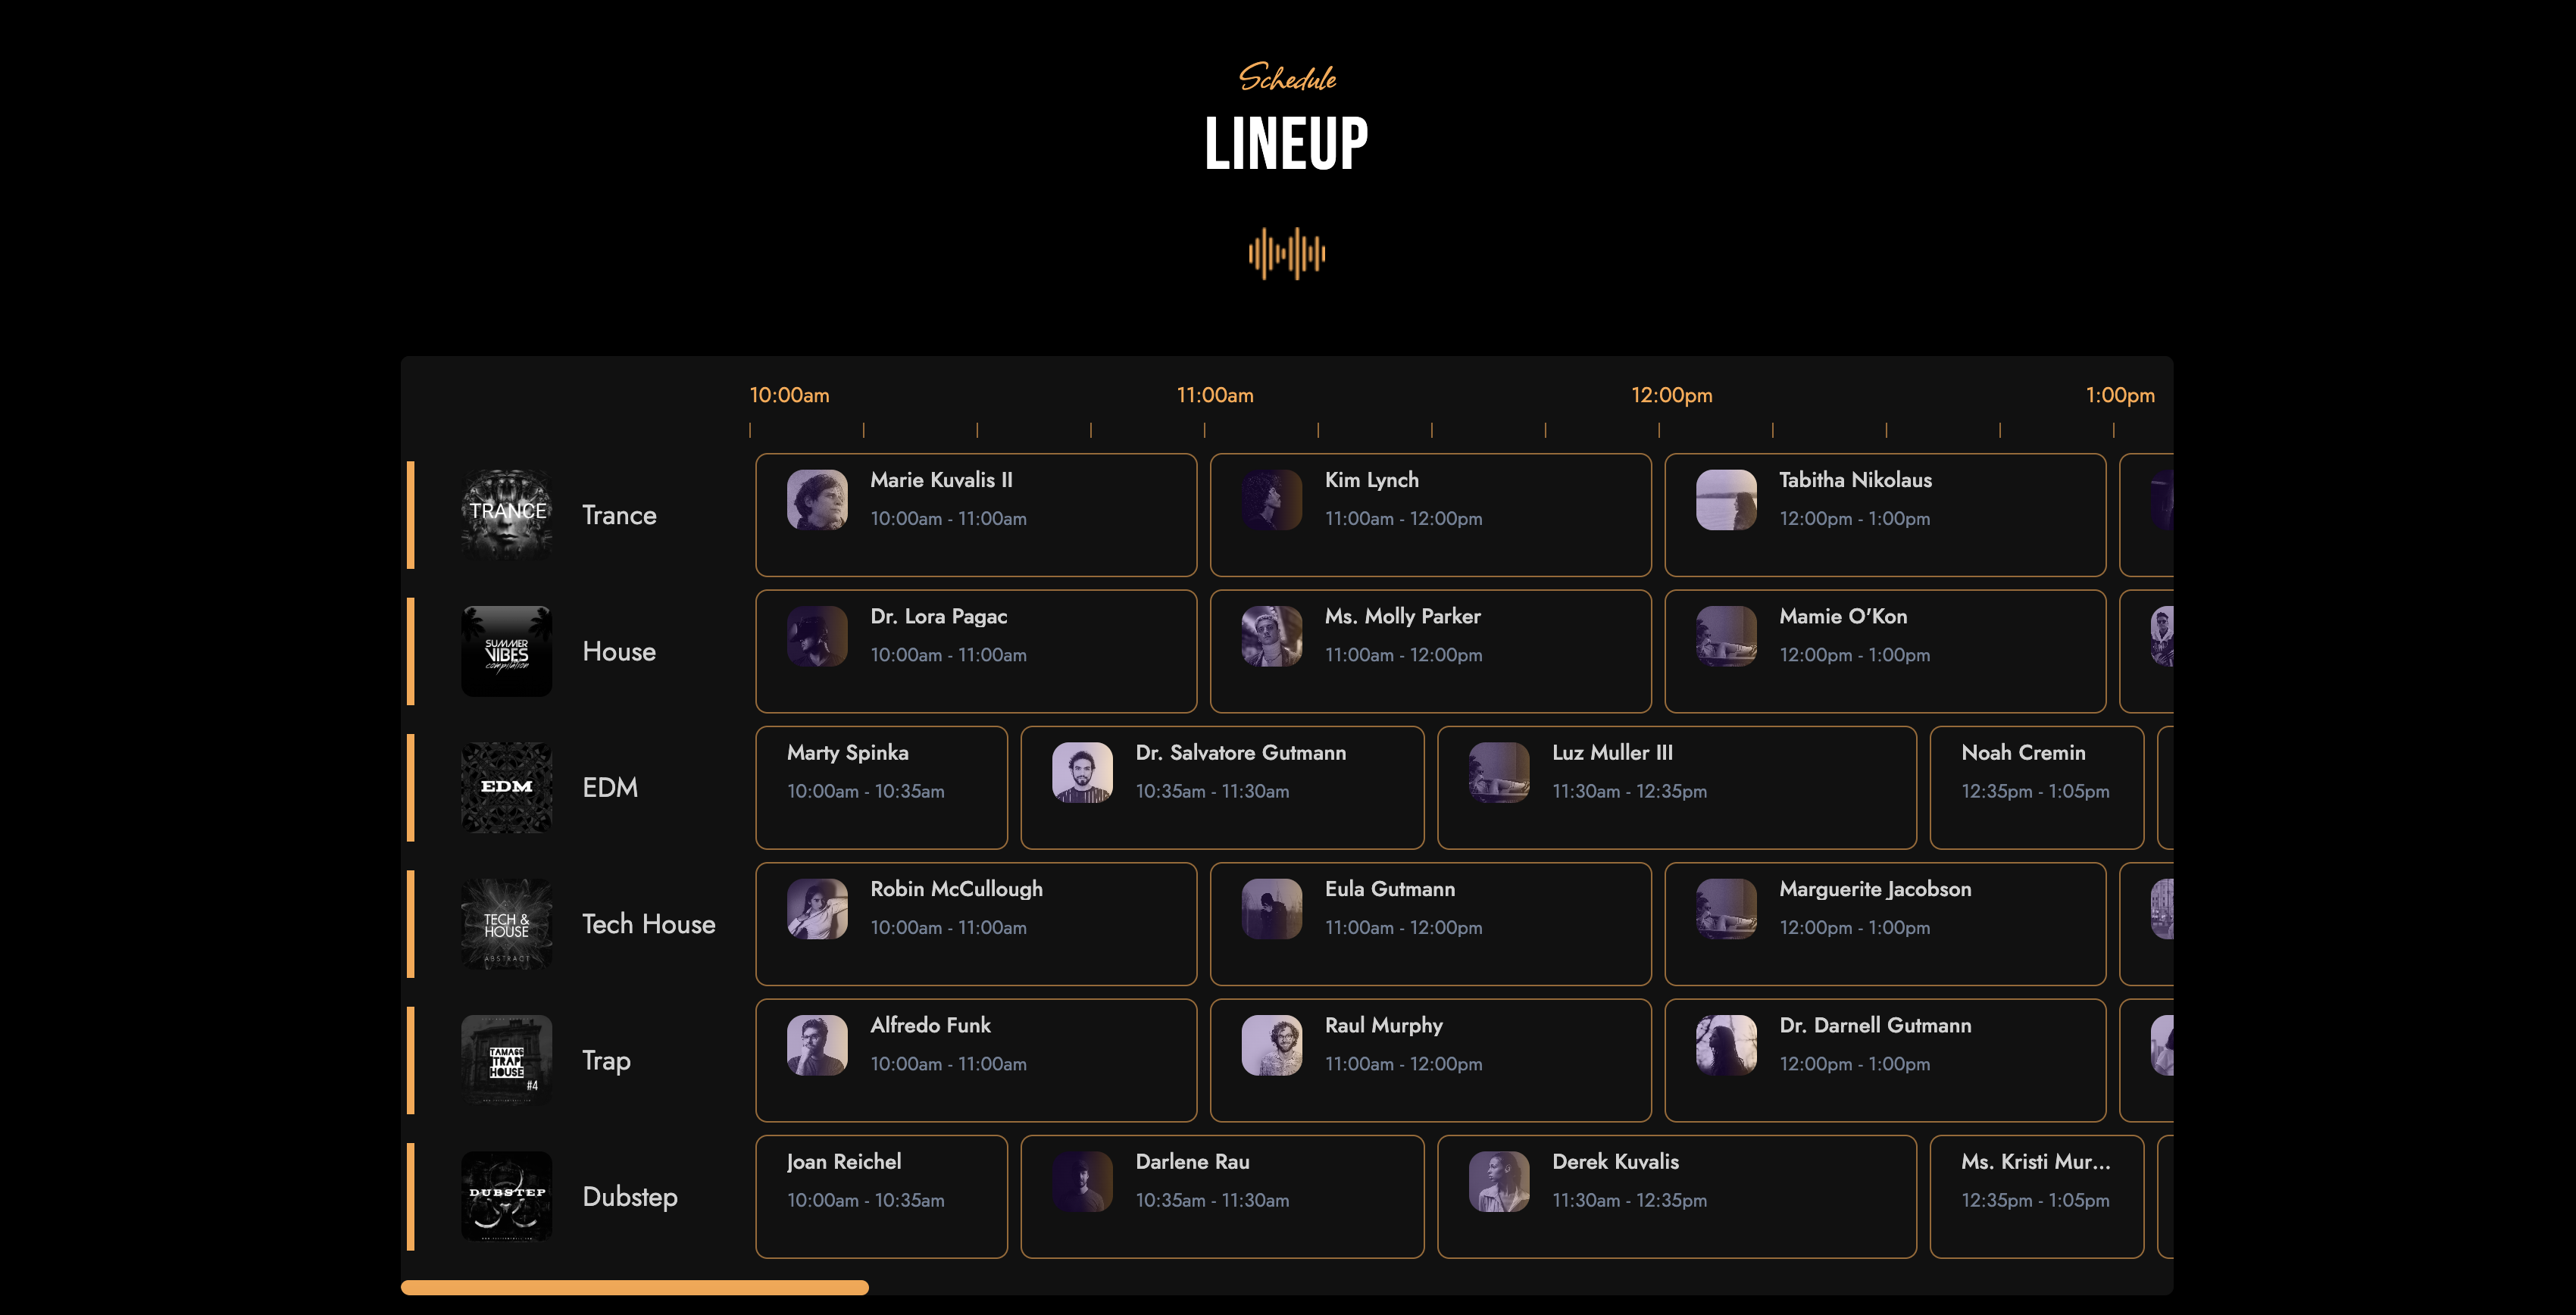
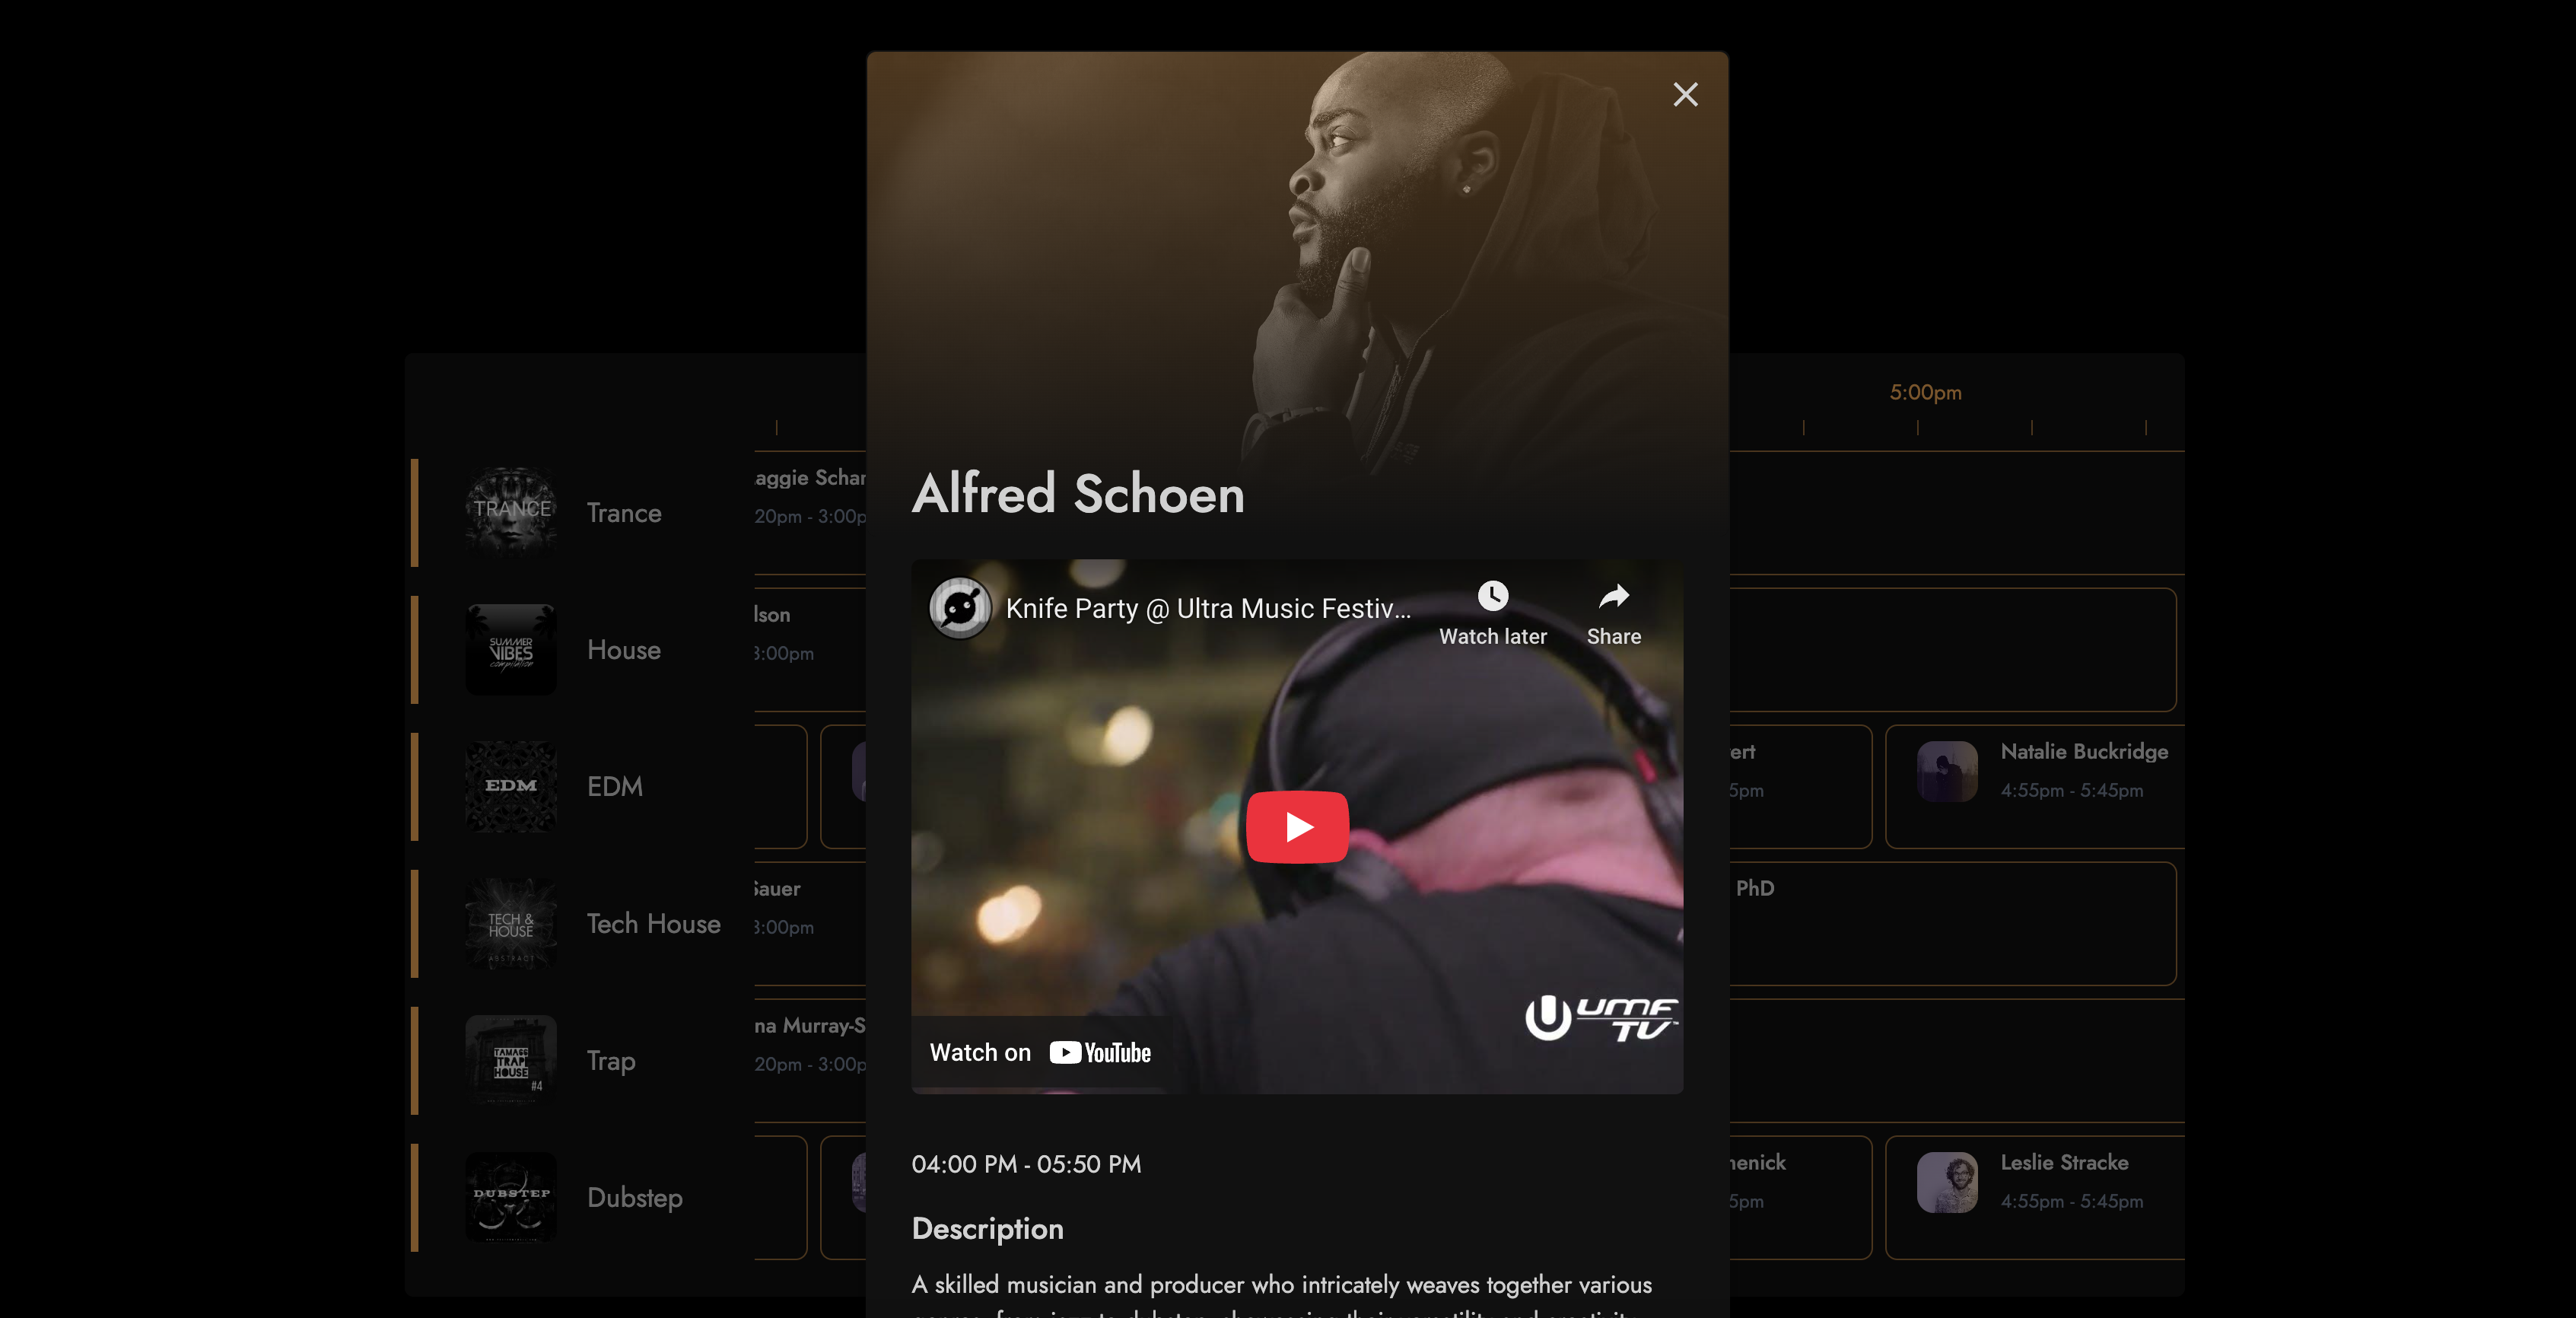
Example website: Music Festival Event
Step 1: Prepare for Publication
Once you’ve added all your data and customized your Schedule/Planner/Calendar application, you’re ready to publish it in Wordpress.
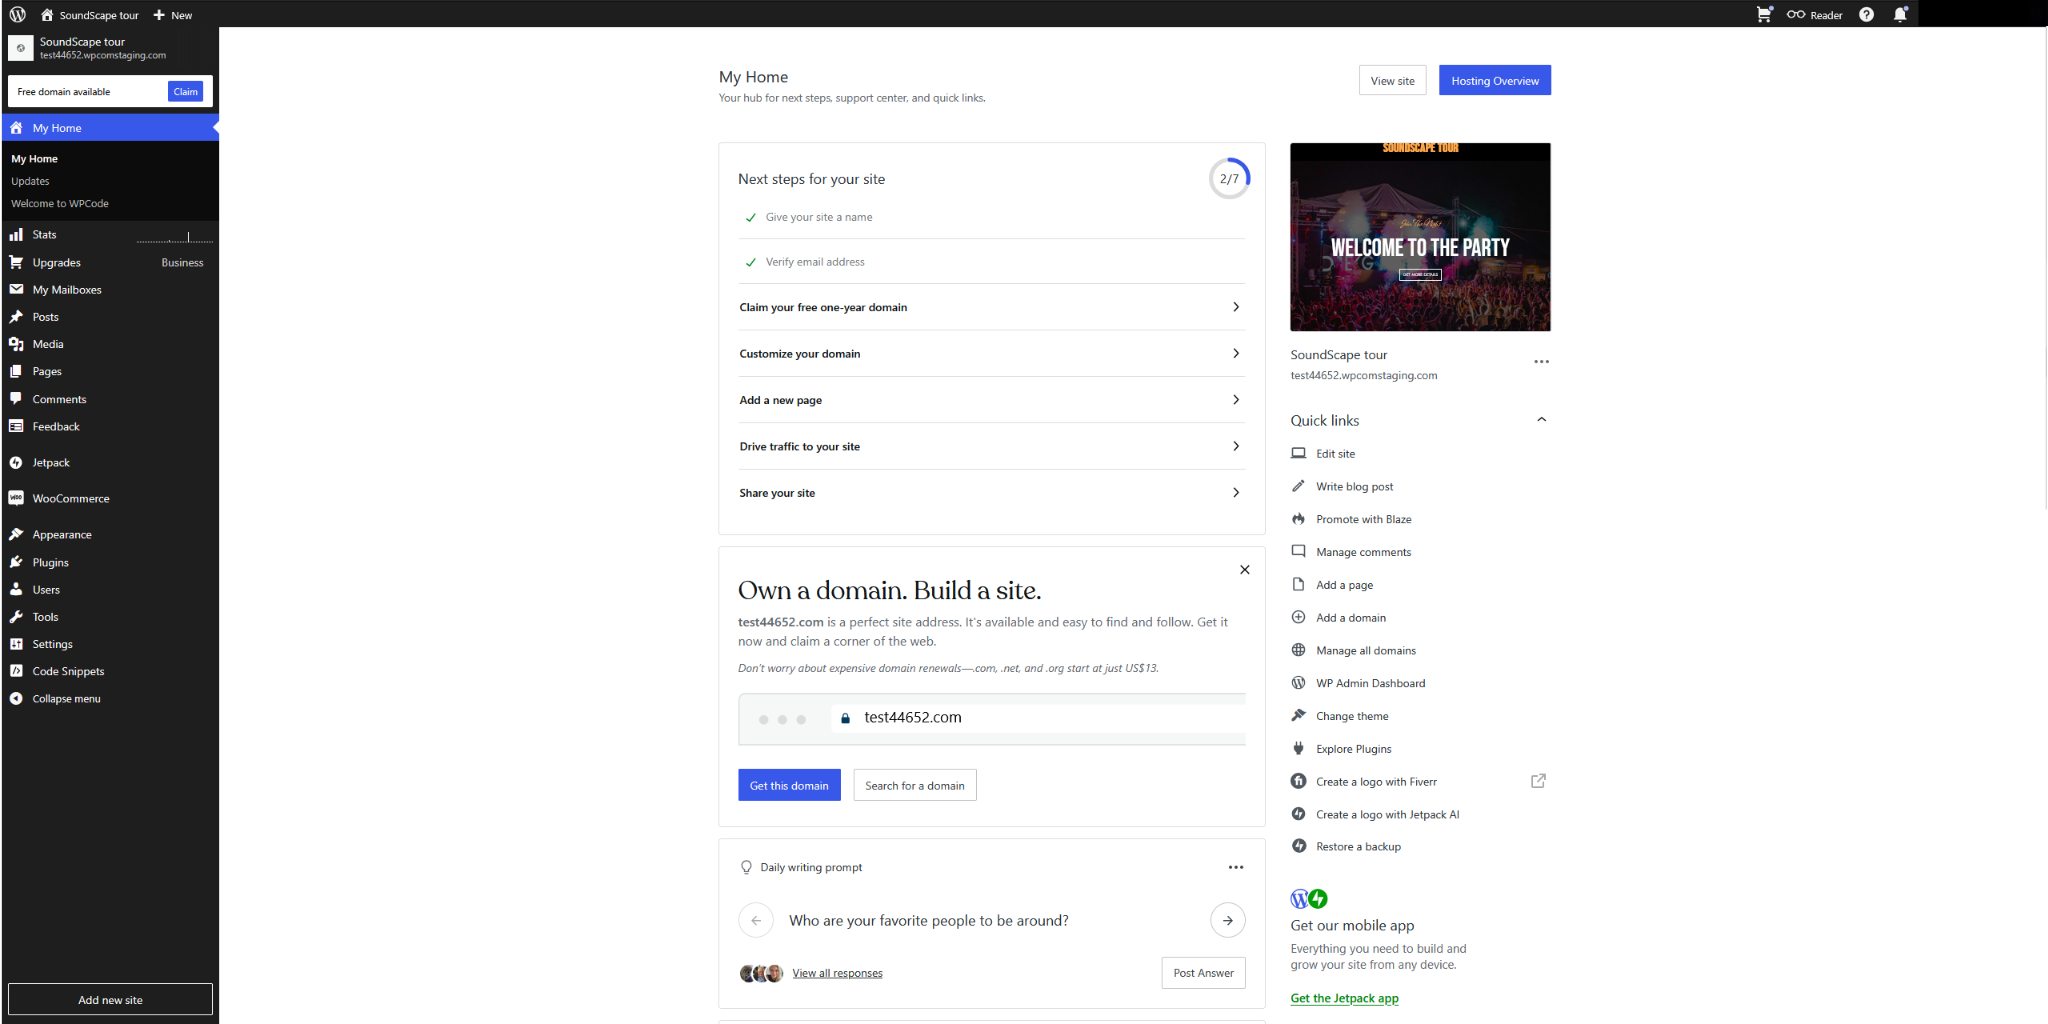
Step 2: Open Your Wordpress Project
- Open the Wordpress application and select your project.
- In the dashboard menu, click on Appearance and go to Editor.
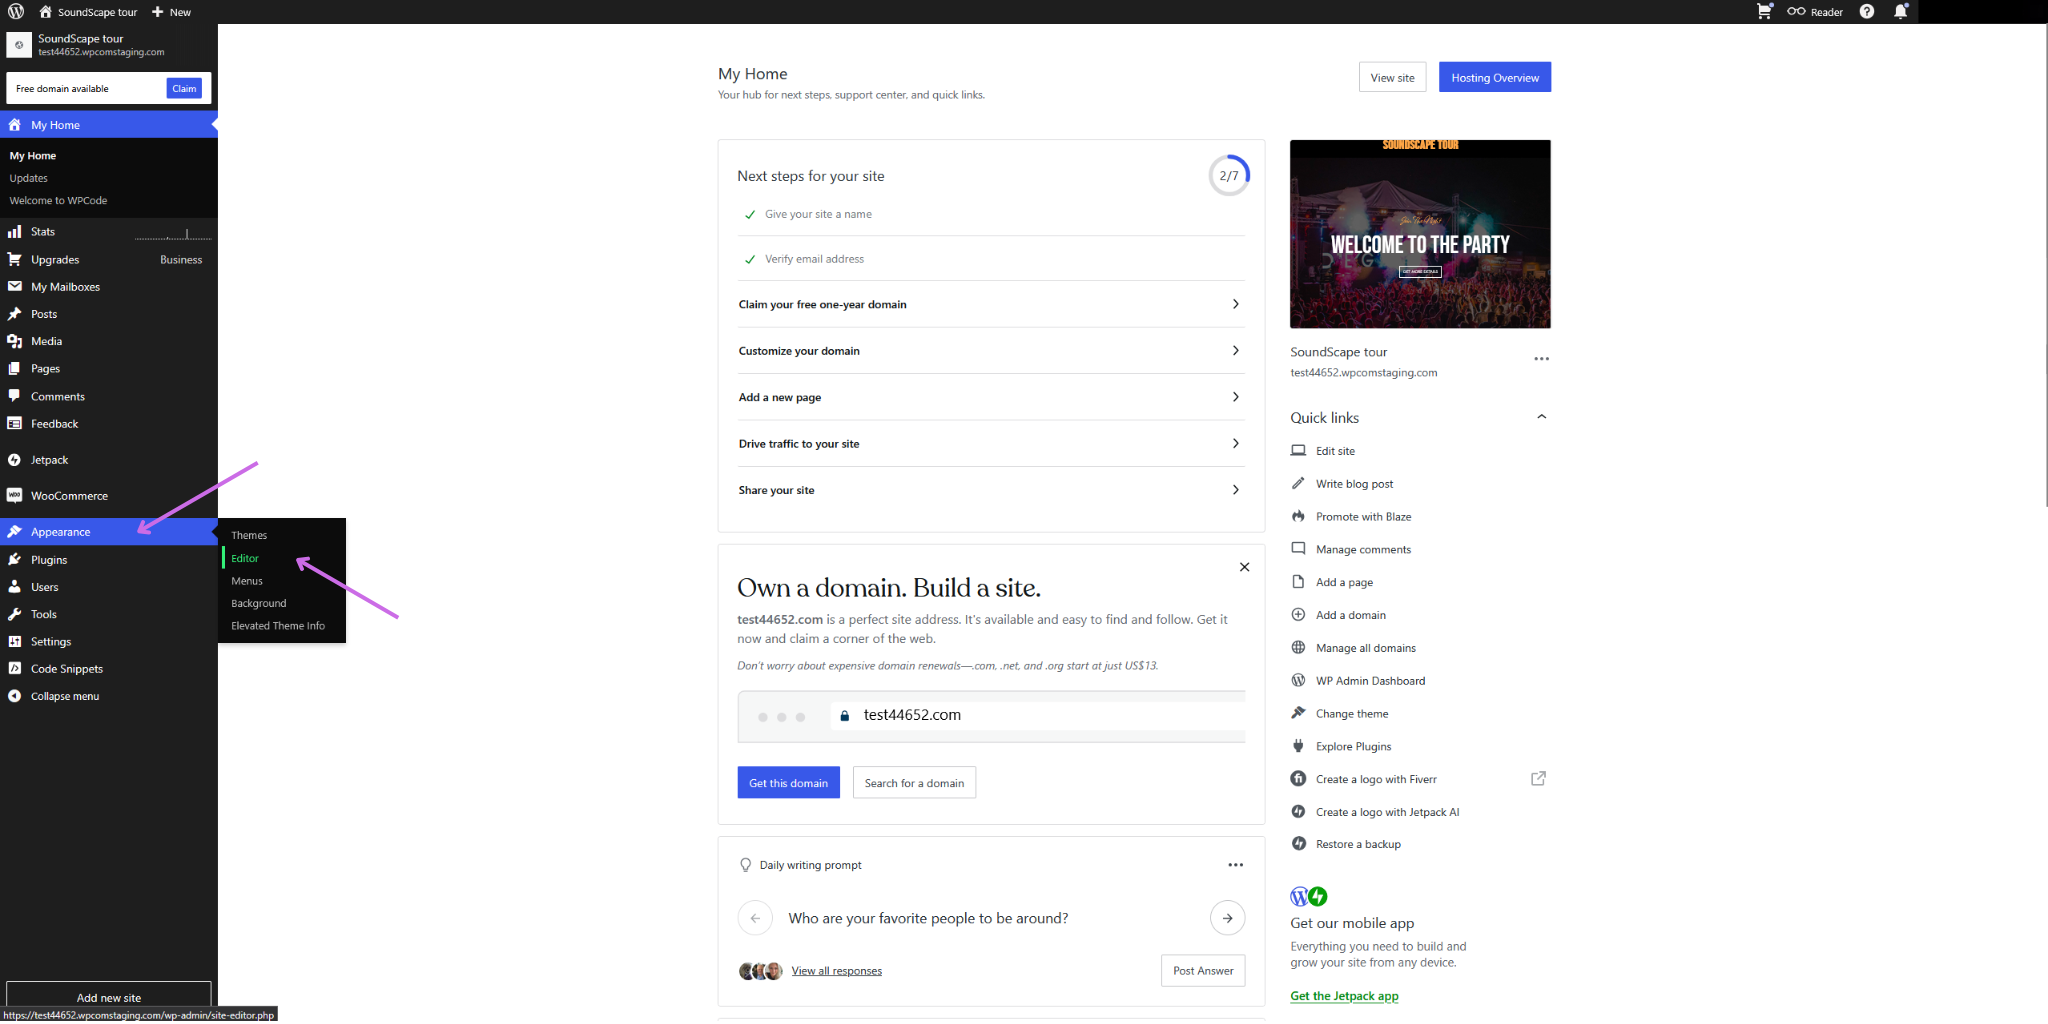
- Find the appropriate place where you want to insert the schedule.
Step 3: Add Custom Code
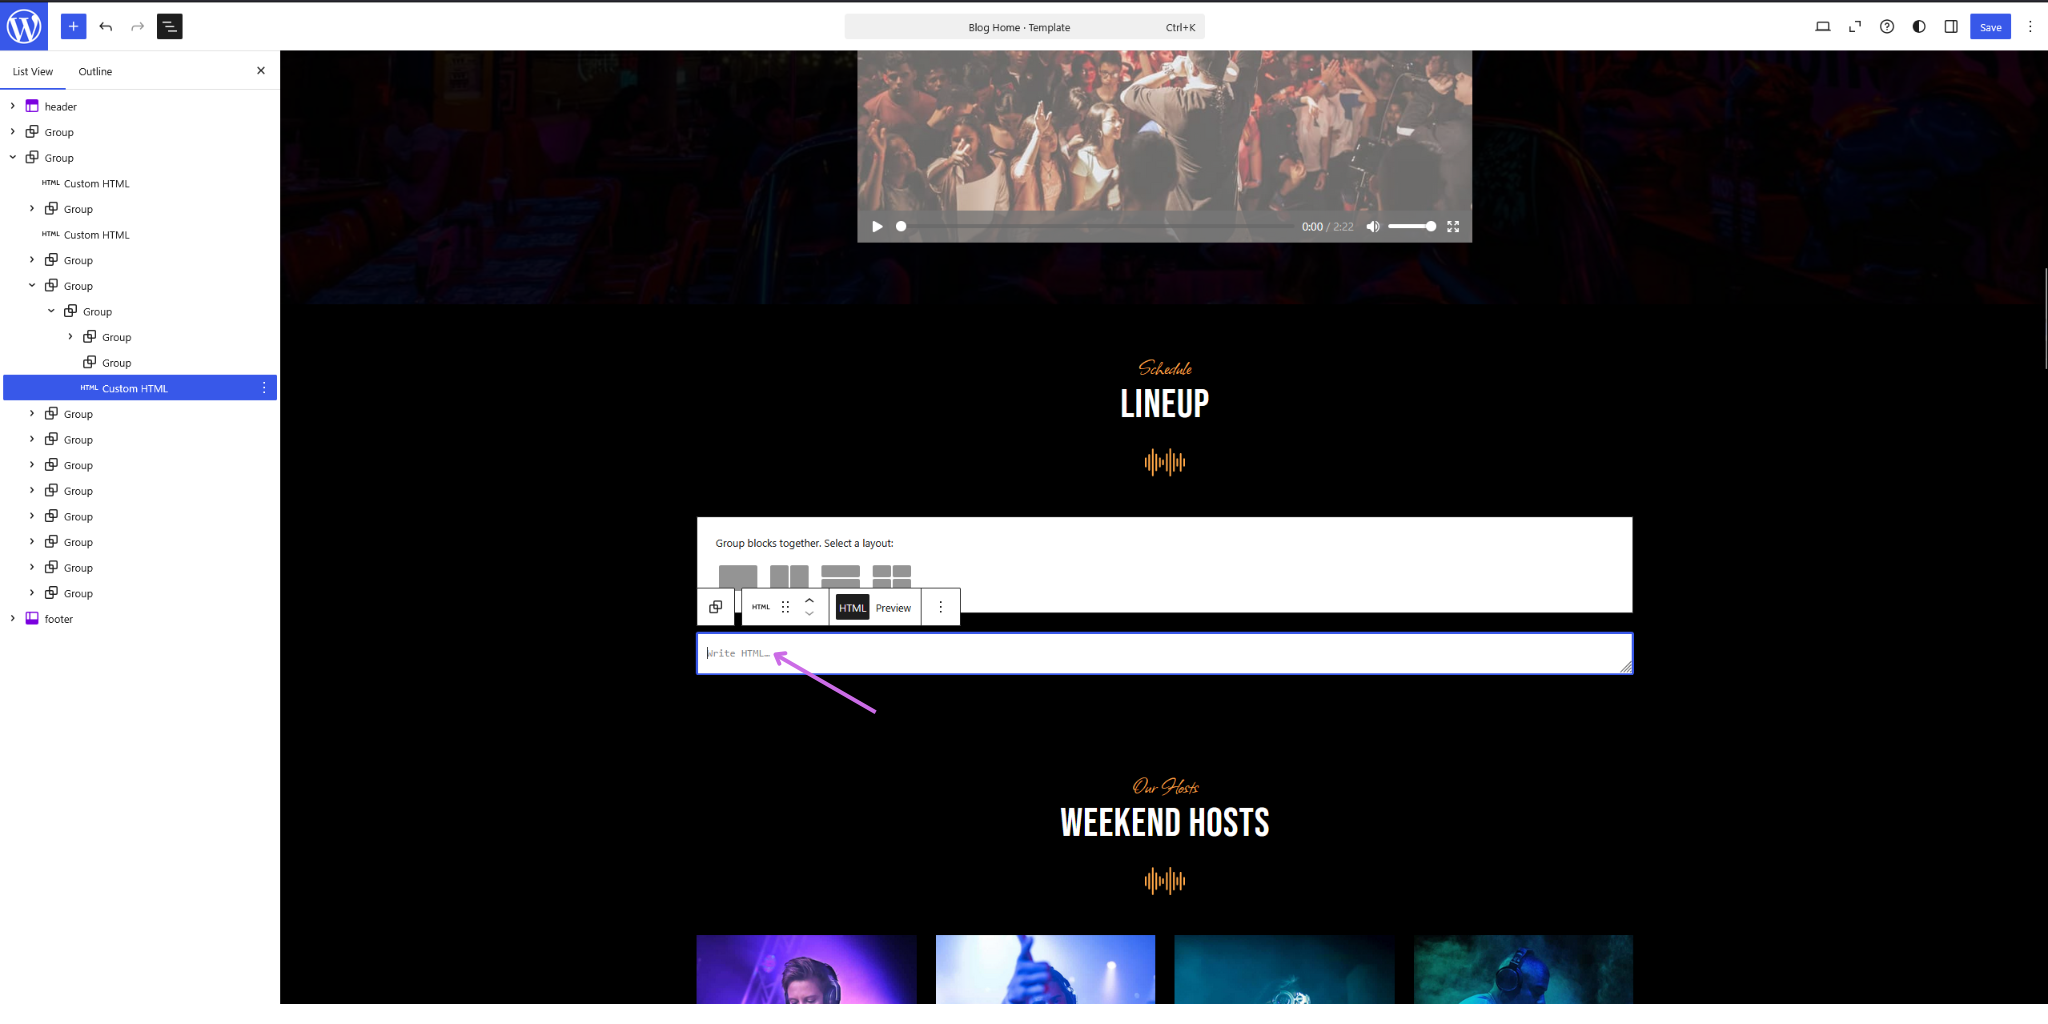
- Expand the "Document Overview" tab in the top left corner.

- Expand the "Document Overview" tab in the top left corner.
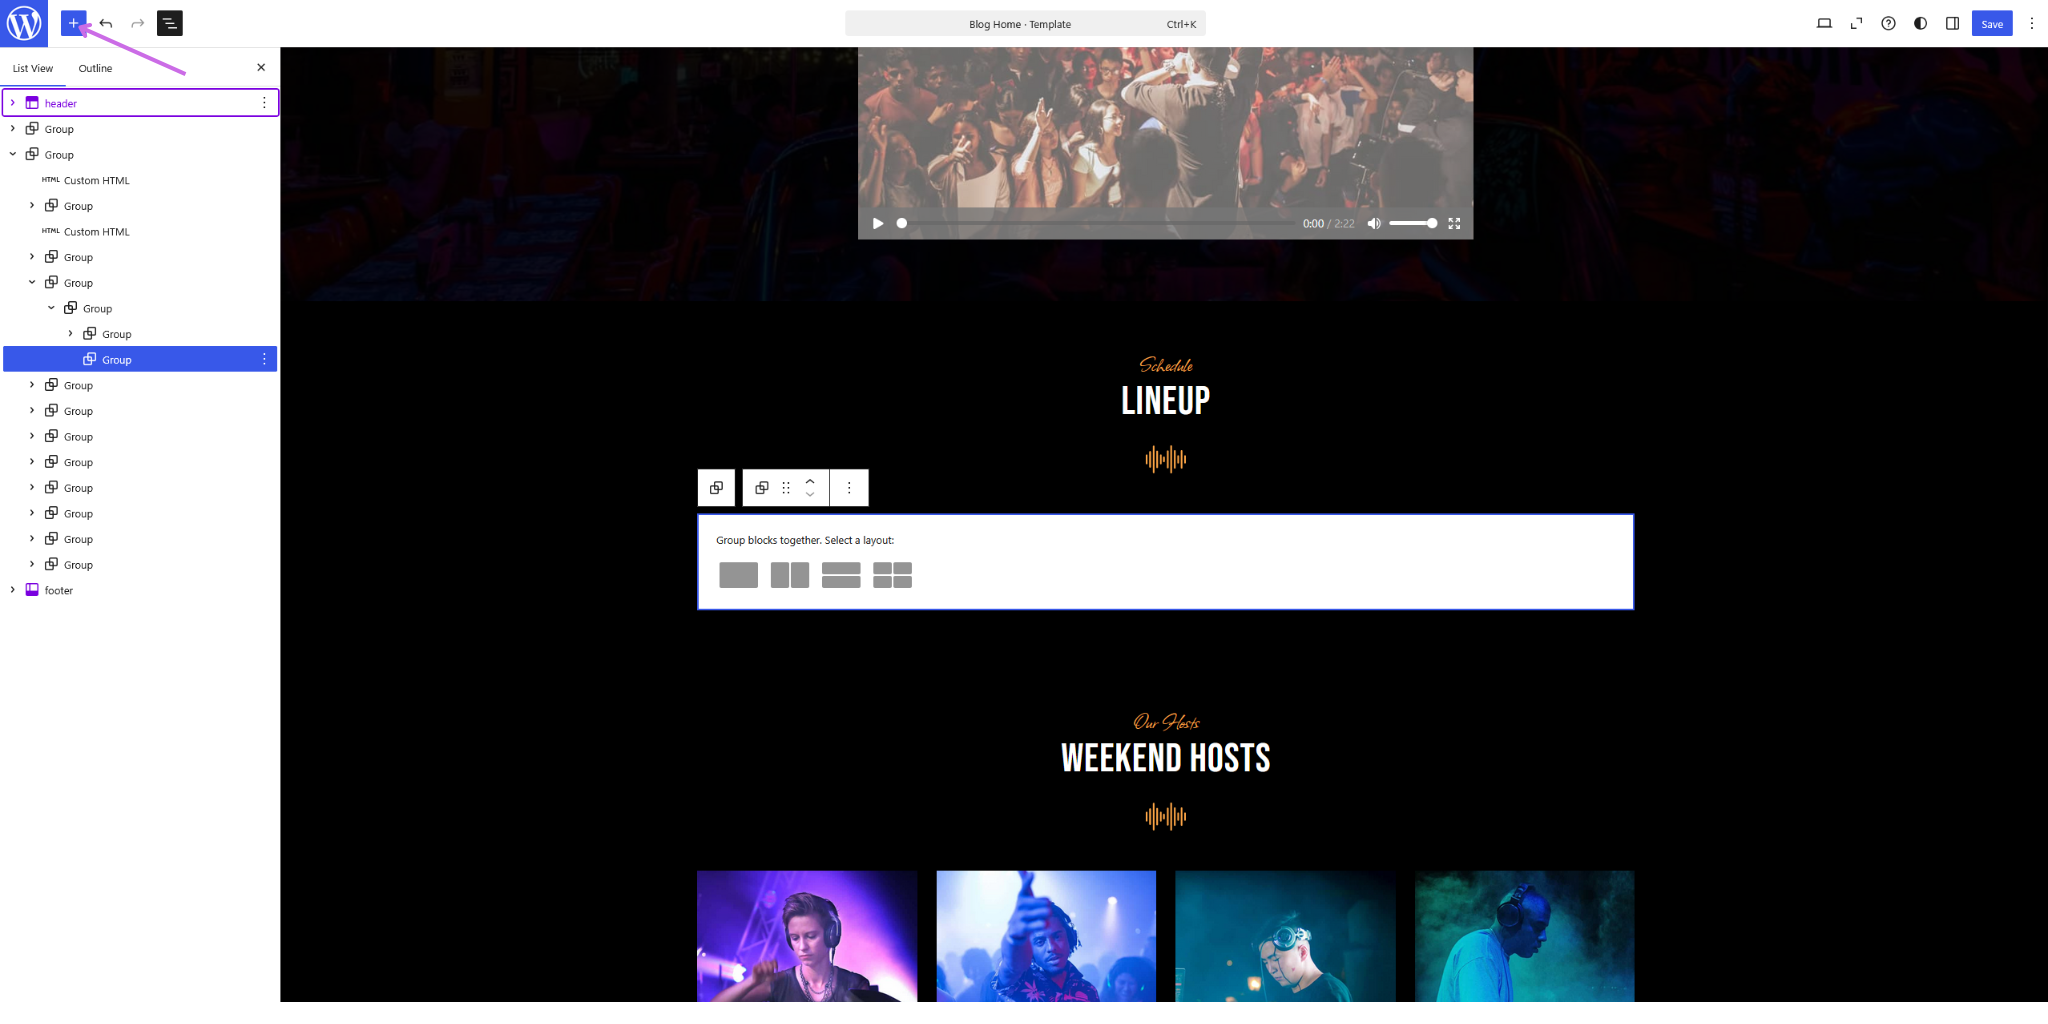
- Click on the “+” - Block Inserter.
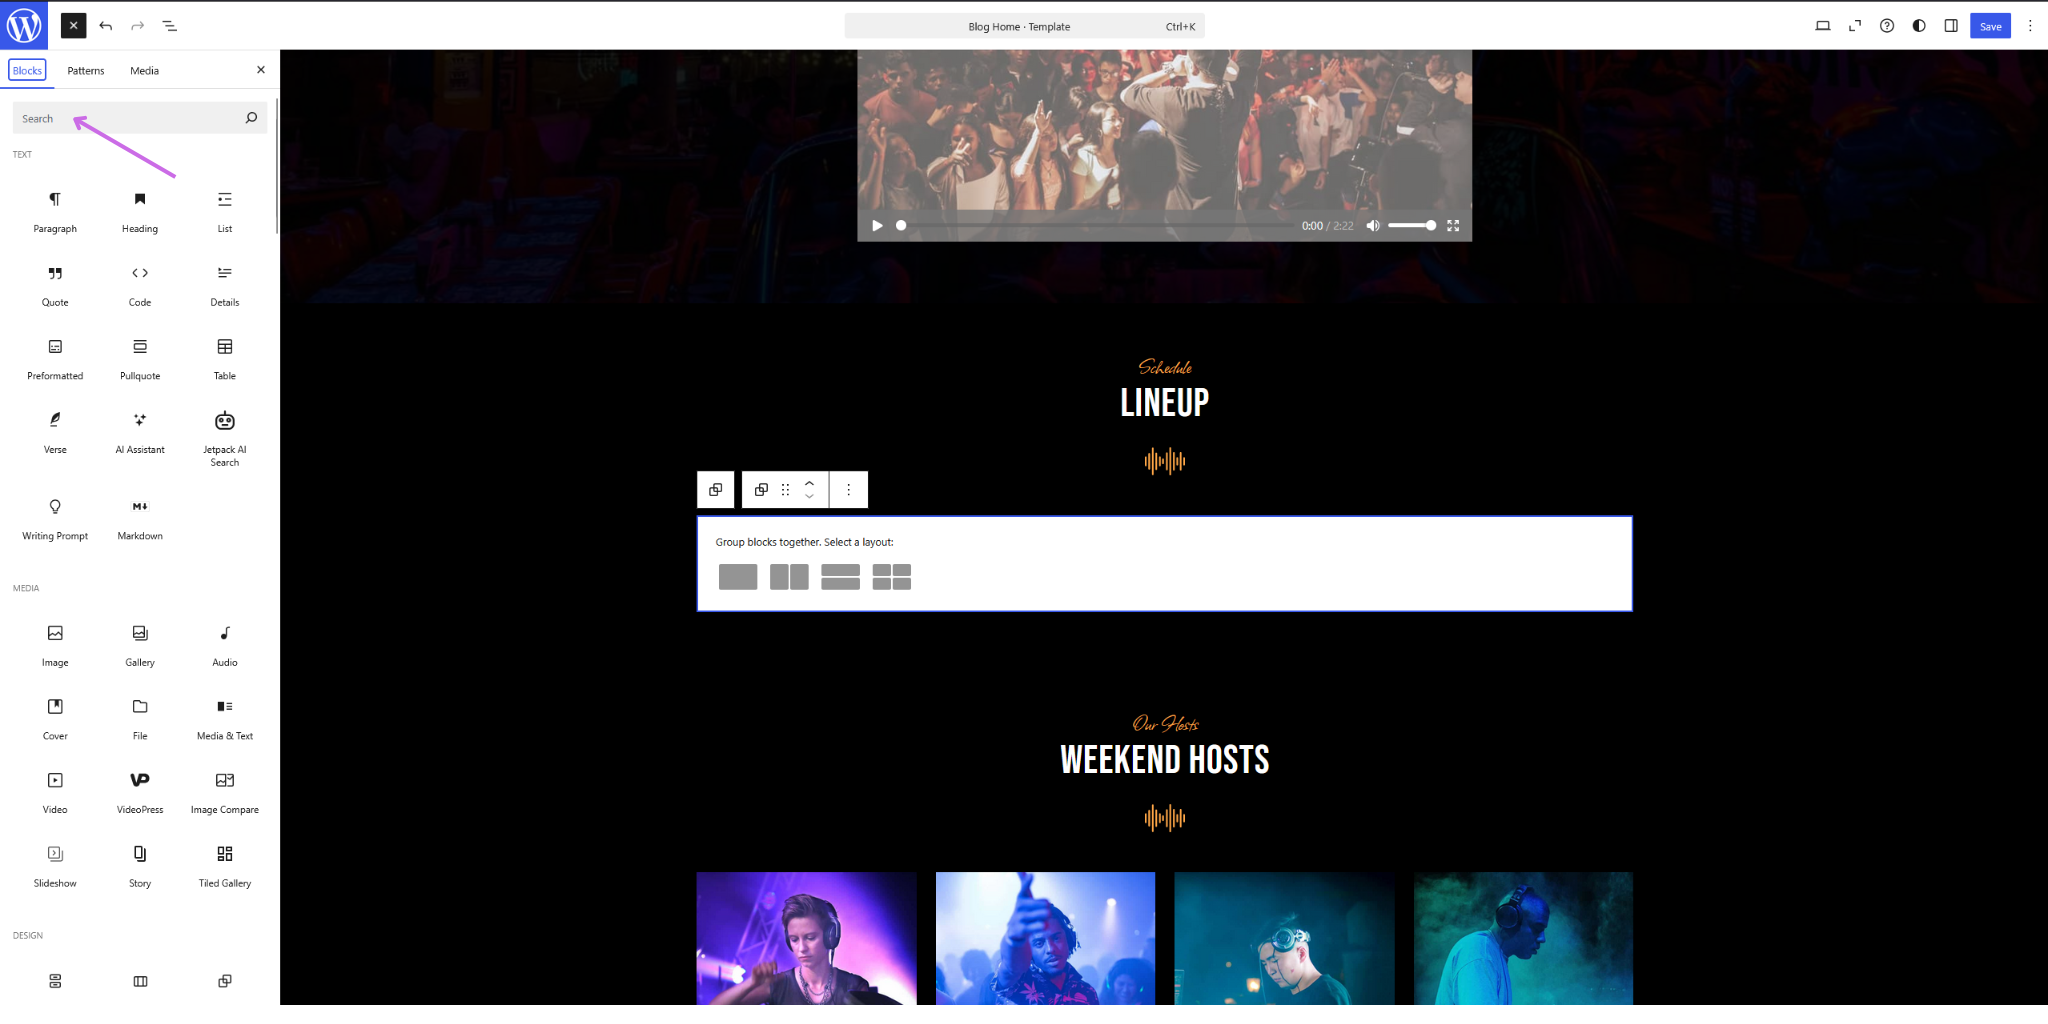
- In the search bar, type "HTML" and then click or drag the "Custom HTML" block.

- Go to Planby Now dashboard and copy the embed code from your application’s home page.
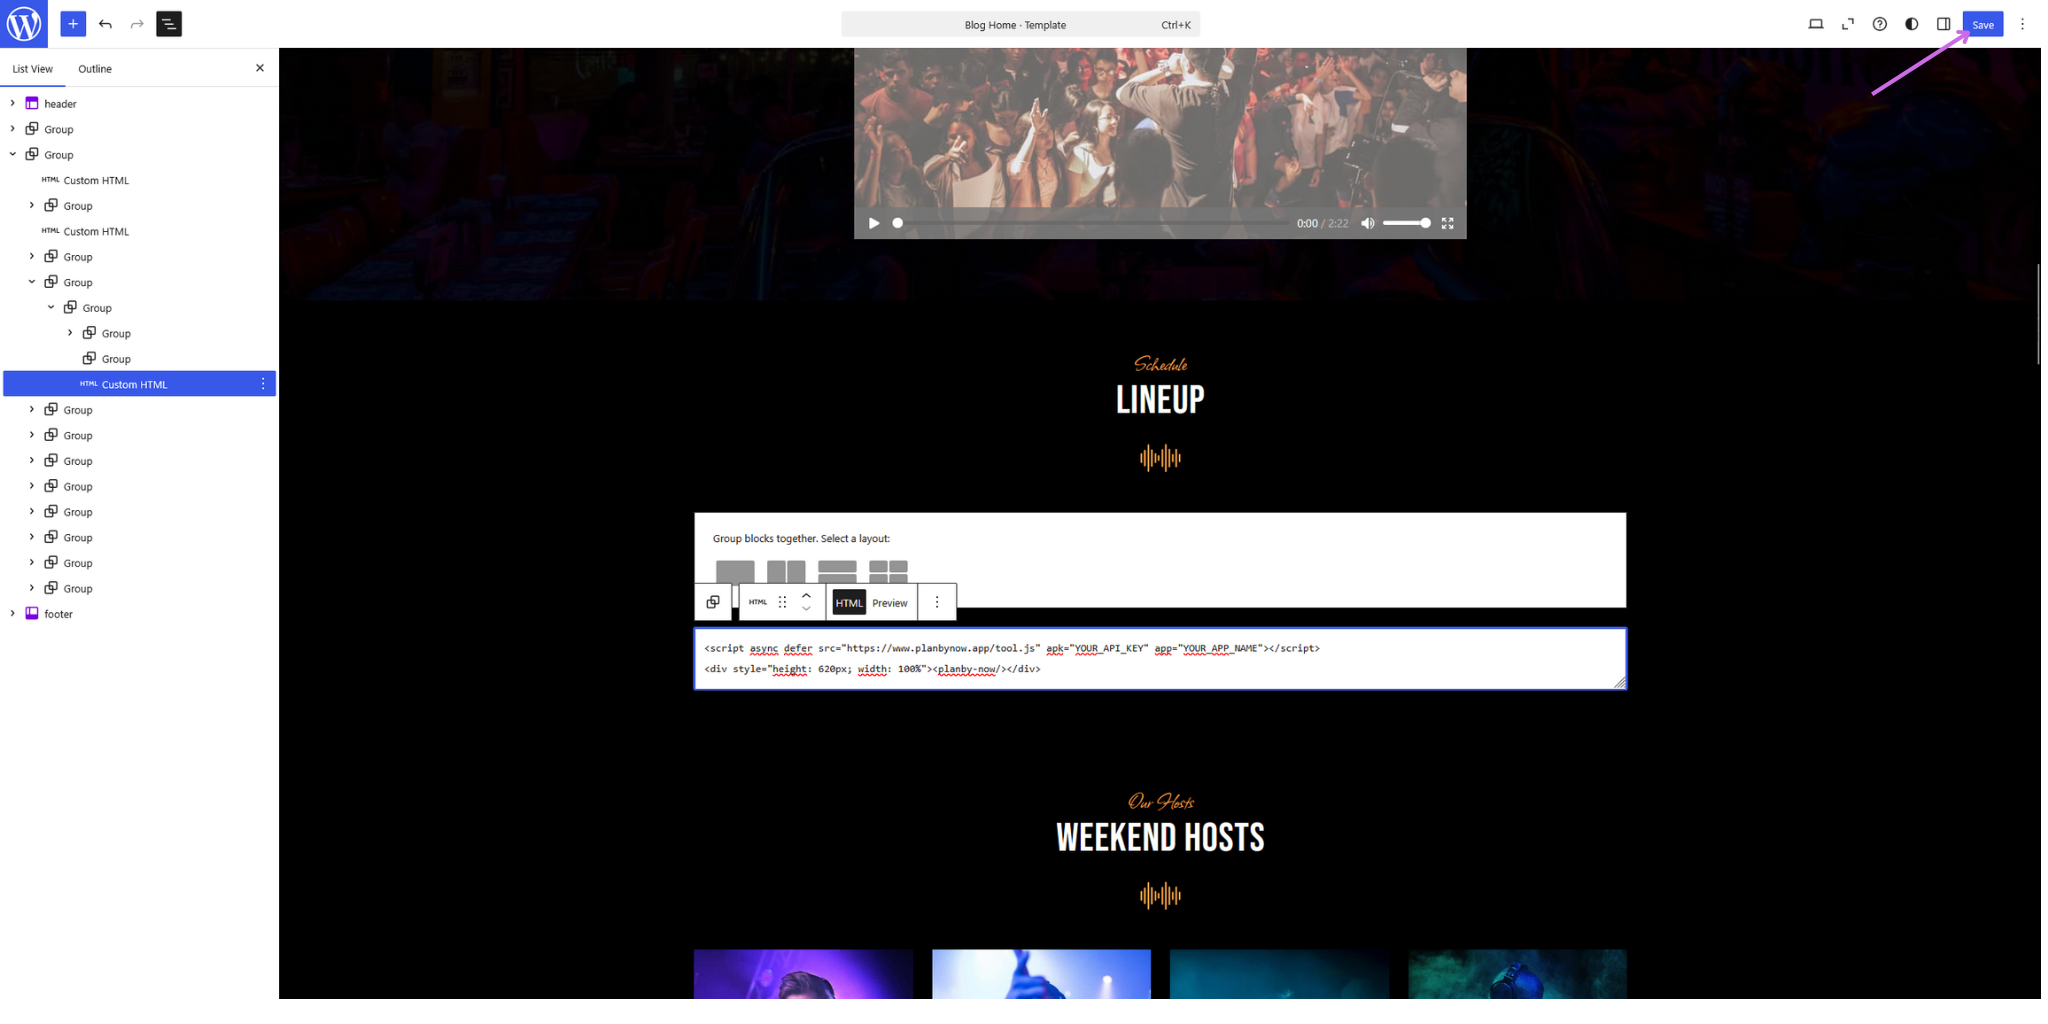
<script
  async
  defer
  src="https://www.planbynow.app/tool.js"
  apk="YOUR_API_KEY"
  app="YOUR_APP_NAME"
></script>

<div style="height: 620px; width: 100%"><planby-now/></div>
- Paste the code into the "End of
<body>tag" field in the Custom Code section.
- Click the "Save" button in the top right corner to make your updates live.
Step 4: Publish Your Project
-
Click the "Publish" button in Wordpress to make your updates live.
-
Your schedule or application will now be embedded and visible on your website or service.
That’s It! 🚀
You’ve successfully embedded your application into your Wordpress project. The entire process takes just a few minutes and seamlessly integrates your app into your website.